Most people learning portrait photography obsess over camera settings, lenses, and posing — but the single biggest thing that separates a flat, amateur-looking portrait from a professional one is how you light the face. The direction and height of your key light determines which shadows fall across your subject’s features, and those shadows define the mood, the shape, and the drama of the image.
Portrait photographers share a vocabulary for these setups, called lighting patterns. Once you can recognize and recreate the four core patterns — Rembrandt, loop, butterfly, and split — you can light almost any face on purpose instead of by accident. This guide explains each one, when to use it, and how to set it up with a single off-camera light.
What Is a Portrait Lighting Pattern?
A lighting pattern is simply the recognizable shadow shape that a key light creates on a subject’s face. The patterns are defined by where the light sits relative to the nose and the camera: its horizontal angle (how far to the side) and its height (how far above eye level). You can create every one of the four core patterns with a single light and a modifier — a softbox, umbrella, or even a large window. Additional fill lights and rim lights refine the look but don’t change the underlying pattern.
Rembrandt Lighting
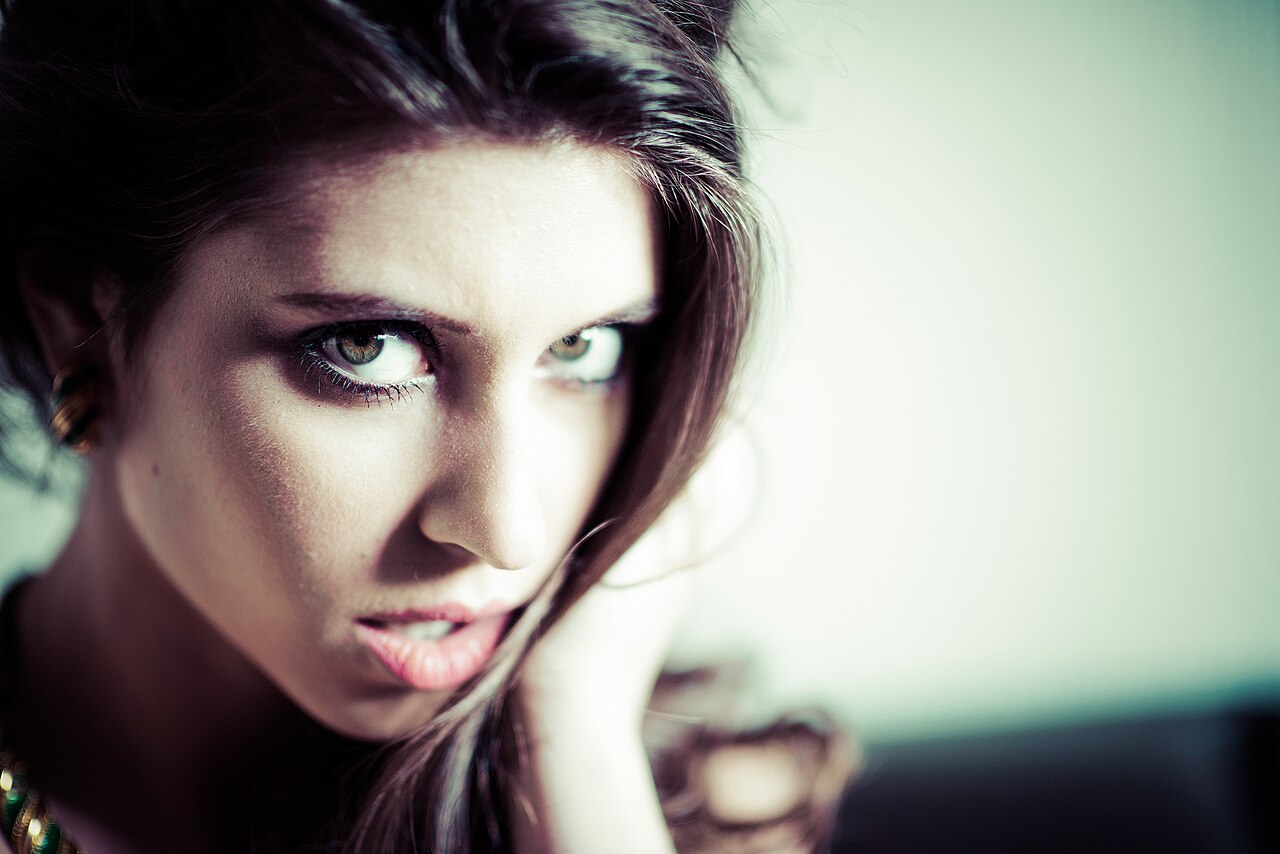
Rembrandt lighting is named after the 17th-century Dutch painter Rembrandt van Rijn, whose portraits often show a small, triangular patch of light on the shadow side of the face. To create it, position the key light about 45 degrees to the side of the subject and roughly 45 degrees above eye level, aimed slightly downward.
The result is one side of the face fully lit, with a small triangle of light — about the width of the eye and no longer than the nose — falling on the opposite cheek, just under the eye. It’s a classic, dramatic look that adds depth and flatters most faces, which makes it a favorite for moody and artistic portraits. If the triangle closes or disappears, your light has drifted too far to the side (into split lighting); if it grows too large, the light has come too far toward the camera.
Loop Lighting
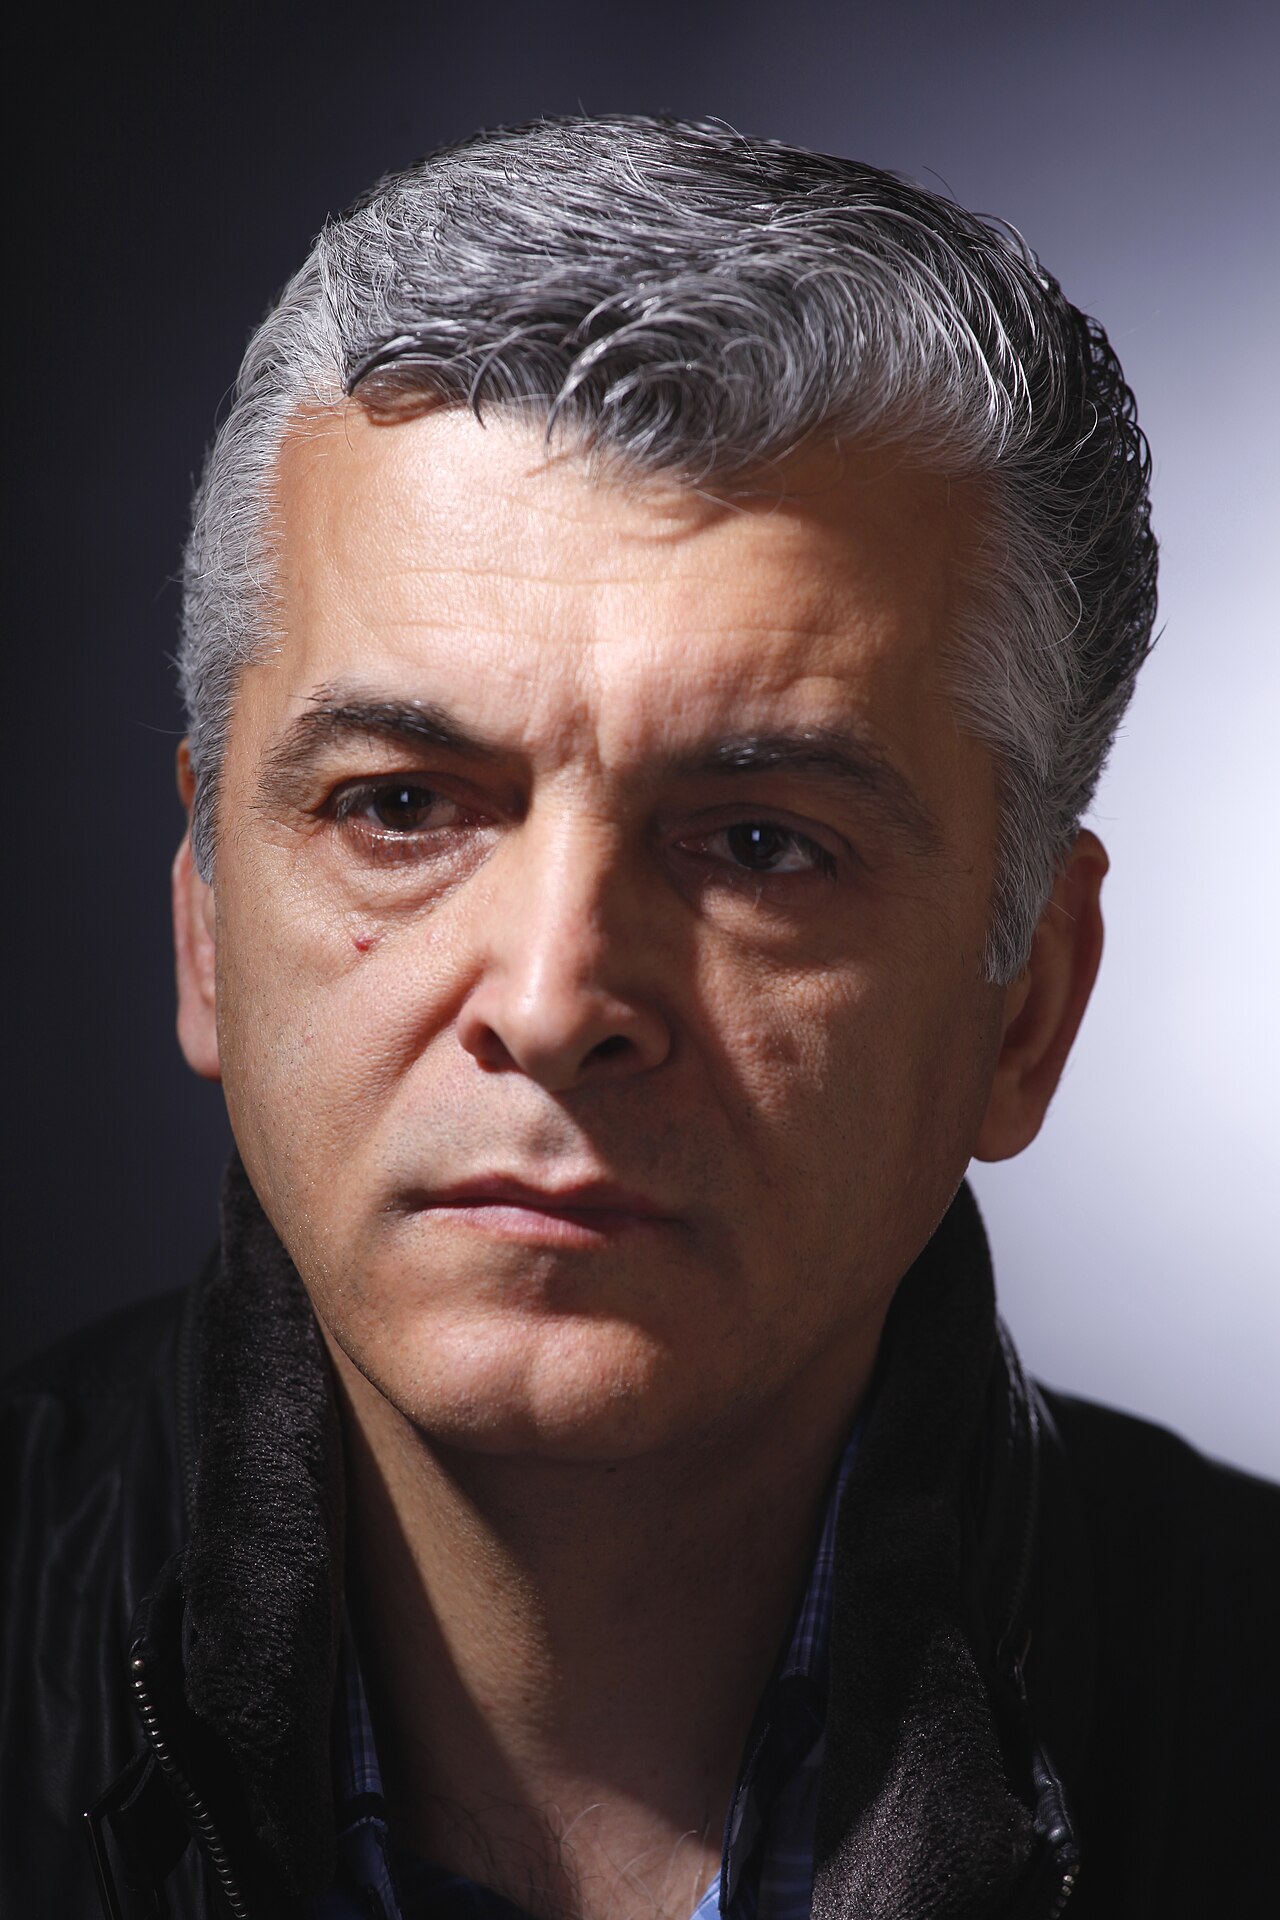
Loop lighting is the most common and versatile pattern in portrait photography. Position the key light about 30–40 degrees off the camera axis and slightly above eye level. This casts a small, loop-shaped shadow from the nose onto the cheek, just below and to the side of the nose — the “loop” the pattern is named for.
Because the shadow stays small and the light wraps around the face, loop lighting is flattering for nearly everyone, which is why it’s the go-to default for headshots and family portraits. If you’re unsure which pattern to use, start here.
Butterfly (Paramount) Lighting
Butterfly lighting places the key light directly in front of the subject and high above, angled down toward the face. This produces a small, symmetrical shadow directly under the nose that resembles a butterfly’s wings — hence the name. It’s also called Paramount lighting because the studio popularized it for glamour shots in the golden age of Hollywood.
Because the light comes from directly above, it defines the cheekbones and slims the face, making it a favorite for beauty and fashion portraits. It’s frequently paired with a fill light or reflector placed below the face — a setup called clamshell lighting — to soften the under-nose and under-chin shadows. Avoid it when you want to minimize skin texture, since the direct, down-angled light can emphasize fine detail.
Split Lighting
Split lighting is the most dramatic of the four. Move the key light to a full 90 degrees to the side of the subject, at roughly eye level, so it illuminates exactly one half of the face while the other half falls into deep shadow. There’s no triangle and no loop — just a clean division down the center of the face.
The result is high-contrast and moody, often used for portraits of men, musicians, and athletes to convey strength or intensity. A subtle variant lets a little light spill onto the far cheek for separation, but the classic version keeps the shadow side dark. Split lighting is also the easiest pattern to create with a window: place the subject’s face perpendicular to the glass.
Broad vs Short Lighting — The Overlooked Second Choice
Once you’ve picked a pattern, you still have one more decision: which side of the face the light falls on relative to the camera. If the lit side of the face is the one turned toward the camera, that’s broad lighting — it makes a face look wider. If the lit side is the one turned away from the camera, that’s short lighting — it slims the face and is generally more flattering. The same loop or Rembrandt setup can be either broad or short, simply by which way the subject turns their head.
How to Set Up Any Pattern
Start with one light, a modifier, and a subject facing the camera. Place the light at eye level, about 45 degrees to one side, and take a test shot — that’s roughly loop lighting. Raise it higher and pull it slightly forward to close the nose shadow into a triangle, and you have Rembrandt. Bring it straight in front and lift it high for butterfly. Swing it all the way to 90 degrees for split.
Walk the light around and watch the nose shadow change shape in real time — that shadow is your guide. A reflector on the opposite side lifts the shadows without changing the pattern.
Conclusion
Lighting patterns aren’t rules — they’re a shared vocabulary that lets you describe and reproduce a look on demand. Learn to see the shadow the nose casts, and you’ll stop guessing where to put the light. Master the four core patterns first, then bend them to suit the face and the mood in front of you.
FAQ
Do I need a studio to create these lighting patterns?
No. Any single off-camera light — a speedlight, a budget strobe, or even a large window — plus a modifier like an umbrella or softbox is enough. The pattern is about light position, not equipment cost.
Which lighting pattern is most flattering for most faces?
Loop lighting is the safest default, since its small nose shadow keeps the face open and wraps light evenly. Short lighting (lighting the side turned away from the camera) is also slimming.
What’s the difference between broad and short lighting?
Broad lighting illuminates the side of the face turned toward the camera and makes a face look wider; short lighting illuminates the side turned away and slims the face. Either can apply to any pattern.
Why isn’t my Rembrandt triangle appearing?
The key light is probably too far to the side (creating split lighting) or too low. Raise it and move it slightly toward the camera until a small triangle forms on the shadow-side cheek.
Related Posts
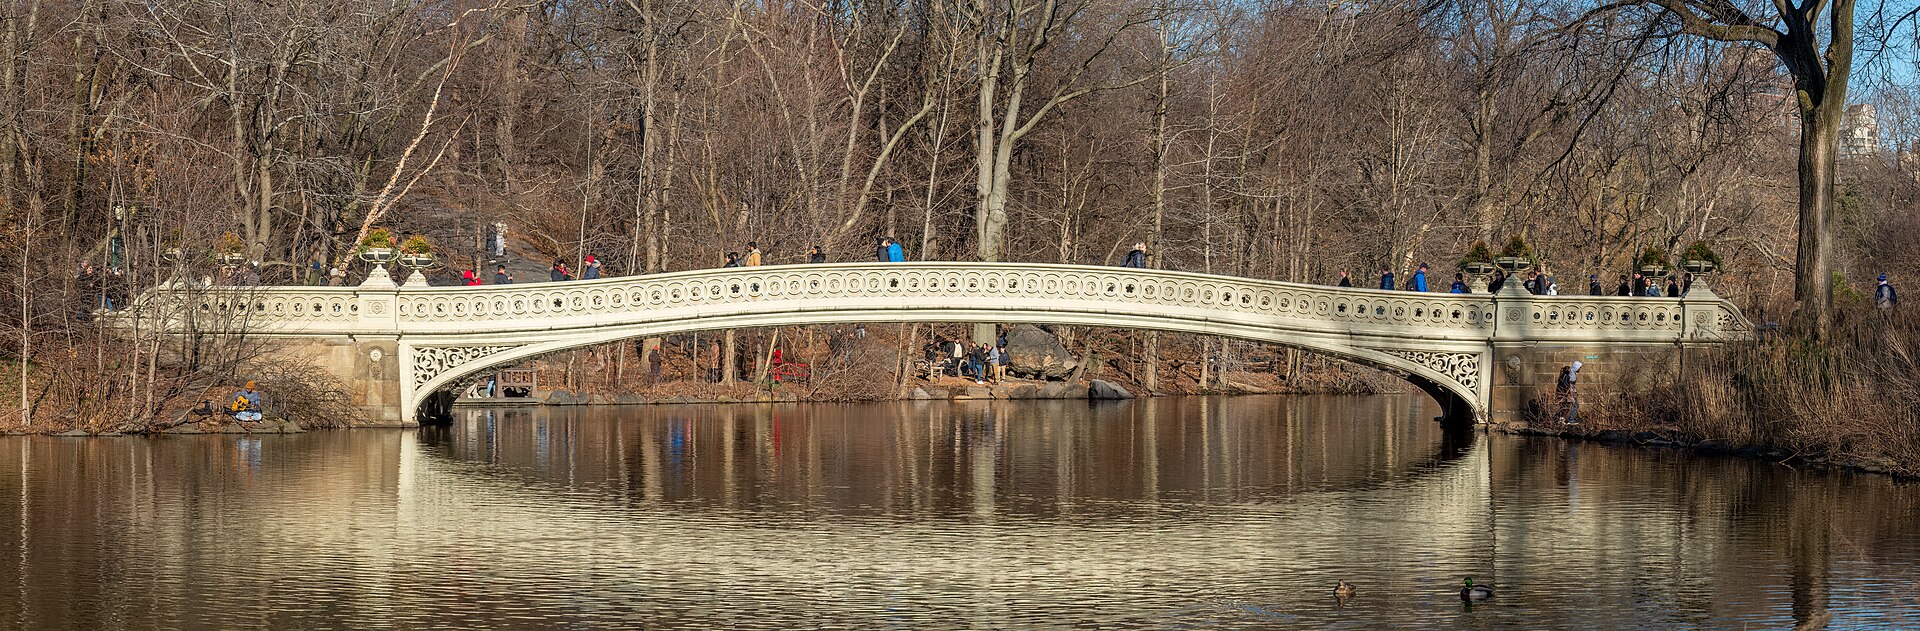
Panorama Photography Explained: How to Shoot and Stitch Wide Scenes
A wide landscape, a sweeping skyline, or the full interior…
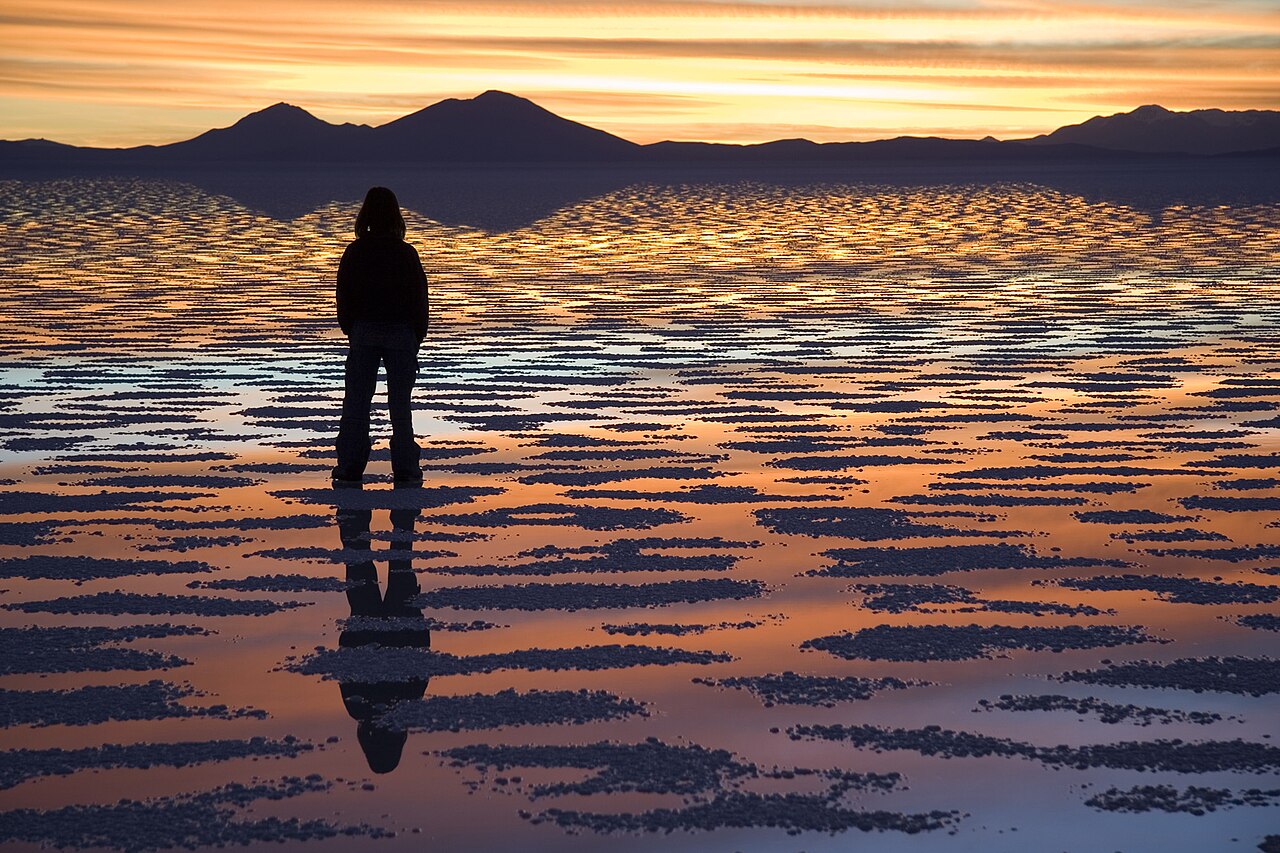
Silhouette Photography: A Complete Guide to Dramatic Backlit Shots
A silhouette strips a scene down to its boldest shapes:…
Color Theory in Photography: How to Use the Color Wheel for Stronger Photos
Color is one of the most powerful tools a photographer…