Every time you press the shutter, your camera writes a file to its memory card and you judge the result on a tiny rear screen. Tethered shooting flips that workflow: instead of saving to the card, the camera sends each photo straight to a computer the instant you take it, so you can check focus, exposure, and composition on a large monitor while your files land directly in a folder. It’s how commercial, studio, and product photographers work — and it’s easier to set up than you’d think.
What Is Tethered Shooting?
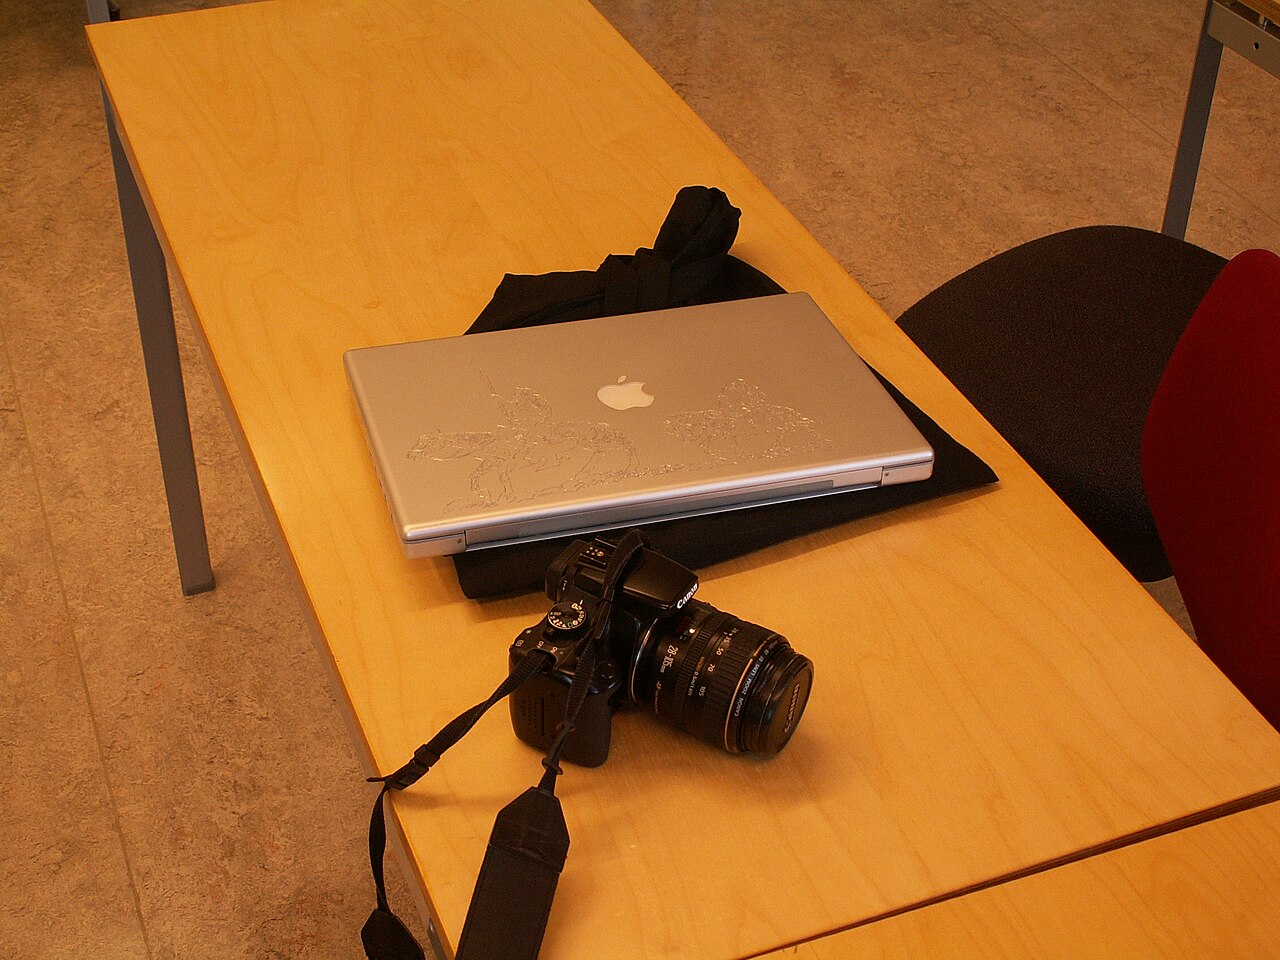
Tethered shooting (or “tethered capture”) means connecting your camera to a computer, tablet, or phone with a cable or a wireless link. Once connected, every image you capture is transferred immediately to the computer and saved in a folder you choose — often bypassing the memory card entirely. Depending on the software, you can also control the camera remotely: trigger the shutter, change ISO, aperture, and shutter speed, adjust focus, and watch a live-view feed. In short, tethering turns your computer into a large, high-resolution viewfinder and a remote control. The connection is usually USB — USB-C on modern cameras — with Wi-Fi tethering available on many current bodies as a slower, cable-free alternative.
Why Photographers Tether
- Instant, accurate review. A 15-inch calibrated monitor shows focus, sharpness, and color far better than a 3-inch rear LCD, so a missed focus or stray hair is caught on the spot — not after the client leaves.
- No memory-card juggling. Files go straight to the computer, so you never fill a card or forget to offload it mid-shoot.
- Live remote control. Adjust exposure, white balance, and focus points from the computer, or trigger the shutter without touching the camera.
- Faster approvals. An art director or client can watch images appear in real time and approve or redirect instantly.
- Built-in backup. Some setups write to both the card and the computer; even when they don’t, your files are already where you’ll edit them.
What You Need to Get Started
The gear list is short: a camera that supports tethering (most interchangeable-lens bodies from the last decade do — check your model, since support depends on the maker’s SDK), a computer with tethering software, and a reliable cable.
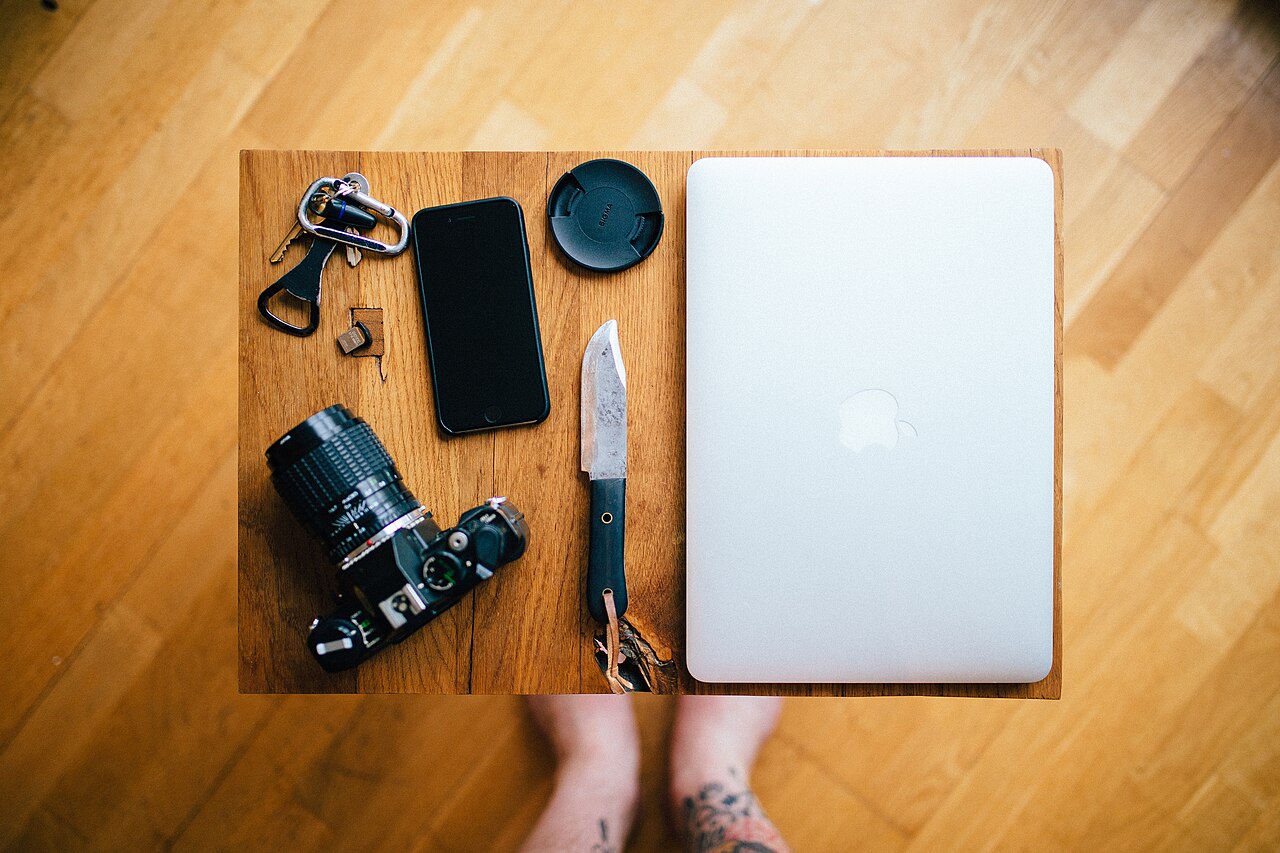
The cable matters more than it looks. USB has length limits — roughly 5 meters for USB 2.0 and about 3 meters for USB 3.x, beyond which the signal degrades. Longer runs need active, powered extension cables or a booster such as Tether Tools’ TetherBoost. Dedicated tether cables are more durable than a random charging cable, and some cheap cables only carry power, not data. With newer USB-C cameras, plug into the data port — some bodies with two USB-C ports reserve one for charging — and check the camera’s USB settings menu.
Tethering Software: Capture One, Lightroom, and Free Brand Tools
The software does the heavy lifting. The two professional standards are Capture One and Adobe Lightroom Classic.
- Capture One is widely considered the gold standard for tethering. It auto-detects the camera within seconds, lets you adjust settings and watch live view from the screen, and can apply presets to every incoming file. By default it writes images only to the computer, not the card.
- Lightroom Classic uses File → Tethered Capture to start a session; a floating control bar appears once the camera is detected. It’s more manual than Capture One but ties tethering into your existing catalog.
If you’d rather not pay, the camera makers give away their own tools. Canon’s EOS Utility, Sony’s Imaging Edge Desktop (Remote), and Nikon’s NX Tether are all free and handle remote shooting plus transfer. Fujifilm, Panasonic, and OM System offer similar free utilities — X Acquire, Lumix Tether, and OM Capture.
Wired vs. Wireless Tethering
A cable is the most dependable route — faster, more stable, and it can keep the camera powered. Wireless tethering removes the cord, which is liberating when you need to move around a set, but transfers are slower and the connection can drop. For studio work, go wired; for field or event work, wireless is a fair trade-off.
Tethered Shooting Tips
- Protect the port. A “jerk stopper” or cable strain relief stops a tripped cable from yanking — and possibly breaking — the camera’s USB port, a repair that can cost hundreds of dollars.
- Power up. Tethering drains the battery; use a mains adapter or dummy-battery coupler for all-day sessions.
- Update firmware and software. Most “camera not detected” problems come from an outdated app or camera firmware.
- Test before the client arrives. Confirm the camera appears, take a test capture, and check where the files land.
Conclusion
Tethered shooting isn’t only for big studios. If you shoot products, food, portraits, or anything where you want to see the real image on a big screen and control the camera without touching it, a cable and free software are all it takes to start.
FAQ
Do I need special software to shoot tethered?
You need a program that supports your camera. Free options like Canon EOS Utility, Sony Imaging Edge, and Nikon NX Tether work for their own brands, while Capture One and Lightroom Classic support many brands at once.
Will my files also save to the memory card?
It depends on the software and camera. Some setups write only to the computer (Capture One’s default), while others write to both — check your settings so you don’t accidentally shoot without saving anywhere.
How long can a tether cable be?
About 5 meters for USB 2.0 and 3 meters for USB 3.x before the signal degrades. Use active or powered extenders for longer runs.
Related Posts

Time-Lapse Photography: The Complete Guide to Shooting Stunning Time-Lapses
Time-lapse photography compresses minutes, hours, or even days into a…
Rule of Thirds and Leading Lines: Master the Two Most Important Composition Rules
Composition is what separates a snapshot from a photograph. A…

Fireworks Photography: Camera Settings and Tips for Perfect Bursts
Fireworks are one of the easiest “wow” subjects in photography…