Real estate photography is one of the most reliable and repeatable niches in the industry. Agents always need listings shot, homes sell faster with strong photos, and the workflow — a tripod, a wide-angle lens, and careful lighting — is consistent enough to build a business on. But the gap between an amateur snapshot and a photo that actually sells a home comes down to a handful of techniques: straight verticals, balanced window light, and consistent, natural color. This guide covers the gear, camera settings, composition, lighting, and editing that produce sharp, bright, true-to-life interior and exterior shots.
The Gear You Actually Need
The lens matters far more than the camera body. A wide-angle zoom is essential because it lets you show an entire room from a normal standing position. On a full-frame body, reach for something in the 14–24mm or 16–35mm range, such as the Sony FE 16-35mm f/2.8 GM II, Canon RF 15-35mm f/2.8 L IS USM, or Nikon Z 14-24mm f/2.8 S. On an APS-C camera, a 10–18mm or 11–20mm lens gives roughly the same field of view. You don’t need a fast f/2.8 aperture — you’ll be shooting around f/8 on a tripod — so a lighter, cheaper f/4 zoom is perfectly fine.
A sturdy tripod is non-negotiable: interiors are dim, and sharpness at f/8–f/11 demands slow shutter speeds. Add a remote shutter release or the camera’s two-second self-timer to kill vibration, plus a speedlight or small off-camera flash for filling shadows and taming bright windows. A tilt-shift lens (such as Canon’s TS-E 17mm or Nikon’s PC 19mm) is the professional’s tool for perfectly straight verticals, but modern editing software corrects most perspective distortion in post, so it’s optional when you’re starting out.
Camera Settings for Bright, Sharp Interiors
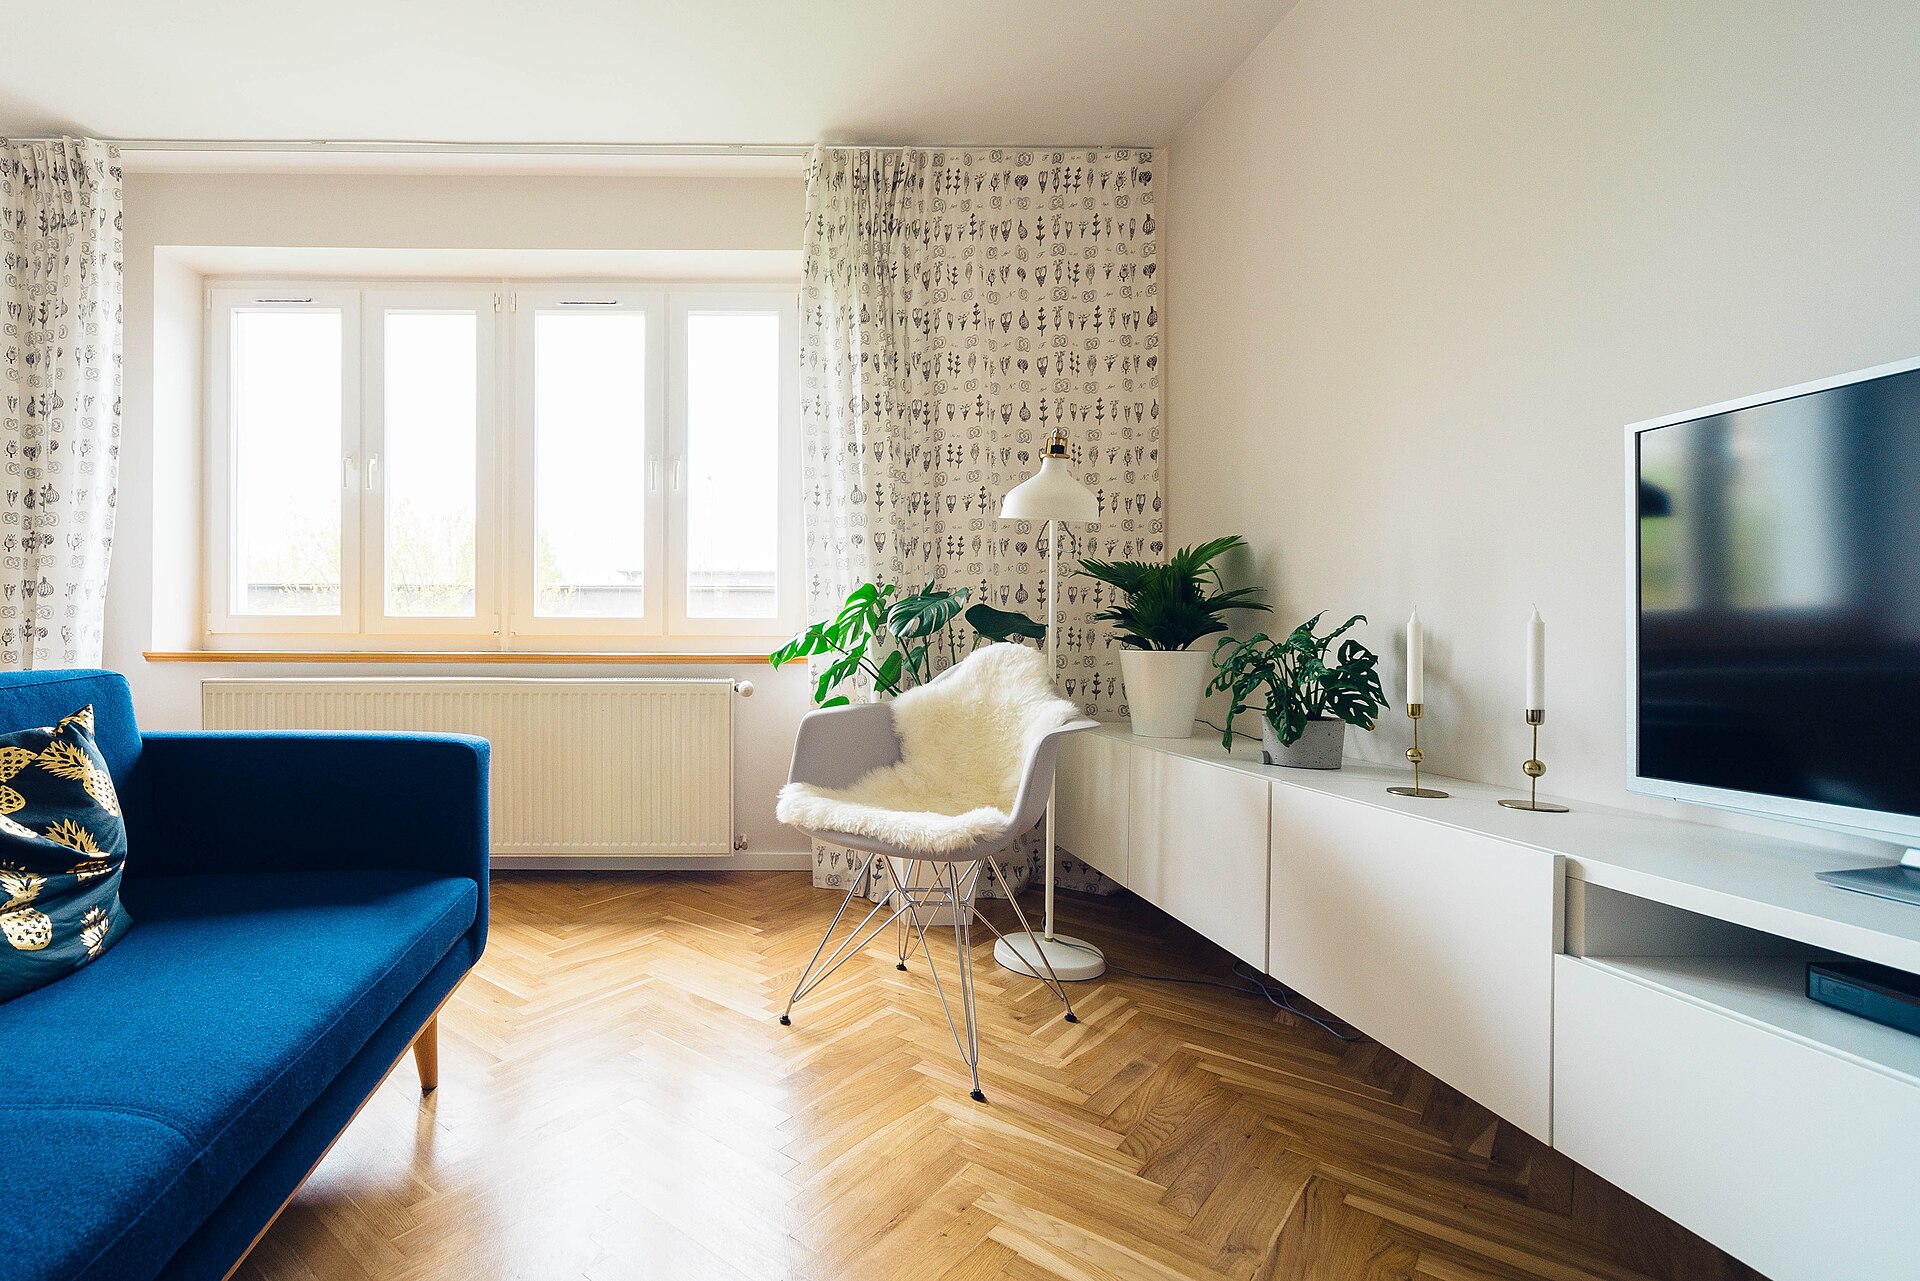
Shoot in aperture-priority or manual and set the aperture to f/7.1–f/11. This gives enough depth of field to keep the entire room sharp, from the furniture nearest you to the far wall. Keep ISO as low as possible — 100 to 400 — and let the tripod handle whatever slow shutter speed results. For white balance, auto works well in most mixed lighting, but shooting RAW (or setting a custom white balance) gives you room to correct any color cast later.
Focus about one-third of the way into the room to maximize depth of field, placing a single AF point on a mid-distance detail such as a sofa or table edge. The single hardest problem in interiors is the window: a bright window beside a dark corner often exceeds the sensor’s dynamic range, leaving either the view blown out or the room muddy. Bracket three to five exposures roughly two stops apart (±2 EV) and merge them later, so both the view outside and the interior read clearly. Many agents expect this “windows aren’t blown out” look as a baseline.
Composition That Flatters a Room
Set the camera at roughly chest or light-switch height, not eye level, and keep it perfectly level. Tilting the camera up or down makes vertical walls appear to converge, which is the most common tell of an amateur listing photo. If you need a touch more ceiling or floor, shoot a little wider and correct the perspective in post rather than tilting the camera.
There are two standard interior perspectives. A one-point composition shoots straight on to a wall and is symmetrical and clean — ideal for bedrooms and tight spaces. A two-point composition shoots from a corner so two walls are visible, which adds depth and makes rooms feel larger. Aim toward the room’s best feature (a fireplace, a view, a kitchen island), use leading lines to pull the eye through the frame, and declutter before you shoot — remove personal items, straighten cushions, and hide cords. A few close detail shots of fixtures, countertops, and hardware round out a listing.
Lighting Interiors for a Natural Look
Natural light is the cleanest and fastest route. Open every blind and curtain, switch on all the lamps and overhead lights (this adds warmth and eliminates dark corners), and shoot when daylight is even, from mid-morning to mid-afternoon. When a window still blows out, you have two fixes. HDR bracketing captures the bright exterior and the interior in separate exposures, then blends them. Flash, meanwhile, gives more control: bounce a speedlight off the ceiling to lift the ambient light, or use the “window pull” technique — meter for the view outside and let the flash illuminate the room. Whichever you choose, the goal is always a natural result; the best listing photos don’t look lit at all.
Exteriors and the Twilight Shot
Exteriors read best at golden hour and, for a premium look, at twilight when the interior lights are on and the sky is still a deep blue. Photograph the front elevation straight on, then add a three-quarter angle that reveals depth and the lot. Keep the camera at a level, moderate height and avoid shooting up at the house from too close, which distorts the roofline. Include the front lawn and curb appeal, and if the property has a standout feature — a pool, deck, or view — give it its own frame.
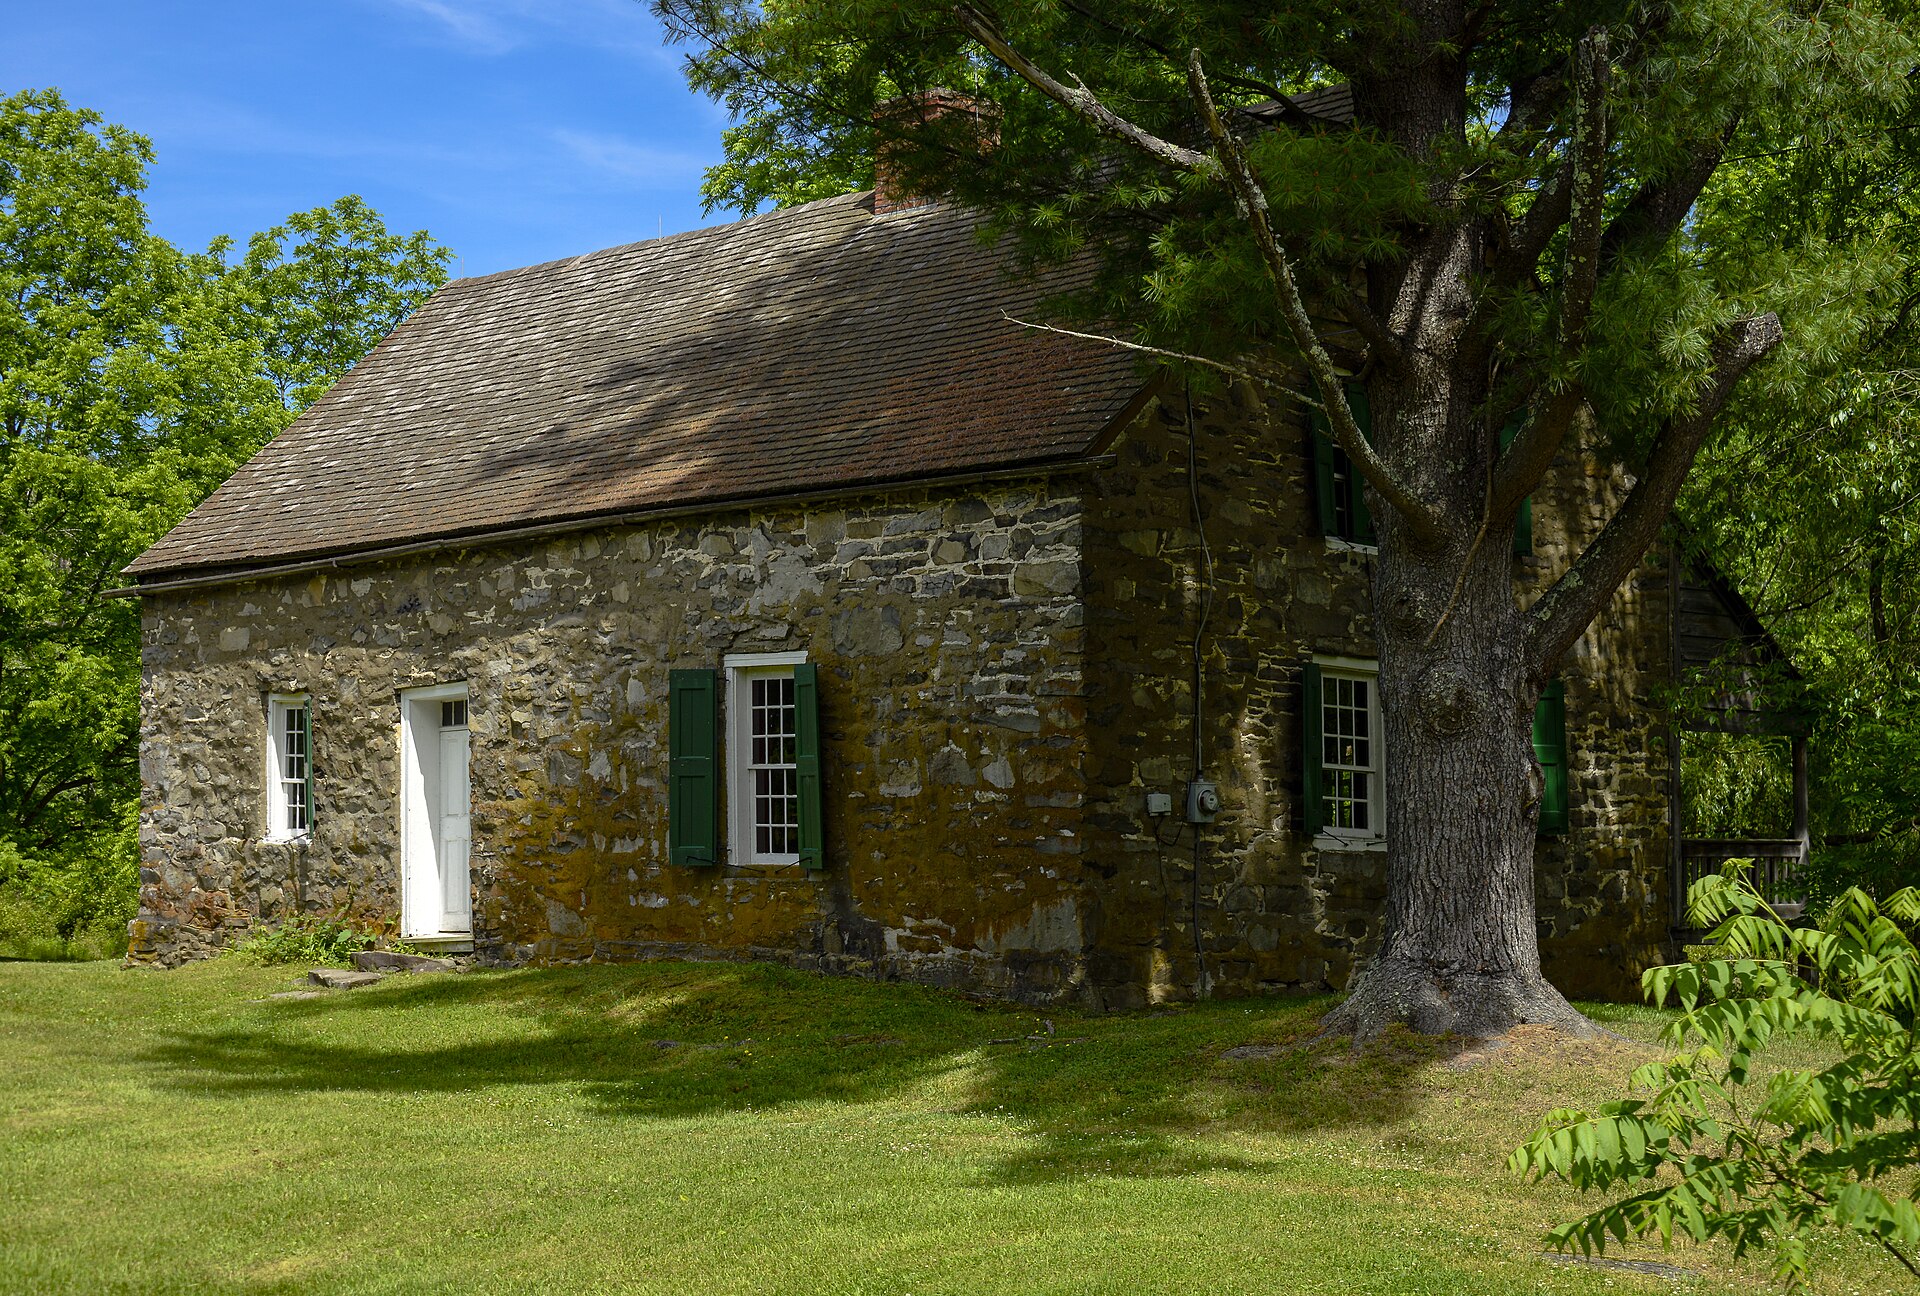
For the twilight shot, time it to the 15–20 minutes after sunset and balance the warm interior glow against the blue sky, either by bracketing or by simply timing the exposure as the two light levels converge.
Post-Processing for a Consistent Set
Edit for a clean, natural, and consistent look across the whole set. First, merge your HDR brackets or blend exposures. Then correct lens distortion and straighten the verticals using your editor’s transform or upright tools. Fix white balance room by room, remove sensor dust, reflections, and minor clutter, and balance exposure so rooms look bright without washing out. Slightly lifted shadows and neutral whites are the industry norm; avoid heavy color grades or oversaturation that misrepresent the home.
Conclusion
Real estate photography rewards precision over creativity. A wide lens, a tripod, straight verticals, and balanced window light will already put you ahead of most amateur listing photos. Practice on your own home, build a repeatable workflow, and you’ll have a skill that agents will pay for again and again.
FAQ
What is the best lens for real estate photography? A wide-angle zoom — 14–24mm or 16–35mm on full frame, or 10–18mm on APS-C. You don’t need f/2.8; an f/4 zoom is fine since you shoot at f/8 on a tripod.
Do I need a full-frame camera for real estate? No. An APS-C camera with a wide lens and manual controls delivers consistent, professional results. Full frame helps in dim rooms, but technique matters more than sensor size.
Should I use HDR or flash for bright windows? Both work. HDR bracketing is simpler and more common; flash offers more control and a cleaner, more natural result in experienced hands.
What aperture should I shoot interiors at? f/7.1 to f/11 for deep depth of field, focused about one-third into the room, with the camera on a tripod.
Related Posts
ISO Invariance Explained: Why Underexposing and Pushing in Post Can Beat High ISO
Most photographers grow up believing a simple rule: keep ISO…
Color Spaces Explained: sRGB vs Adobe RGB vs ProPhoto RGB (and When It Matters)
Your camera can capture millions of colors, but which of…

RAW vs JPEG: Why Photographers Shoot RAW (and When JPEG Still Wins)
A photographer shooting in the field — RAW preserves every…