A product photo is often the first — and sometimes the only — thing a buyer sees. Whether you are selling on Amazon, Etsy, or your own store, a clean, well-lit image can be the difference between a click and a scroll-past. The good news is that you do not need a professional studio or expensive gear: a camera, a window, and a few sheets of paper will get you most of the way there. This guide walks through the equipment, lighting, settings, and editing steps that turn a snapshot into a sales-ready product photo.
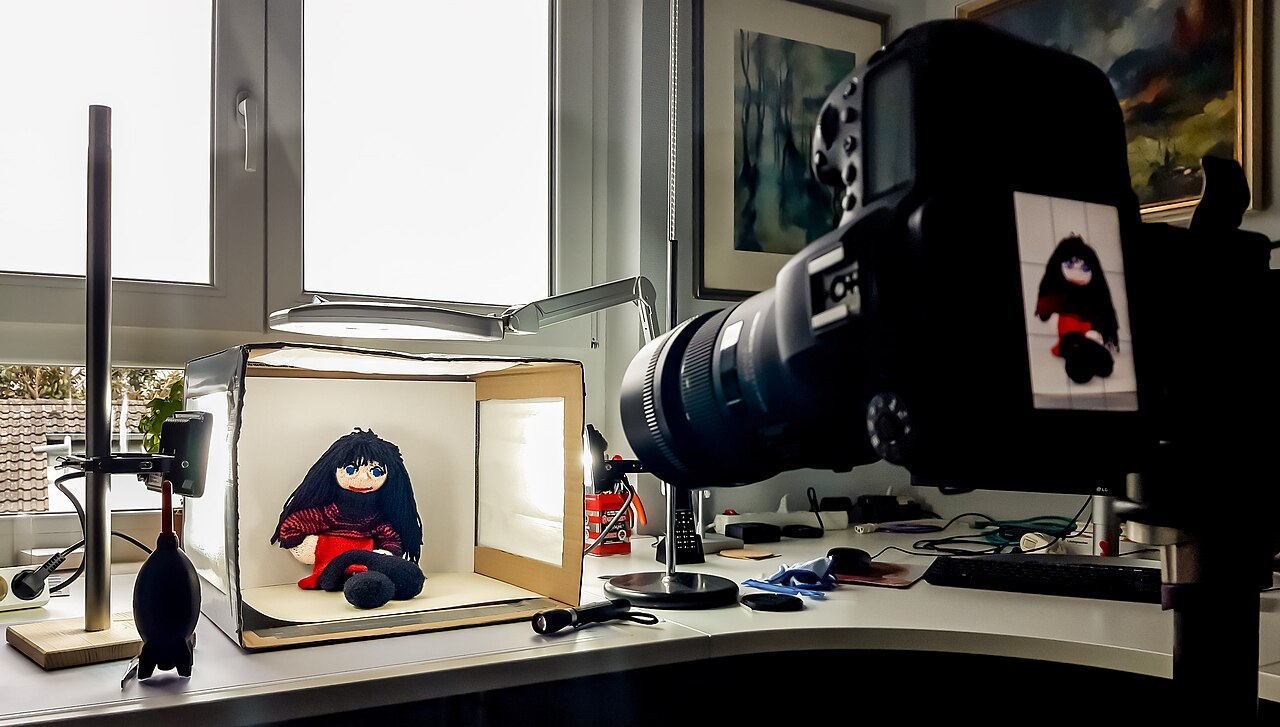
The Gear You Need (and What You Can Skip)
You do not need a flagship body. A mid-range mirrorless camera such as a Sony a7 IV or a Canon EOS R8 gives you far more resolution and control than a product listing needs, and even a modern smartphone can produce clean shots for small online listings. What matters more than the camera is a tripod and a lens that focuses reasonably close.
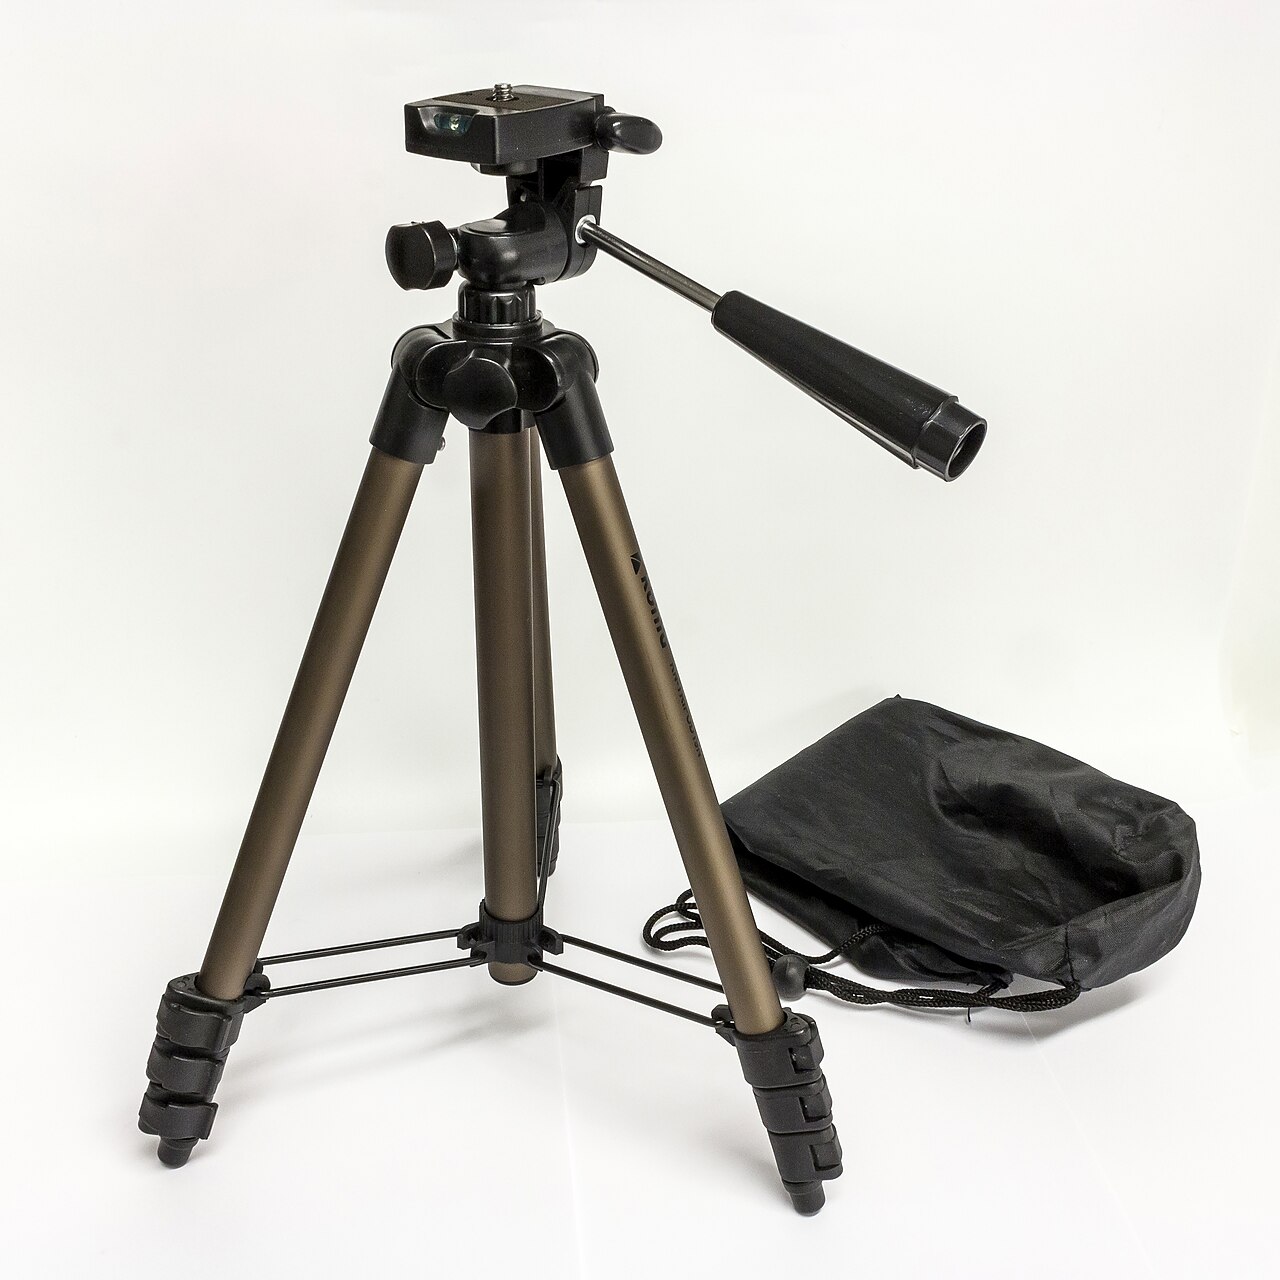
A tripod keeps the camera rock-steady so you can use a small aperture and a low ISO without blur. It also makes every shot consistent, which matters when you are photographing dozens of products in a catalog. For lenses, a standard zoom or a 50mm prime handles most objects, while a macro lens helps for jewelry, watches, and other small items. A remote shutter — or the camera’s two-second self-timer — removes the last trace of camera shake.
Lighting Is the Whole Job
Lighting, not the camera, is what separates a professional product photo from a snapshot. Harsh, direct light creates hard shadows and blown highlights. Soft, diffused light wraps around the object and hides imperfections. The cheapest soft light is a window: place your product near one on an overcast day, or diffuse direct sun with a white sheet or shower curtain.
For full control, use a light tent or lightbox — a translucent box you place the product inside, with lights on the outside. The fabric scatters the light, producing even, shadow-free illumination that flatters almost any object. If you shoot with flash or LED panels, bounce the light off a white wall or ceiling, or fire it through a diffuser, rather than pointing it straight at the product. A simple two-light setup — one large soft source from the front-left and one from behind to add separation — covers most needs.
Backgrounds and Surfaces That Keep the Focus on the Product
The background should never compete with the product. A seamless sweep — a long sheet of white paper or vinyl that curves from the table up the wall — removes the horizon line and gives a clean, infinite look. White is the default for marketplaces, but light gray, pastel, or a subtle textured surface such as wood, stone, or fabric can add personality without distracting. Keep the product a comfortable distance from the backdrop so you can light the two separately and let the background fall softly out of focus. For a consistent catalog, use the same surface and the same camera position for every item.
Camera Settings for Tack-Sharp Product Shots
Sharpness is non-negotiable, so set your camera on the tripod and start from these settings. Shoot in aperture priority or manual. Use an aperture of f/8 to f/11 — small enough to keep the whole product in focus, but not so small that diffraction softens the image. Set ISO to the lowest native value, usually 100, to keep the image clean. On a tripod the shutter speed can fall wherever it needs to, because nothing is moving. Turn on a two-second timer, and set white balance manually using a gray card or the correct preset so colors stay accurate across your whole catalog.
Focus precisely on the product; with a tripod, manual focus or a single AF point is more reliable than letting the camera choose. If one shot cannot keep the front and back of a deep object sharp, stack two or three frames focused at different points and merge them in editing software.
Composition and Styling Basics
Fill the frame, but leave a little breathing room. Shoot at a slight downward angle for most products — eye level feels unnatural for objects on a table — and keep vertical lines vertical so the product does not look like it is tilting. Use props sparingly: one or two relevant props can suggest scale and use, but clutter dilutes the message. For reflective surfaces such as glass or metal, adjust the angle until the bright reflections fall where you want them, and consider a polarizing filter to control glare. Finally, shoot more than you think you need: a hero shot, an angle shot, a detail or macro shot, and a lifestyle shot that shows the product in use.
A Quick Post-Processing Routine
Edit with a light touch — the goal is accurate, not artistic. Start with white balance and fix any color cast. Lift shadows slightly and recover clipped highlights if needed. Remove dust and stray hairs with a spot-removal tool. Straighten the image and crop to your platform’s recommended aspect ratio, usually square (1:1) or 4:5. Add a gentle amount of sharpening, and keep saturation honest — oversaturated colors lead to returns. Export at the highest quality your marketplace accepts.
Conclusion
Great product photography is a system, not a mystery. A tripod, soft light, a clean background, and disciplined settings will give you a consistent, professional result on a modest budget. Set up your space once, memorize the settings, and you will be able to shoot product after product with the same clean, sales-ready look.
FAQ
What is the best aperture for product photography?
f/8 to f/11 is a solid starting point. It keeps the whole product in focus while avoiding the softness that diffraction introduces at very small apertures.
Do I need a macro lens?
Only for small items such as jewelry, watches, and coins. For most products, a standard zoom or a 50mm prime focuses close enough and gives you all the detail you need.
Can I use a smartphone for product photography?
Yes. Modern smartphones produce clean, detailed images that are perfectly fine for online listings, especially when paired with good window light, a stable mount, and a clean background.
What background works best?
A white seamless sweep is the safest, most versatile choice for marketplaces. Light gray, pastel, or a subtle textured surface can add personality once you have the basics down.
Related Posts
Megapixels Explained: How Many Do You Actually Need in 2026?
Ask almost any beginner what makes a camera good and…
Lens Diffraction Explained: Why Small Apertures Make Your Photos Softer
Stop a lens down to f/16 or f/22 chasing maximum…

Light Painting Photography: A Complete Guide to Painting with Light
Light painting turns a flashlight into a paintbrush and the…