Shooting in low light used to force a choice: a blurry photo at low ISO, or a noisy one at high ISO. AI noise reduction has changed that equation. Tools from Adobe, DxO and Topaz — and the computational pipelines inside Google and Apple phones — can strip grain-like noise while keeping real detail sharp. Here is how it works and how to get the best results from it.
What Is Image Noise (and Why High ISO Causes It)?
Image noise is the random speckle or grain in photos, strongest in shadows and at high ISO. It comes from two physical sources. Shot noise (photon noise) is the randomness in how many photons strike each pixel — even an even light source delivers a slightly different photon count to every pixel. Read noise is electronic noise added by the sensor and its circuitry during readout. Both are always present, but raising the ISO amplifies the signal along with the noise, which is why high-ISO images look grainy. The smaller the sensor, the worse it gets — a key reason smartphone cameras lean so heavily on computational photography.
Traditional Noise Reduction vs. AI Denoising
Classic noise reduction uses hand-designed filters. Gaussian blur, median filters and non-local means smooth noisy regions by averaging neighbouring pixels. The catch: these filters cannot tell noise from real texture, so they soften edges and smear fine detail. Push the luminance slider too far and hair, foliage and fabric turn to plastic.
AI denoising instead uses a neural network trained on millions of examples to recognise and reconstruct real detail. When Adobe launched its Denoise feature in Camera Raw 15.3 and Lightroom Classic 12.3, the team noted the models are trained on “millions of pairs of high-noise and low-noise image patches” so they learn to go from one to the other.
How AI Noise Reduction Actually Works
At the core is a deep convolutional neural network — one in which what happens to a pixel depends on the pixels around it. To judge whether a bright speck is noise or detail, the network reads the surrounding context, much as a reader understands a word from the words around it. A speck in a smooth sky is probably noise; one forming part of a branch or fabric thread is probably detail.
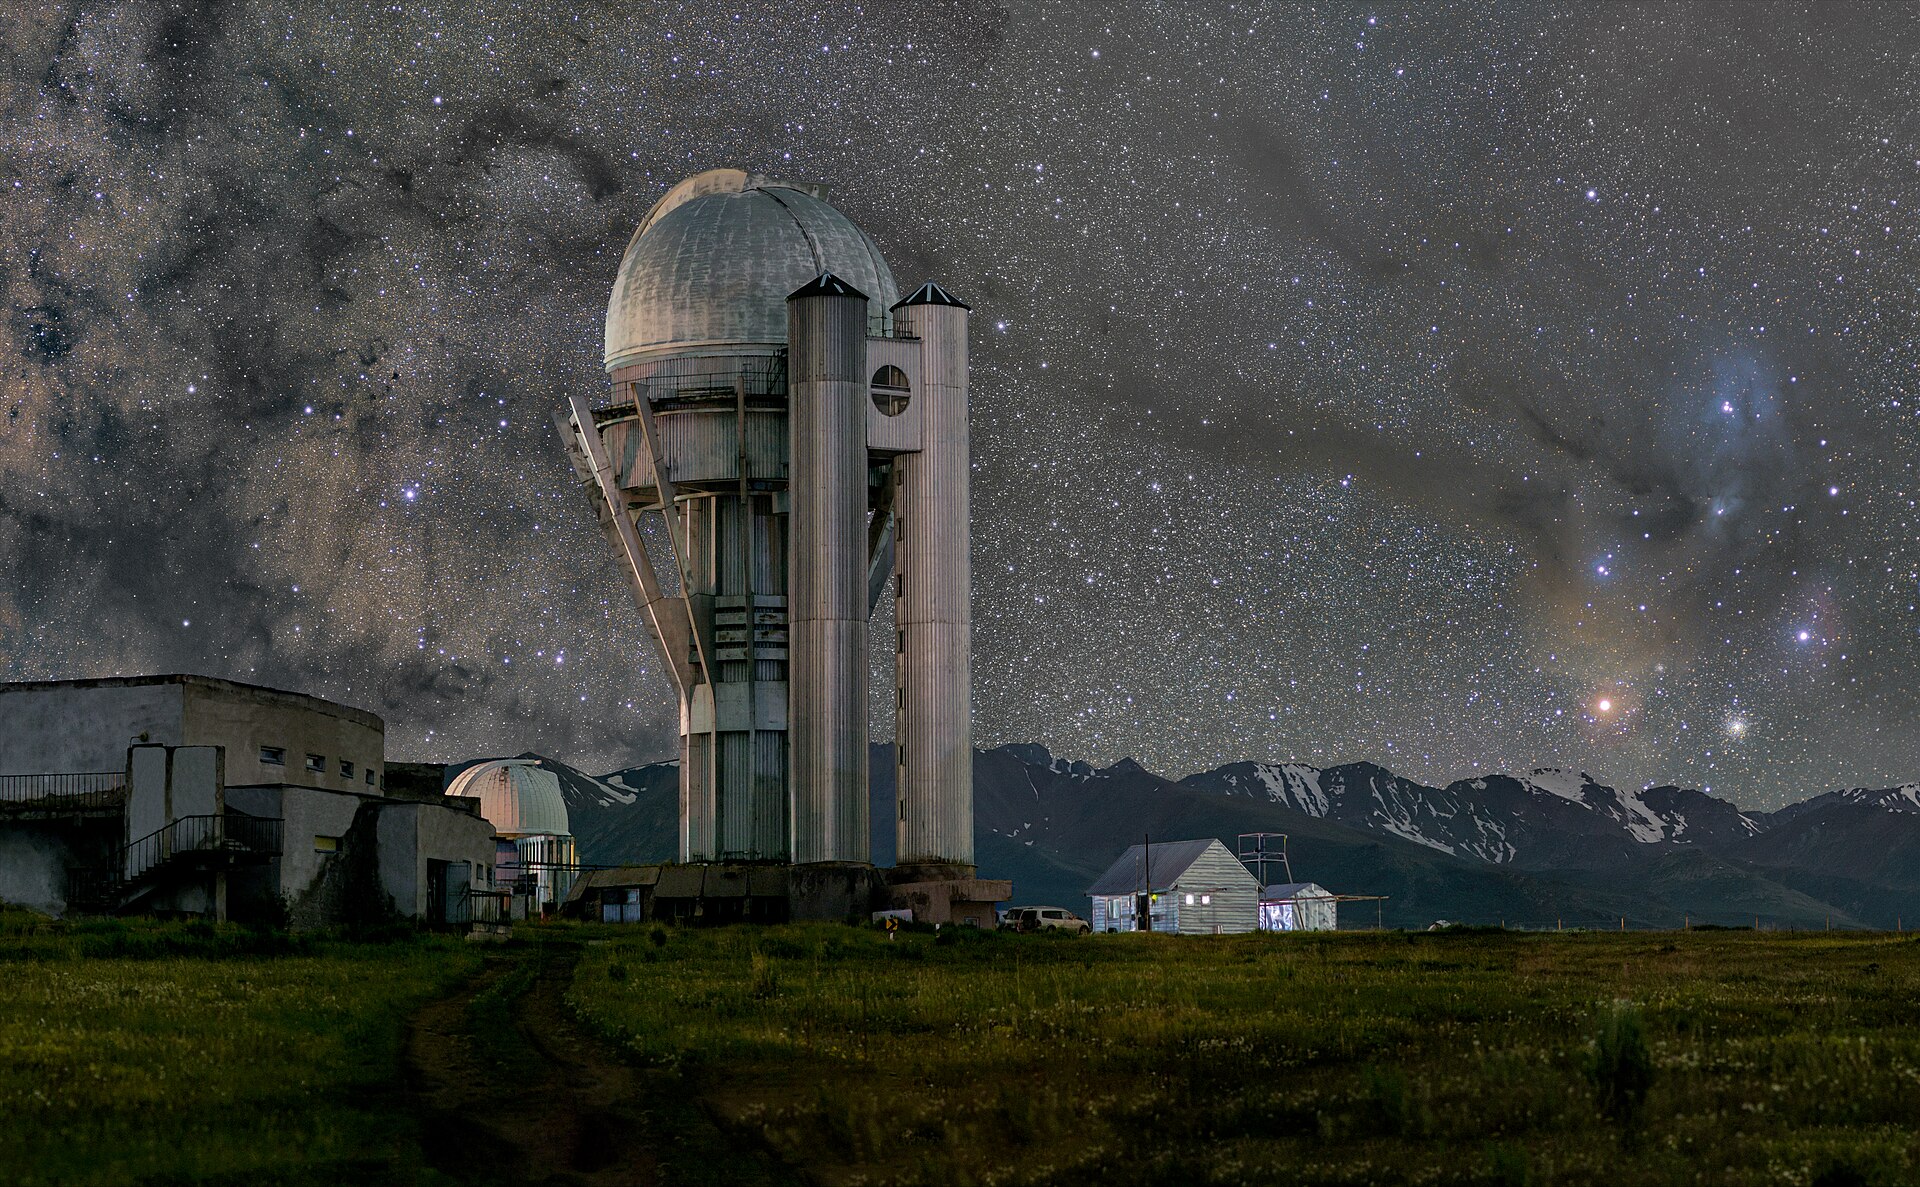
Training is the hard part. The network needs clean ground-truth images paired with noisy versions of the same scenes. Some approaches — including Adobe’s Denoise — also train on “dark frames” (shots with the lens cap on) to learn what pattern noise looks like in shadows. Google researchers went further with “unprocessing,” inverting a camera’s image pipeline to synthesise realistic raw data from ordinary internet photos and build huge training sets without shooting noisy images by hand.
Two details separate AI denoising from a simple “smart blur.” Many tools perform denoising and demosaicing together, rebuilding the full-colour image from raw data and removing noise in one step, which preserves far more detail. And because models train directly on raw data, they work best on raw files, not processed JPEGs. Adobe’s Denoise even outputs a new DNG file, so you keep full raw-editing flexibility.
Raw vs. JPEG: Why AI Denoising Loves Raw Files
AI denoising is dramatically more effective on raw files, which still hold unprocessed sensor readings — so the model separates signal from noise before demosaicing, white balance and tone curves bake it in. DxO’s DeepPRIME and DeepPRIME XD are built specifically to denoise raw Bayer and X-Trans data, and DxO claims its latest generation recovers the equivalent of two to three extra stops of ISO detail versus conventional conversion. On a JPEG, much of that information is already lost, leaving AI tools far less to work with.
This is also why smartphone night modes impress: phones capture several raw frames and let machine learning merge and denoise them before saving — the computational equivalent of shooting at a lower ISO.
Where to Use AI Denoising (and Where to Be Careful)
AI denoising shines on high-ISO shots: indoor events, night cityscapes, astrophotography and wildlife at dawn or dusk. Adobe recommends applying Denoise early in the workflow, before healing and masking, because tools like Content-Aware Remove and Select Subject are affected by noise and work best from a clean start.
A few caveats. AI denoising is GPU-hungry — Adobe suggests at least 8 GB of GPU memory, and Apple silicon or NVIDIA RTX cards speed it up substantially. It is not magic: no tool fully rescues a photo that captured too little light, so exposing to the right in the field still matters. And watch for over-processing — the tell-tale waxy look where skin and texture lose their natural grain.
Conclusion
AI noise reduction is one of the biggest leaps in photo editing in years. By training neural networks to tell real detail from random noise, Adobe Denoise, DxO DeepPRIME and Topaz Photo AI recover clean, sharp images from files that would have been unusable a decade ago. Shoot raw, expose well, and apply AI denoising early — then let the neural network do the heavy lifting.
FAQ
Does AI noise reduction work on JPEGs?
Yes, but with weaker results. Raw files retain the original sensor data, giving the model far more information to work with. JPEGs have already been demosaiced and compressed, so detail is harder to recover.
Is AI noise reduction the same as sharpening?
No. Sharpening increases edge contrast, while denoising removes random sensor noise. Many AI tools do both in a single pass, but they are separate goals.
Will AI denoising make my photos look fake?
Only if overused. Applied in moderation, modern AI denoising preserves natural texture; aggressive settings can produce a waxy, plastic look, so dial it back if skin or fabric starts to look unnatural.
Related Posts

How Portrait Mode Creates Fake Bokeh: The Computational Illusion Behind Your Photos
Open your phone's camera, switch to Portrait Mode, and photograph…
AI Scene Detection and Auto-Enhancement: How Your Phone’s Camera Sees What You See
What Is AI Scene Detection? Point your phone at a…
The Future of Computational Photography: Software Is Becoming the Camera
For most of photography’s history, better pictures meant better glass:…