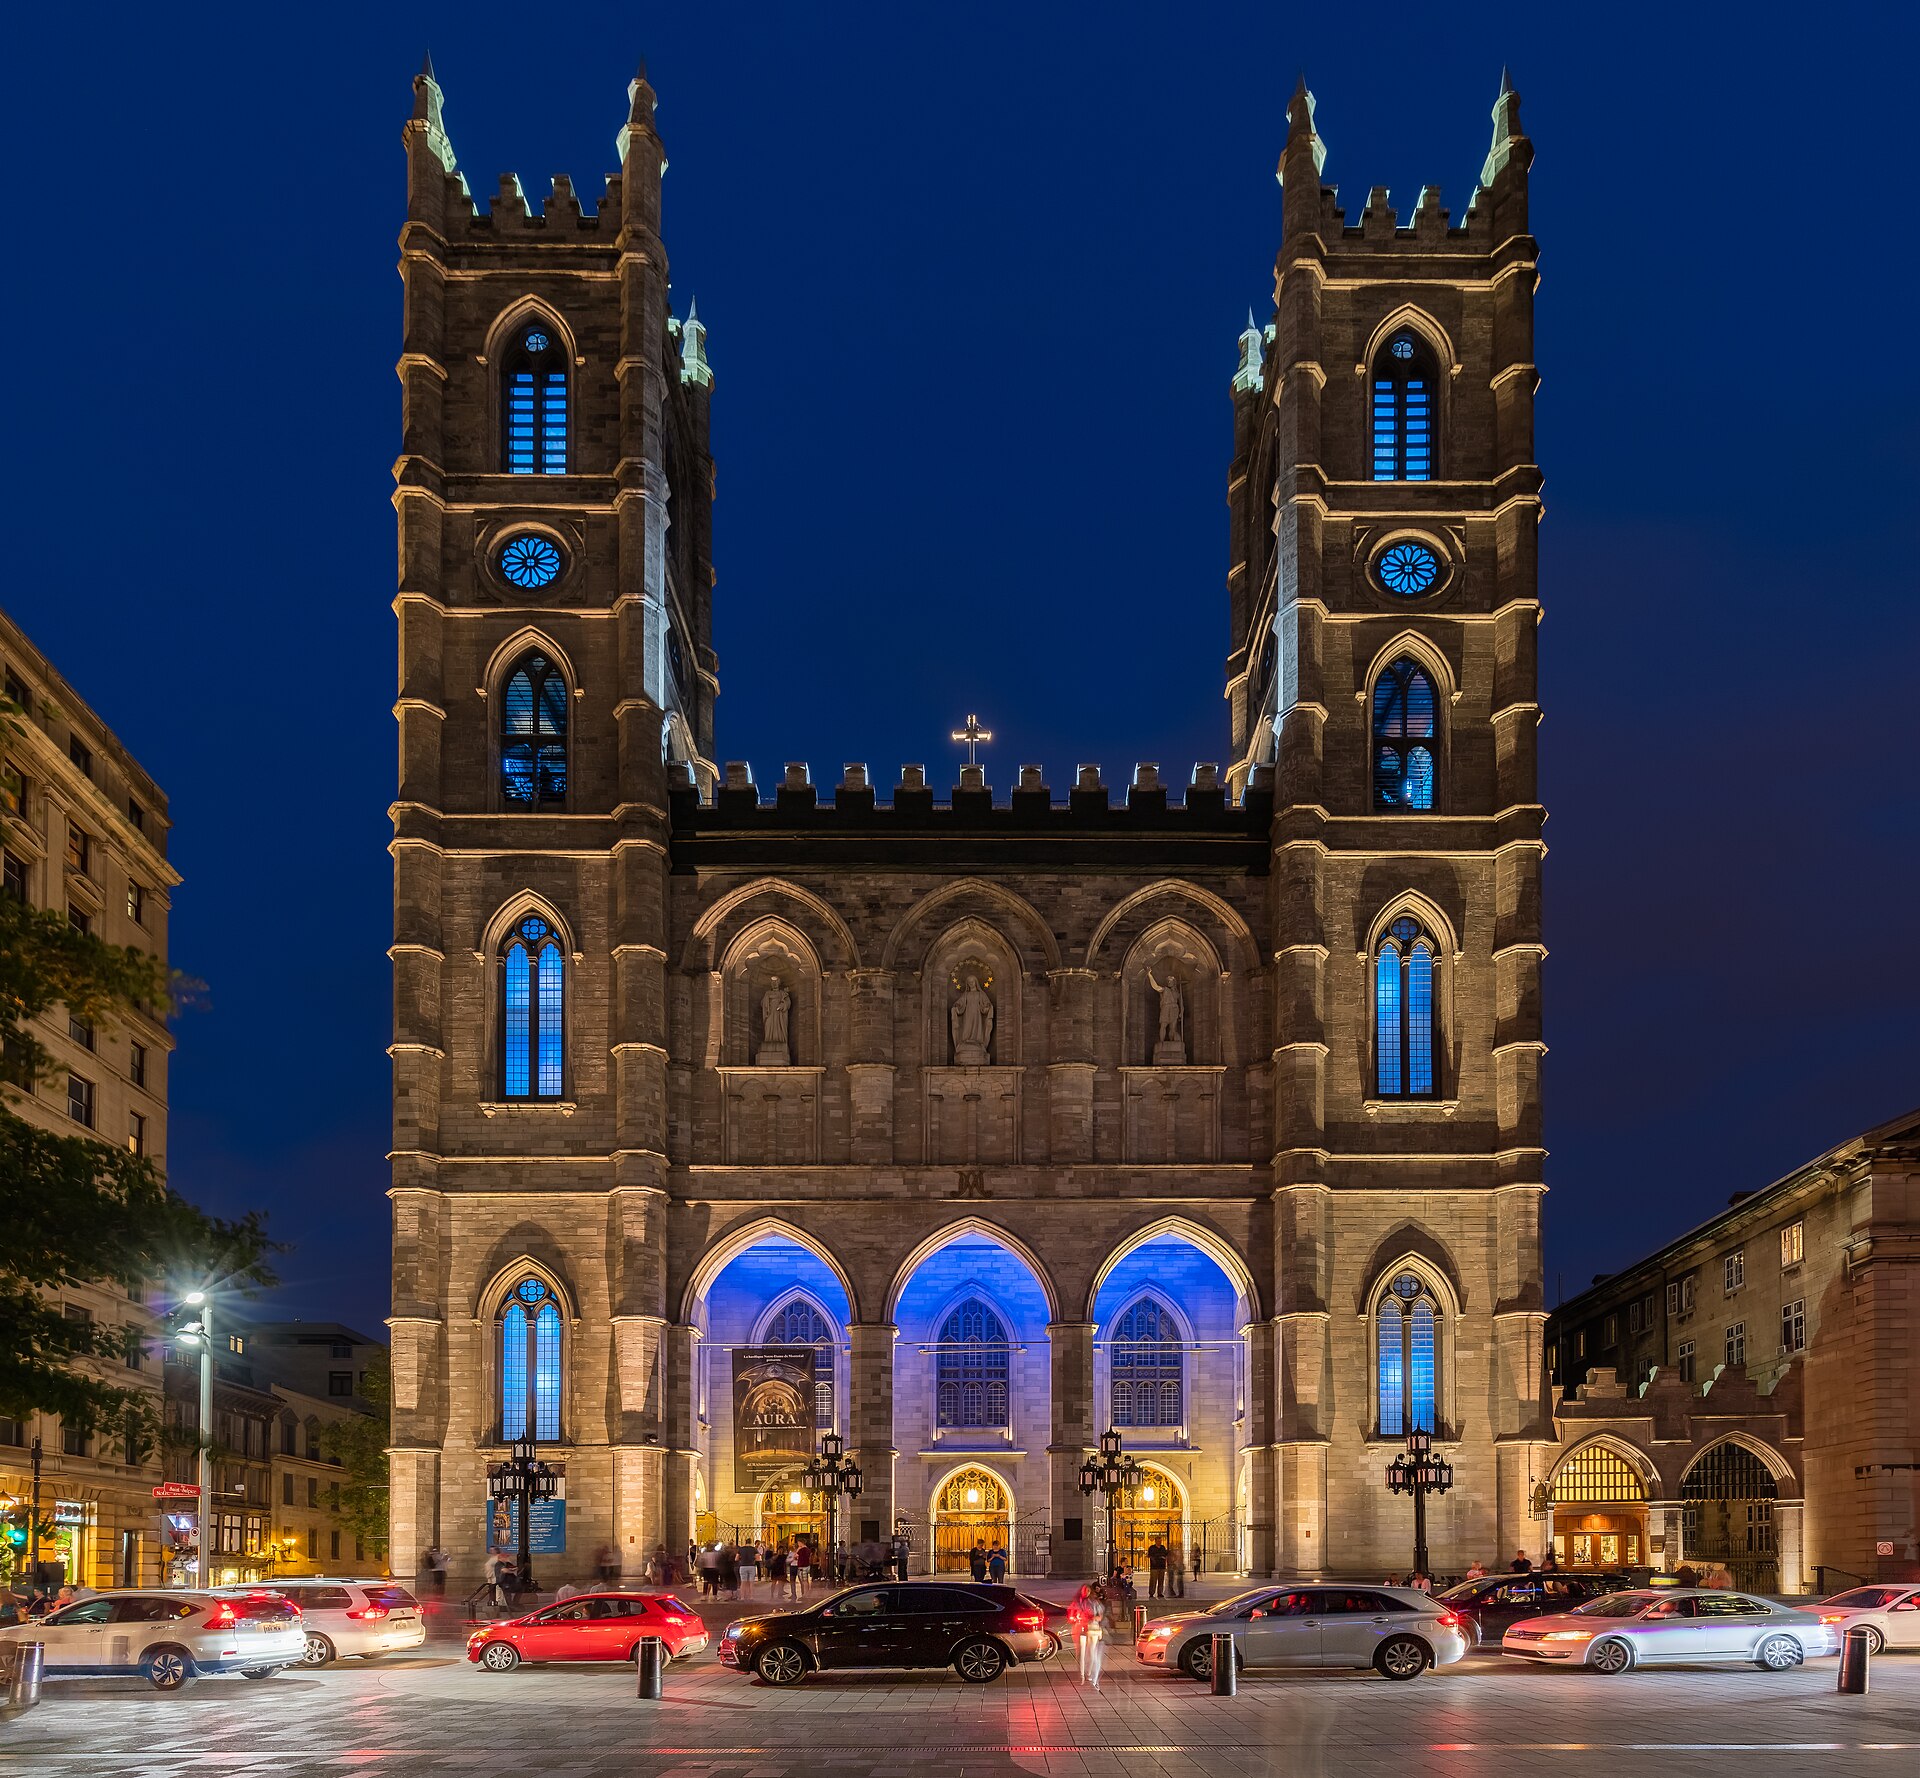
Point your camera at a sunset, a church interior, or a city skyline at dusk and you will quickly hit a familiar wall: expose for the bright sky and the foreground falls into black shadow; expose for the shadows and the sky blows out to pure white. Your eyes see detail everywhere at once, but a single photo cannot. High dynamic range (HDR) photography is the technique that closes that gap.
What Is Dynamic Range (and Why Your Camera Struggles)
Dynamic range is the ratio between the brightest and darkest tones an image can record, measured in stops or exposure values (EV), where one stop equals a doubling or halving of light. A flat, overcast scene might hold only a few stops of contrast, while a backlit window against a dark room can span 15 stops or more. As a rule of thumb, a photo with under about 4 stops of range is considered low dynamic range, while 8 or more stops counts as high dynamic range.
A camera sensor records only a finite range in a single exposure. Tones brighter than that range blow out to pure white; tones below it are crushed to pure black — and no amount of editing recovers detail that was never captured. The human eye, by contrast, adapts constantly and perceives a far wider range, which is exactly why scenes that look fine in person often disappoint on the memory card.
How HDR Works: Exposure Bracketing
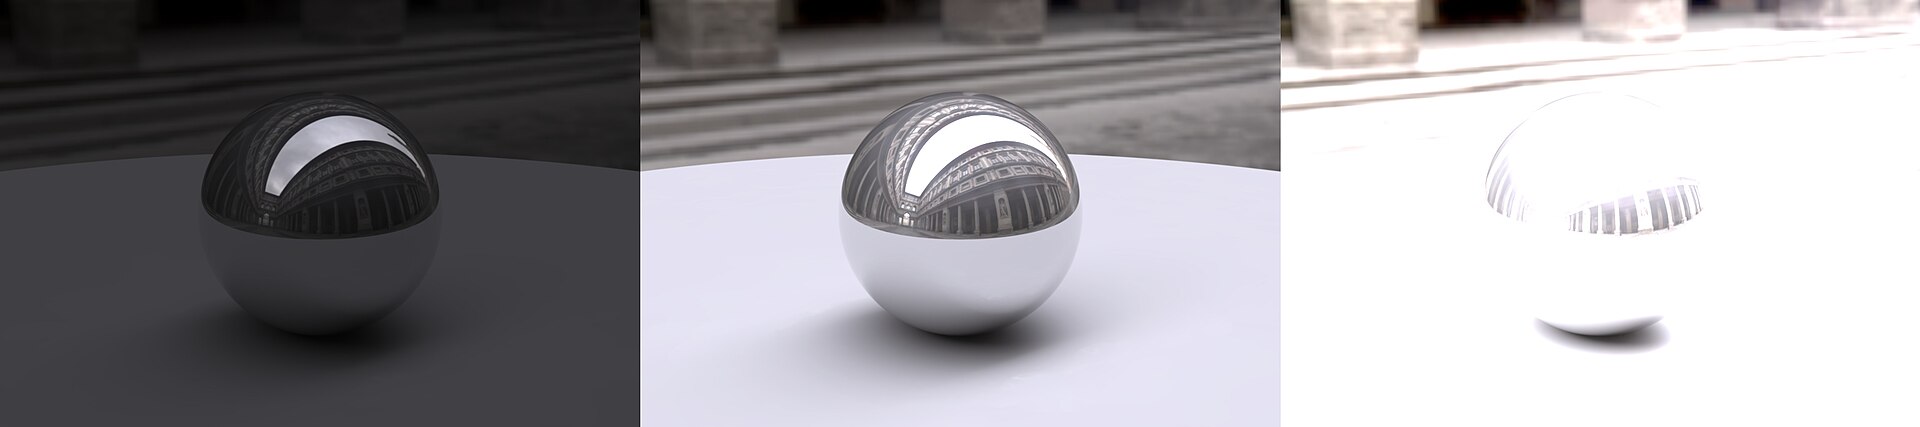
The core idea is simple: instead of one exposure, take several and combine them. This is called exposure bracketing. You shoot three frames of the same scene — one underexposed to hold detail in the highlights, one normally exposed for the mid-tones, and one overexposed to open up the shadows. Each frame captures a different slice of the tonal range; merged together, they cover the full range.
One detail matters more than any other: vary the shutter speed, not the aperture. Changing the aperture also changes depth of field, so the frames would no longer line up. Keep the camera on a tripod so the frames match exactly, and keep the scene still — any movement between shots produces ghosting, the telltale doubled edge where a subject shifted between frames.
Merging and Tone Mapping: From Bracket to Final Image
Once you have your bracket, software such as Adobe Lightroom, Photoshop, Photomatix, or Nik HDR Efex Pro merges the frames into a single file that holds all the tonal information. That file contains more dynamic range than your screen can display, so a second step — tone mapping — compresses the range back down while preserving local contrast, so highlights, shadows, and mid-tones all stay visible.
This is also where HDR gets its reputation, for better and worse. Done gently, tone mapping produces a natural image that simply looks the way the scene felt. Pushed too far, it produces the over-processed “nuclear” look, with halos, oversaturated color, and flat grey shadows. The most useful skill in HDR is knowing when to stop.
In-Camera HDR, Smartphones, and Modern Approaches
You don’t always need software anymore. Most DSLRs, mirrorless cameras, and smartphones offer an automatic HDR mode that captures and merges a bracket in-camera. Canon introduced its first dedicated in-camera HDR mode in 2012 with the EOS 5D Mark III, and the feature has been standard on most cameras ever since.
Smartphones take the idea further with computational photography. Google’s HDR+ mode, introduced on the Nexus 5 and Nexus 6 in 2014, fires a rapid burst of underexposed frames, aligns them, and averages them pixel by pixel to lift dynamic range and cut noise in a fraction of a second. Newer cameras go a different route: instead of merging frames, they record a wider range in a single 10-bit HEIF file (often called HDR PQ), avoiding ghosting entirely and letting you shoot moving subjects.
When to Use HDR (and When to Skip It)
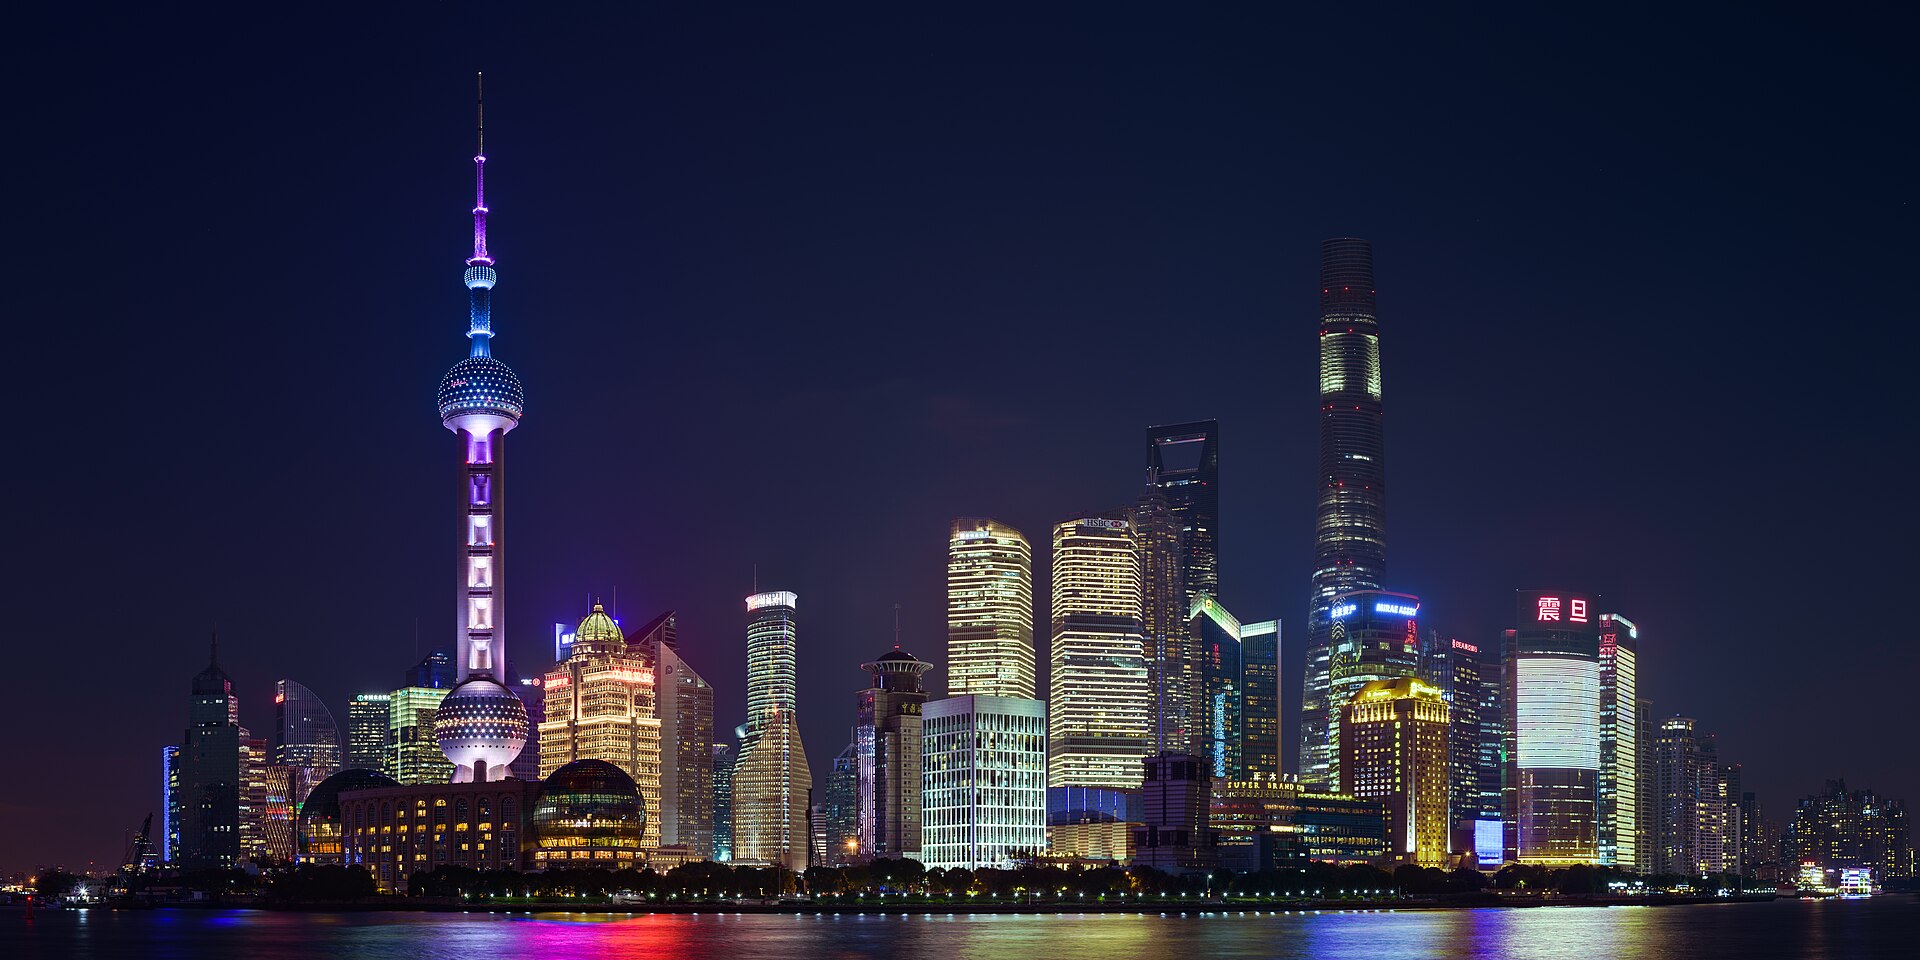
HDR shines on static, high-contrast scenes: sunsets and sunrises, landscapes with bright sky and dark foreground, interiors with windows, architecture, and night cityscapes. It is the wrong tool when there is motion in the frame, when you want deep, dramatic shadows on purpose (portraits, silhouettes), or when the scene is already low-contrast — applying HDR to a flat scene just adds noise and a fake look.
Conclusion
HDR photography is, at heart, a way to work around a camera’s limits and record a scene closer to the way your eyes see it. Master exposure bracketing on a tripod, merge carefully, and use a light touch with tone mapping — and you will bring back detail in the shadows and highlights that a single exposure simply throws away.
FAQ
Do I need a tripod for HDR?
For traditional bracketed HDR, yes — the frames must align exactly. Some software can auto-align handheld brackets, and in-camera or single-shot HDR modes don’t need one, but a tripod gives the cleanest results.
How many exposures do I need?
Three (underexposed, normal, overexposed) covers most scenes. Very high-contrast scenes may benefit from five or seven. Shoot RAW for maximum latitude when merging.
Why do my HDR photos look fake?
Over-aggressive tone mapping. Ease off the strength slider, keep colors natural, and avoid lifting shadows so far that the image loses contrast and takes on a grey, haloing look.
Related Posts
Understanding ISO in Photography: A Complete Beginner’s Guide
Exposure is the foundation of every photograph, and three settings…
Aperture and Depth of Field Explained: A Complete Beginner’s Guide
Aperture is one of the three pillars of the exposure…
Exposure Bracketing Explained: How to Capture Perfect Exposures Every Time
Have you ever photographed a sunset where the sky glows…