Before your camera can set a correct exposure, it has to measure the light reflecting off the scene in front of it. That measurement is called metering, and every camera lets you control how the reading is taken through its metering modes. Get the mode right and tricky lighting stops ruining your shots — get it wrong and even an expensive camera will keep missing the exposure.
What Is Metering, and Why It Matters
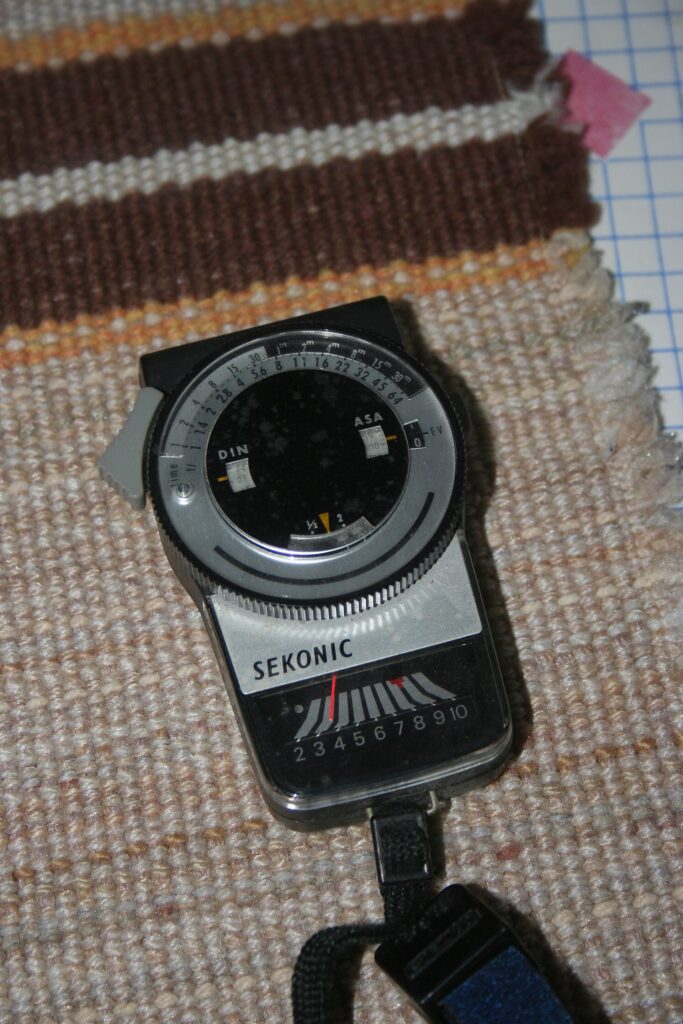
Every time you half-press the shutter button, your camera’s built-in light meter samples the light reflecting off the scene and calculates a brightness value. From that value it works out the shutter speed, aperture, and ISO needed for a “correct” exposure. The catch is that meters are calibrated to assume every scene averages out to middle gray — roughly 18% reflectance. A bright snowy field and a dark concert stage both get pulled toward that same gray, which is why a camera on full auto can under-expose snow or over-expose a spotlight.
Metering modes change which parts of the frame the camera reads and how heavily it weights each area. Choose the right one and you control the exposure instead of fighting it.
The Four Main Metering Modes
Evaluative (Matrix) Metering
Called Evaluative on Canon, Matrix on Nikon, and Multi on Sony and Fujifilm, this is the default mode on virtually every camera. It divides the frame into many zones, then compares brightness, color, and even the position of your focus point against an onboard database of typical scenes before settling on an exposure. It is the best all-around choice for evenly lit, everyday scenes — the mode most photographers leave the camera on by default.
Center-Weighted Metering
Center-weighted metering reads the whole frame but gives the greatest priority to a large area in the middle, largely ignoring the edges and corners. The result is predictable and consistent, which is why it was the standard for decades of film photography and why many portrait photographers still prefer it: it protects a centered subject from being thrown off by bright or dark backgrounds.
Spot Metering
Spot metering reads only a tiny area — typically 1% to 5% of the frame, often tied to the active focus point — and ignores everything else. That gives you precise control in high-contrast situations such as backlit portraits, stage performers under a spotlight, or a subject against a bright sky. Metering on a subject’s face keeps the face correctly exposed even when the background goes dark or bright. The trade-off is that you must aim the spot at the right tone; point it at the wrong thing and the exposure can swing wildly.
Partial Metering
Partial metering, found mainly on Canon cameras, is a wider cousin of spot metering, covering roughly 6% to 15% of the frame around the center. It is more forgiving than a tight spot while still ignoring distracting bright or dark areas at the edges — handy for backlit subjects that fill a modest part of the frame.
How to Choose the Right Metering Mode
There is no single “correct” mode — only the right one for the light in front of you. As a starting point:
- Even light, general shooting: Evaluative / Matrix — reliable and hands-off.
- Portraits and centered subjects: Center-weighted — stable exposure that protects the subject.
- Backlight, spotlights, and high contrast: Spot — meter the face or the key highlight for precise control.
- Backlit subjects larger than a spot: Partial — a balance between spot and center-weighted.
Learn to read a scene’s contrast before you shoot. If the lighting is flat, the mode barely matters. The moment a bright window or a deep shadow enters the frame, your choice of metering mode becomes the difference between a washed-out or silhouetted image and a correctly exposed one.
Metering and Exposure Compensation
Metering modes tell the camera where to look; exposure compensation tells it what to do with the reading. When a scene is dominated by snow, sand, or a white wall, even a well-chosen metering mode can be fooled into under-exposing, because those bright surfaces reflect more light than middle gray. In those cases, dial in +1 to +2 stops of exposure compensation to bring the highlights back to white. For a dark, moody scene, use negative compensation to keep the shadows deep. Pairing the right metering mode with a small compensation adjustment is how experienced photographers fine-tune exposure without guessing.
Conclusion
Metering modes are one of the simplest exposure controls to overlook and one of the easiest to master. Start with Evaluative / Matrix for everyday scenes, switch to center-weighted for centered portraits, and reach for spot or partial metering whenever the lighting turns harsh or high-contrast. Once you understand where your camera is looking, you can predict its decisions — and override them on purpose rather than by accident.
FAQ
Which metering mode is best for beginners?
Evaluative (Matrix / Multi) metering is the best starting point. It handles evenly lit scenes well and only needs to be changed in difficult light.
Does spot metering follow the focus point?
On most modern cameras, yes — the spot can be linked to the active autofocus point, so you meter exactly where you focus. Check your camera’s settings if you want the spot locked to the center instead.
Why are my snow photos coming out gray?
Meters assume scenes average to middle gray. Bright snow reflects more light than that, so the camera under-exposes it. Add +1 to +2 stops of exposure compensation to restore white snow.
Related Posts

Focus Modes Explained: AF-S, AF-C and Manual Focus
Every time you half-press the shutter button, your camera has…
Shutter Speed Explained: How to Freeze and Blur Motion
Shutter speed is the setting that decides whether a racing…
Focal Length and Perspective Explained: What Your Lens Really Does
What Is Focal Length? Technically, focal length is the distance…