Every photographer eventually notices them: faint dark spots that appear in the same place in every frame, most visible against clear skies and bright walls at small apertures. Those specks are not on your lens — they are dust sitting on the sensor’s filter stack, and almost every interchangeable-lens camera collects them over time. The good news is that sensor cleaning is a learnable, low-risk routine with the right tools, and a few simple maintenance habits can dramatically reduce how often you need to do it. This guide walks through how to diagnose sensor dust, the dry and wet cleaning methods, the mistakes that damage gear, and a maintenance routine that keeps your camera — and your images — clean.
How to Know When Your Sensor Needs Cleaning
Before touching anything, confirm the spots are actually on the sensor. Set the aperture to a small value — f/16 or f/22 — point the camera at a plain bright surface such as an overcast sky or a white wall, and take a shot slightly out of focus. Open the image at 100% zoom on a computer, not the camera’s small LCD. If the same dark spots appear in identical positions across multiple lenses, they are sensor dust, not smudges on the front element.
Sensor dust is most visible at small apertures because the narrow opening makes out-of-focus particles cast sharper, darker shadows on the imaging area. If you rarely stop down past f/5.6 you may never notice it — which is exactly why a periodic f/16 or f/22 test shot is a good habit, ideally every few months.
Dry Cleaning: The Safest First Step
Always start with the least invasive method. Most bodies built in the last decade or so include a built-in cleaning mode that vibrates the sensor assembly to shake dust loose. Run it from the menu first — on Canon, Sony, Nikon and Fujifilm bodies it usually lives under a “Sensor Cleaning” or “Setup” heading — then repeat the test shot to see whether the spots cleared.
.jpg)
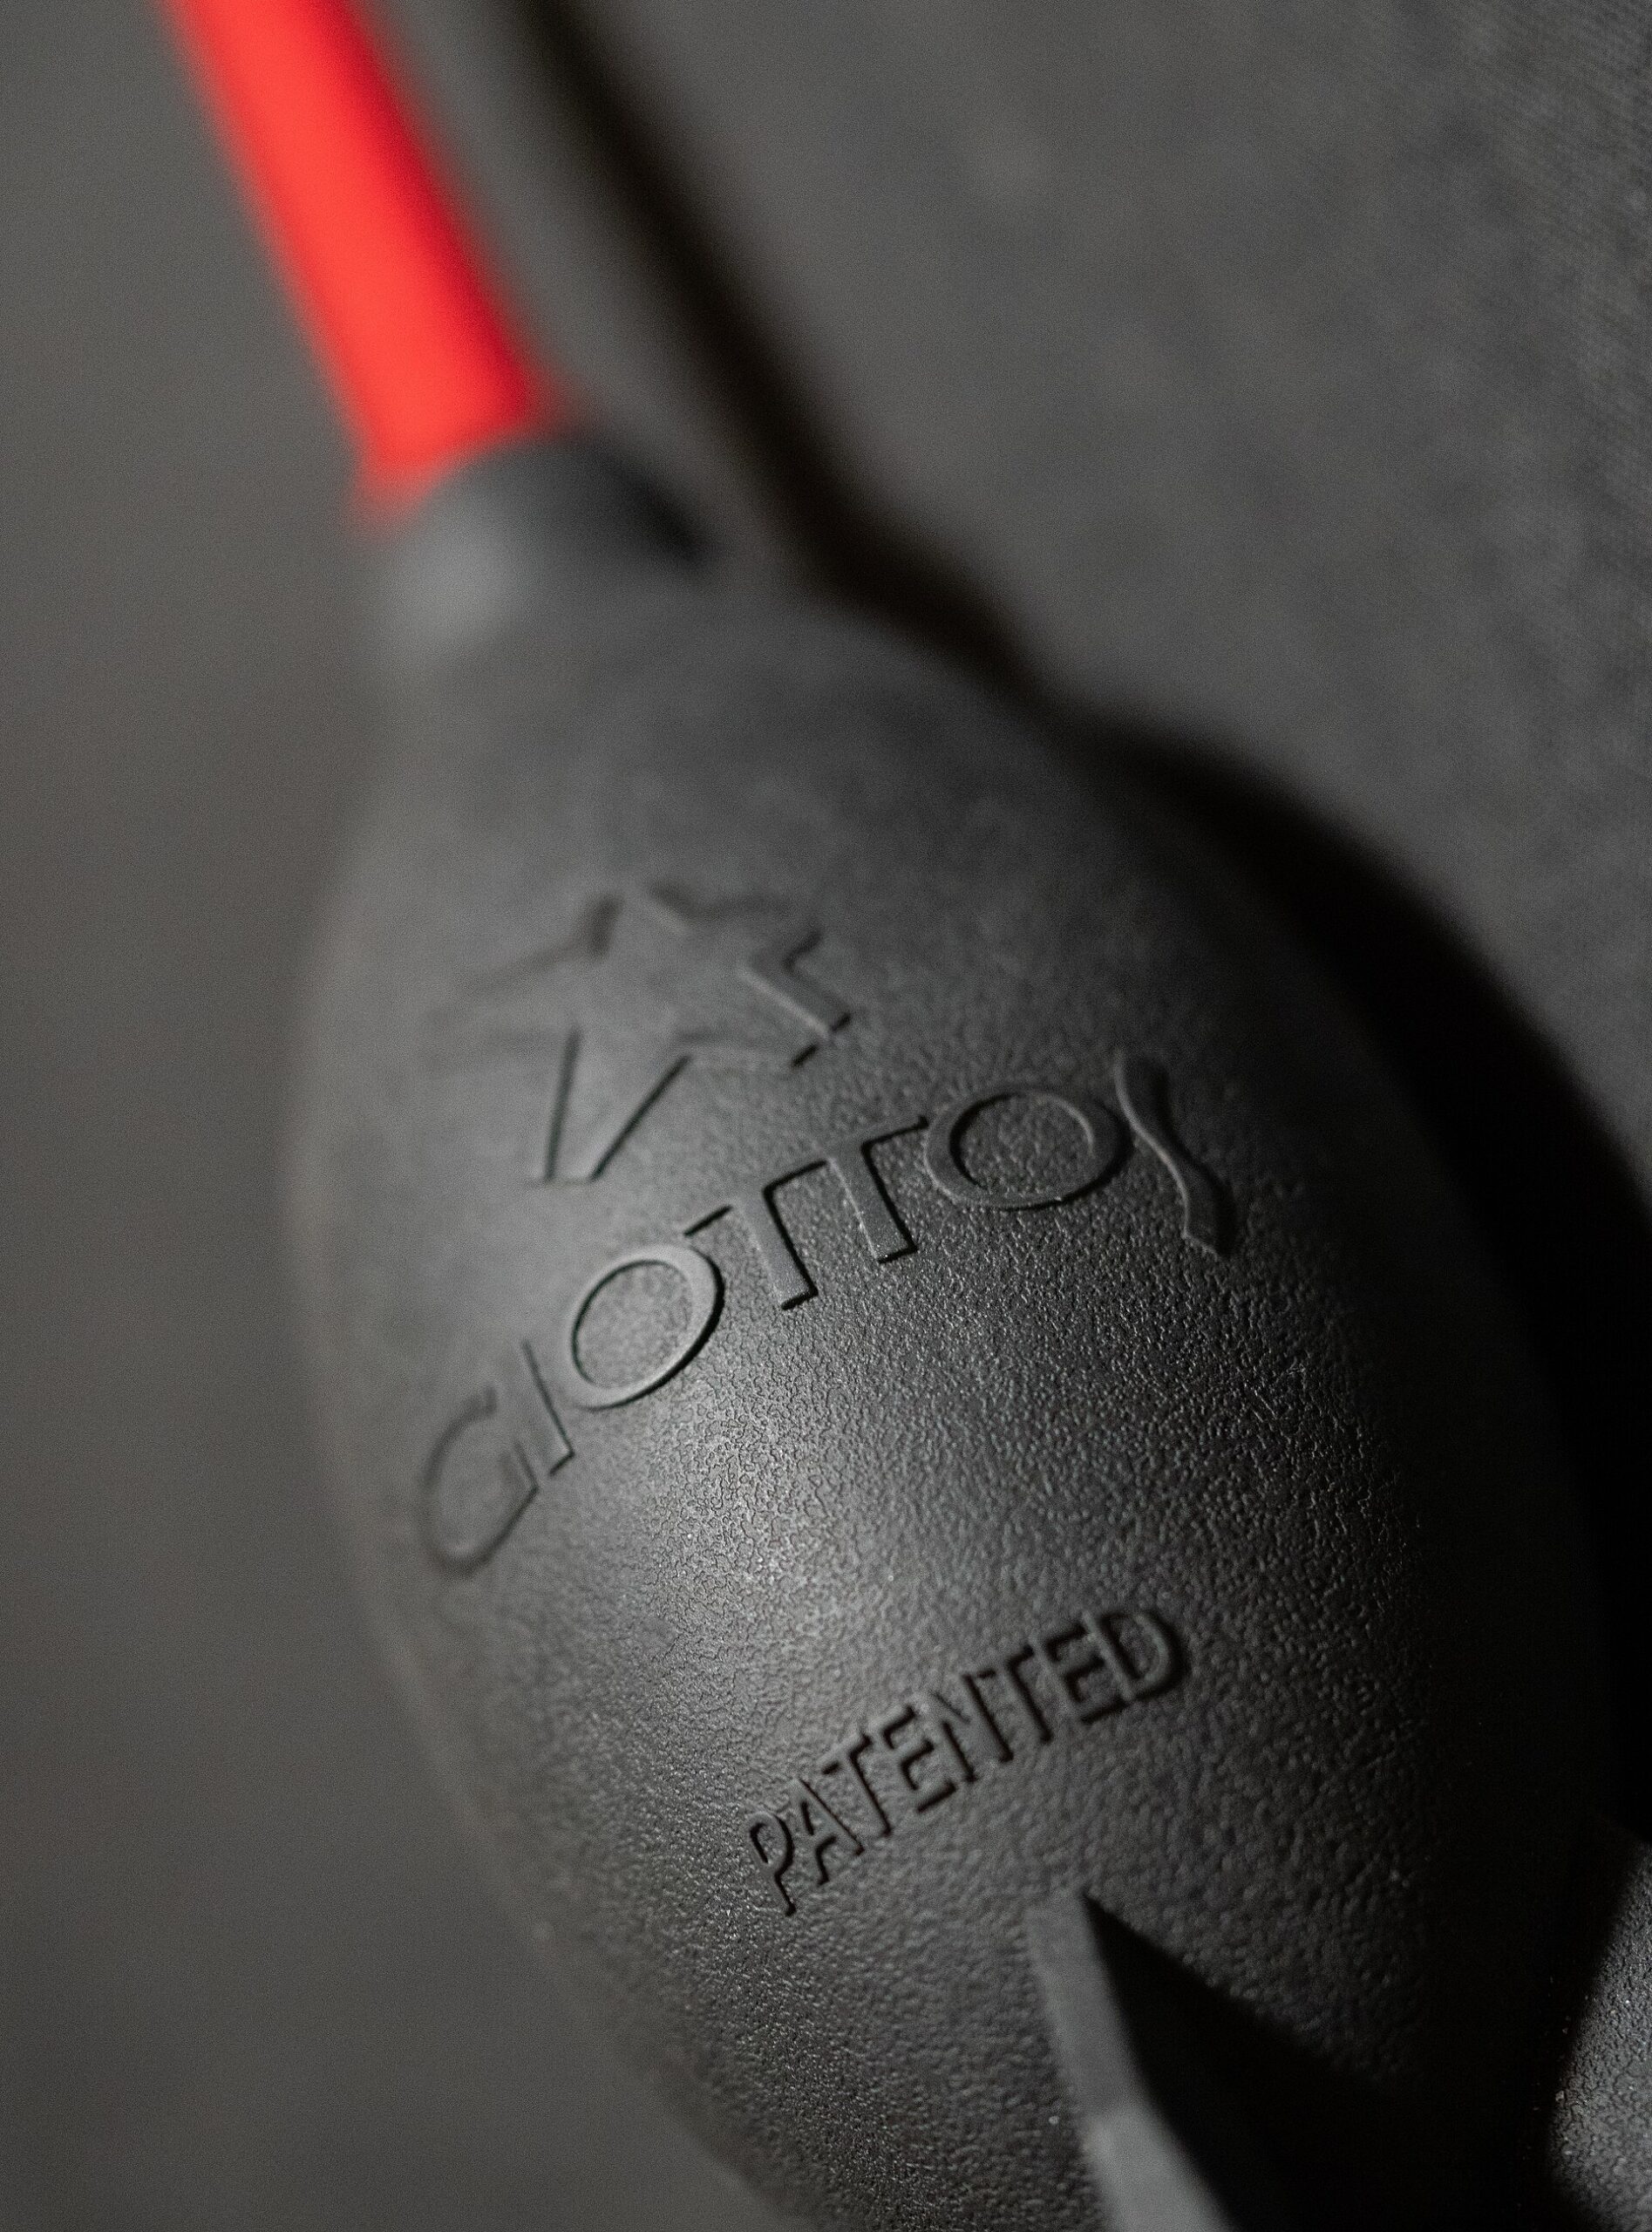
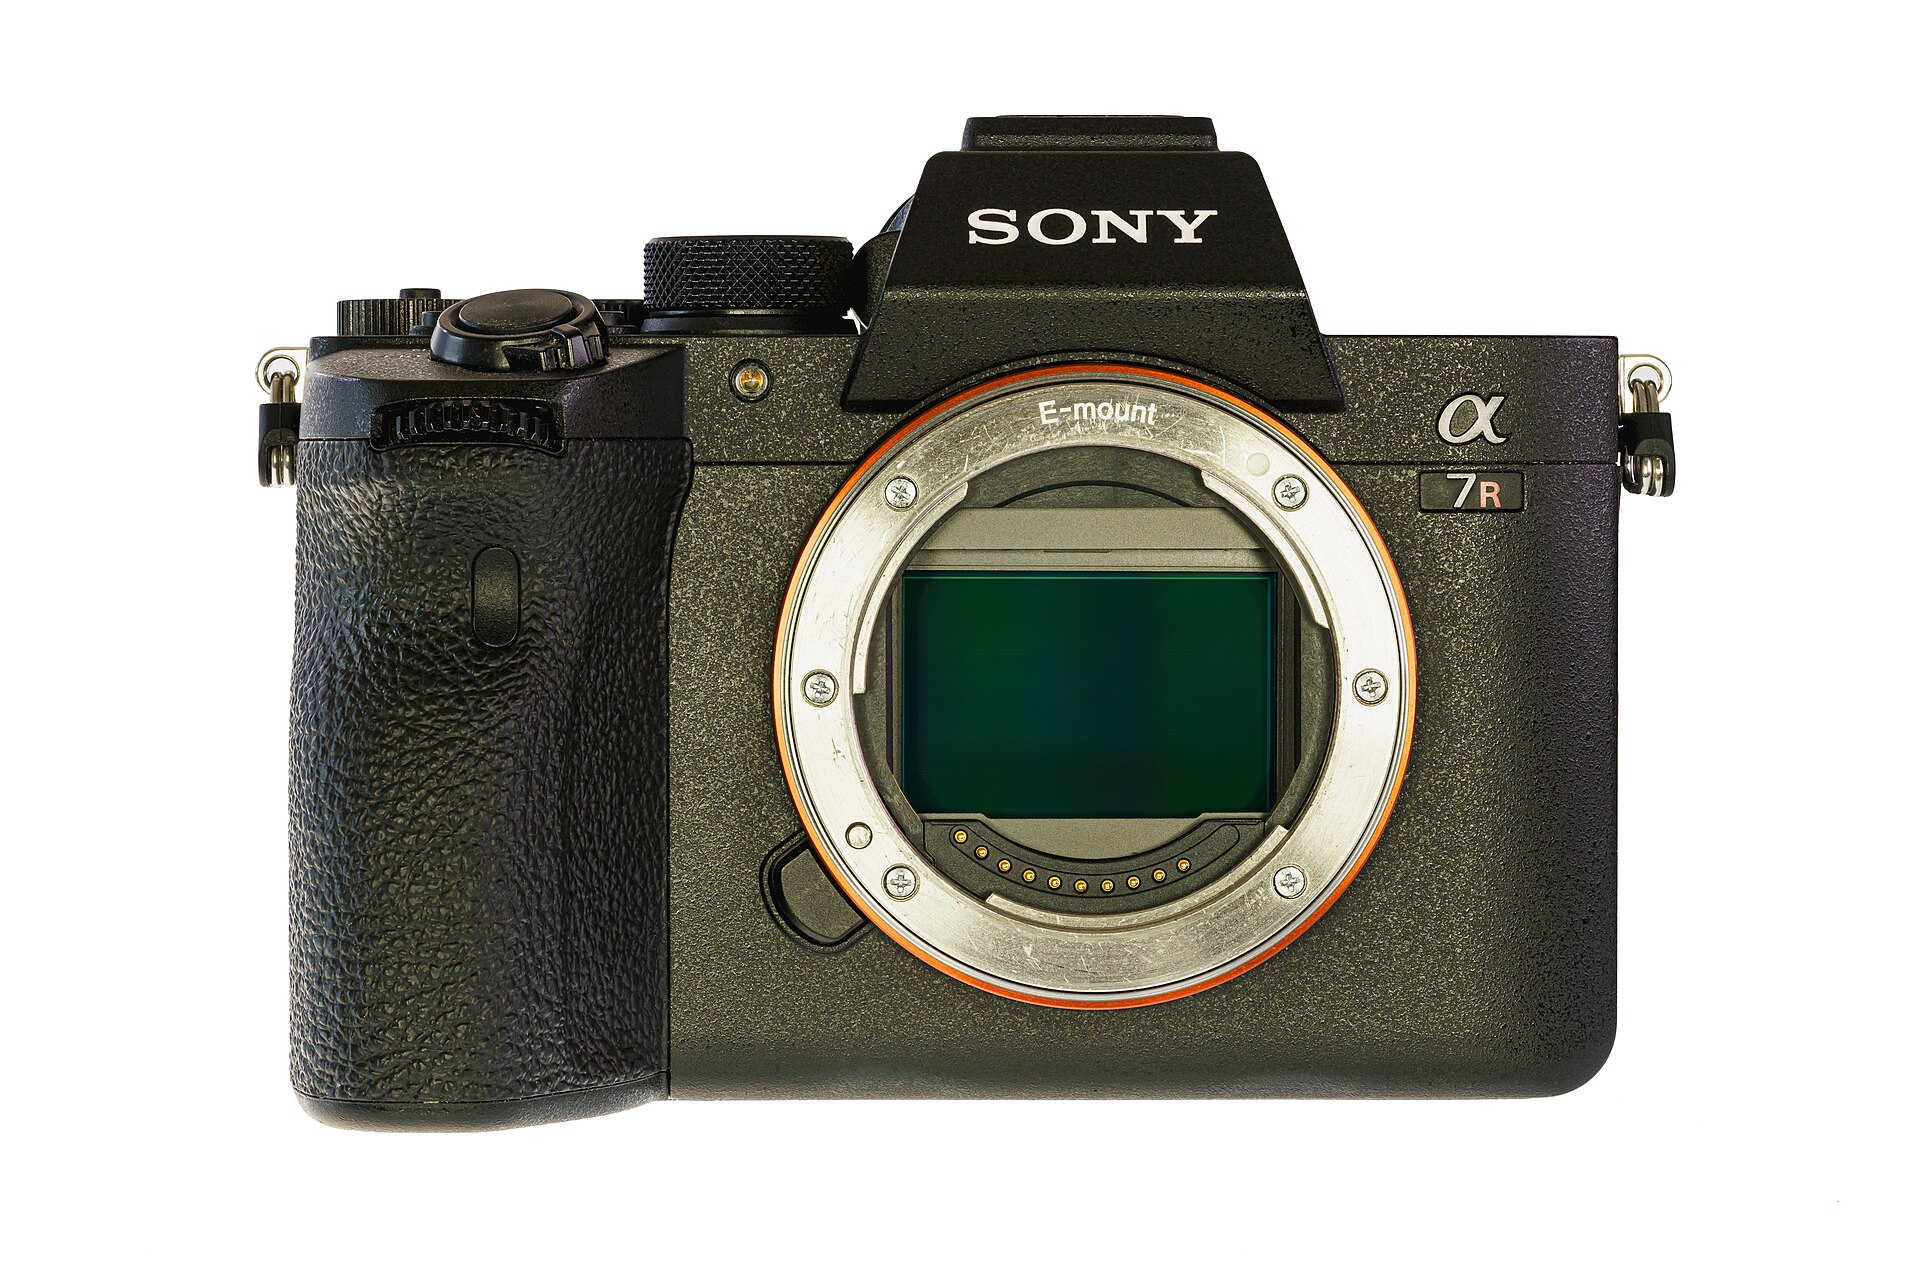
If spots remain, power the camera off and remove the lens. On a mirrorless body the sensor sits exposed behind the mount; on a DSLR use the sensor-cleaning or mirror-lockup setting to raise the mirror out of the way. Point the mount downward and use a rocket-style air blower — never canned compressed air — held just outside the opening, giving three to five short bursts. Do not let the blower tip enter the mount, and never touch the sensor surface. This step alone clears a surprising share of everyday dust.
Wet Cleaning: For Stubborn Spots and Oil
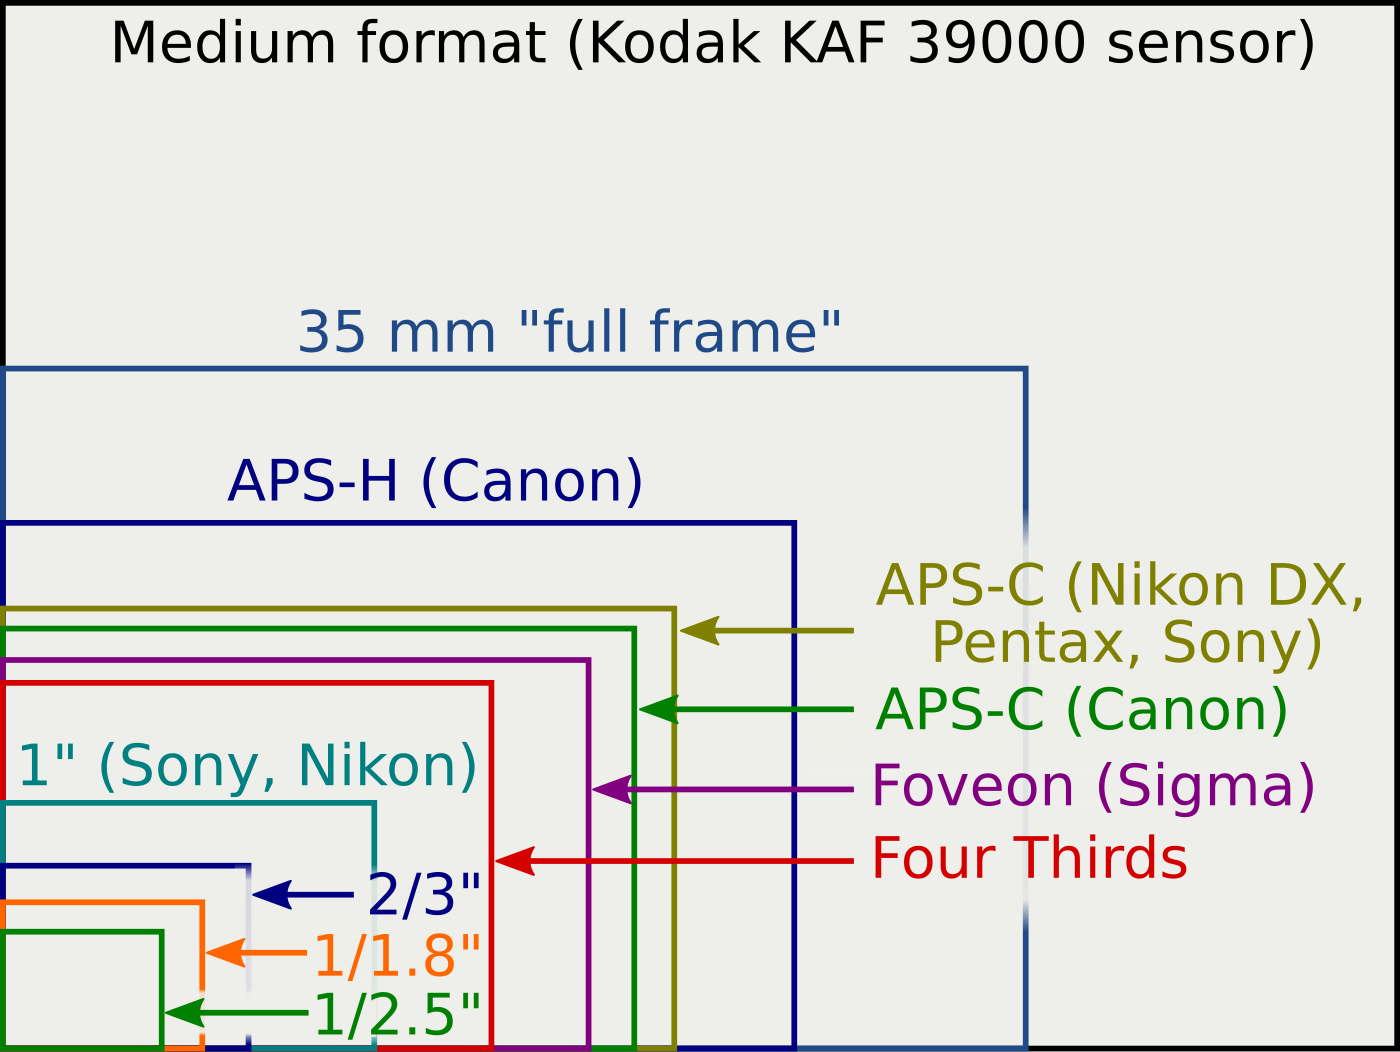
When a blower cannot shift a speck — sticky pollen, a smear, or an oil spot from a lens change — wet cleaning is the next step, and it is more straightforward than it sounds with the right kit. You need a sensor swab sized to your format (APS-C, full-frame and Micro Four Thirds all use different widths) and a fluid made specifically for sensors, such as a methanol-based cleaner. Lens cleaning fluid is not a substitute.
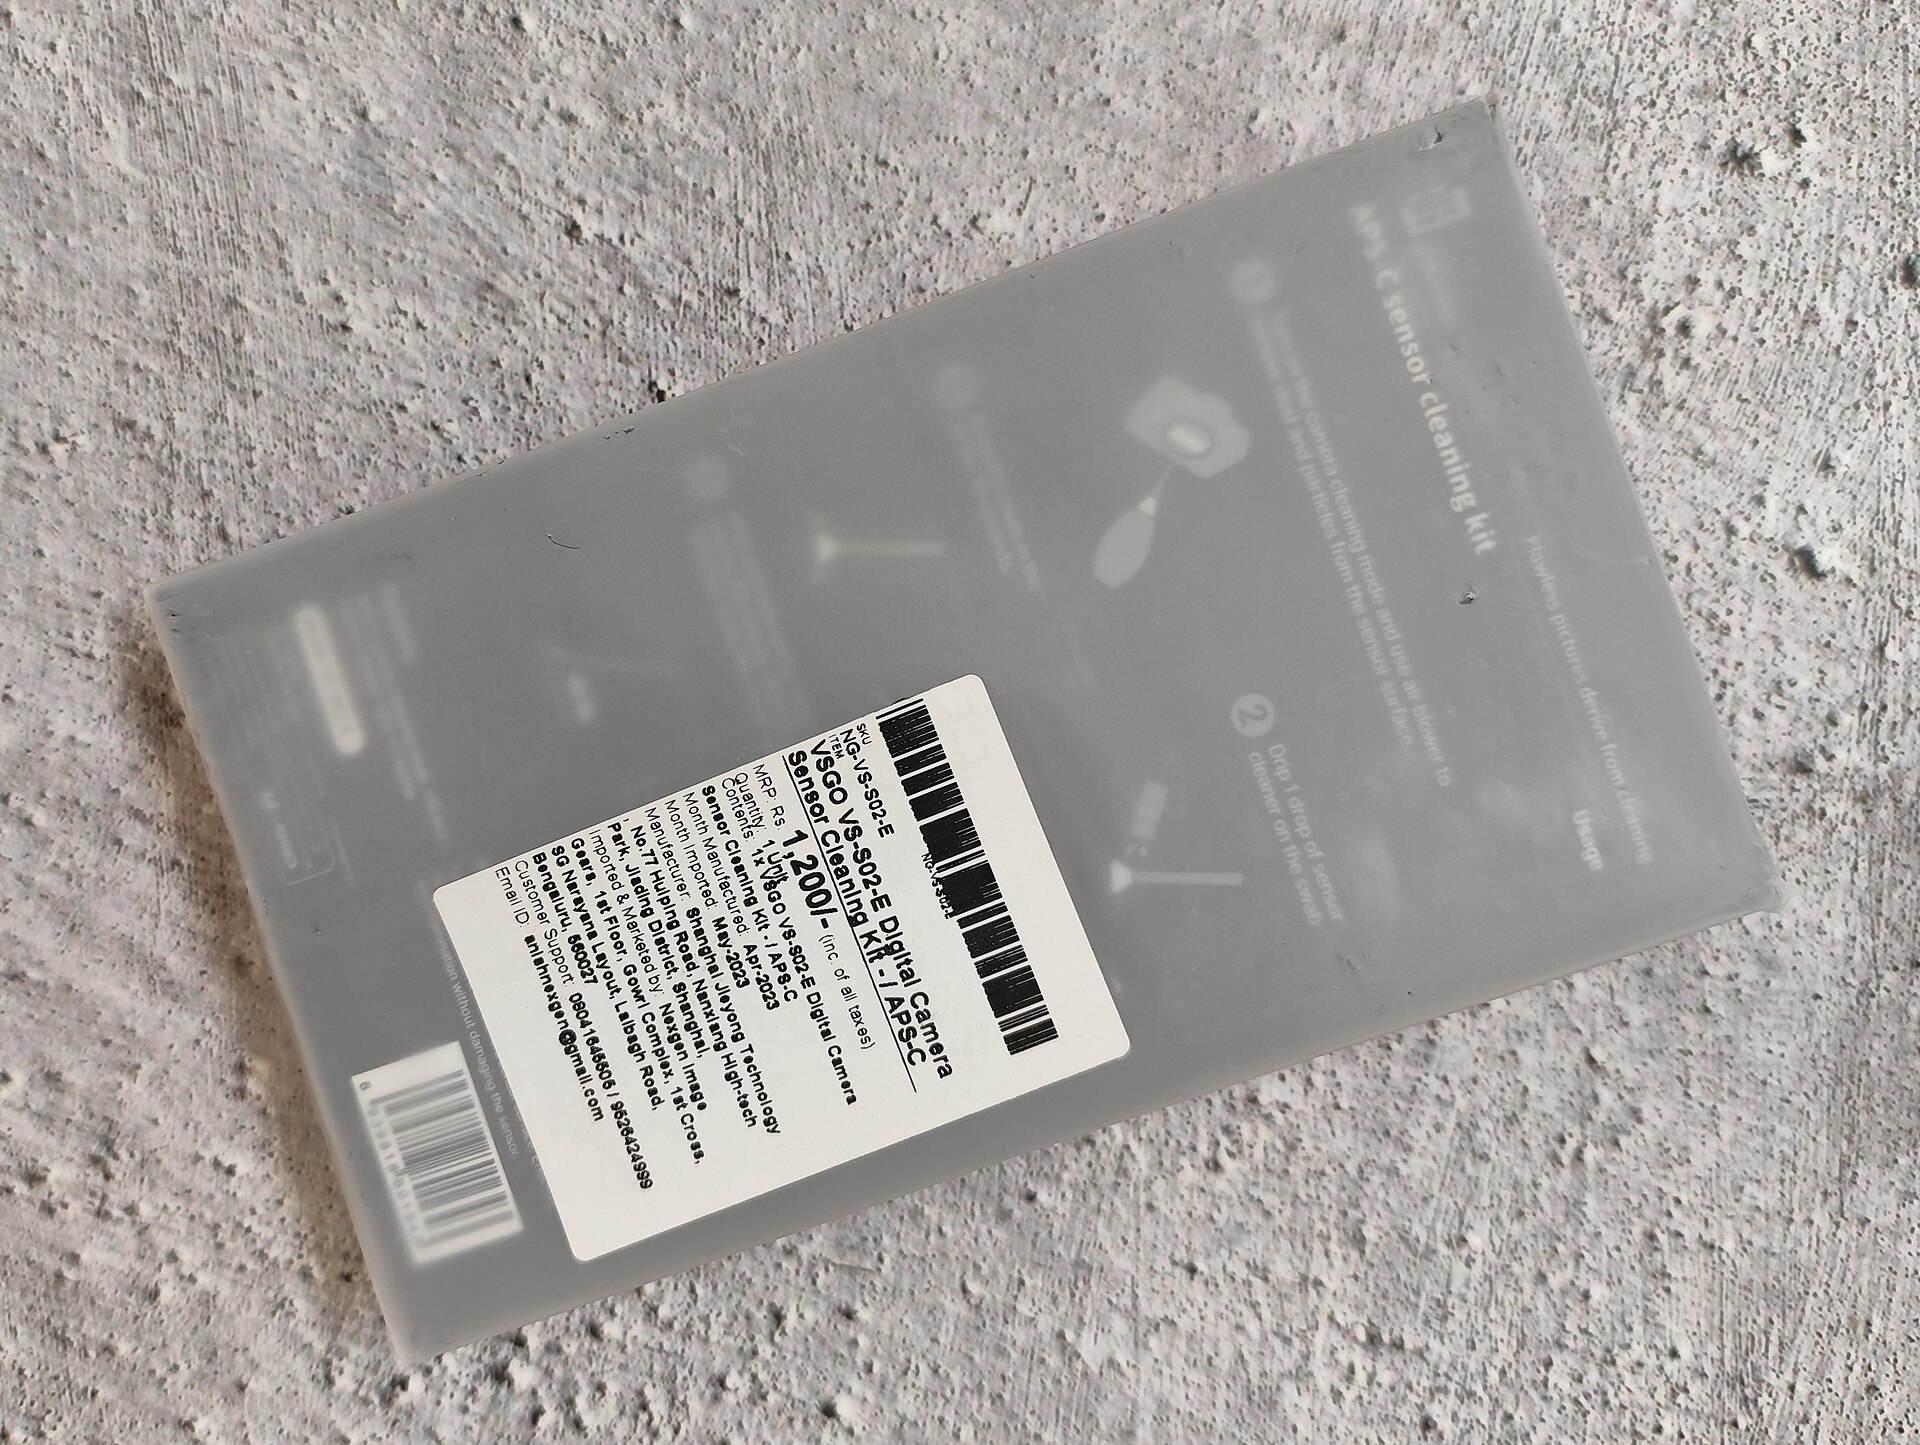

Apply one or two drops of fluid to the swab tip, let it absorb for a moment, then draw the swab across the sensor in one smooth, straight pass with light, even pressure — think the weight of a pencil resting on paper. Flip the swab to its clean side and draw back in the opposite direction. One swab, two passes, then discard it; never reuse a swab. Take a fresh test shot, and repeat with a new swab only if spots remain. If a mark survives three careful attempts, or looks like physical damage, stop and send the body to a service center — a professional sensor clean costs far less than a scratched filter stack.
Preventive Maintenance That Reduces Cleaning
The best sensor cleaning is the one you rarely have to do. Change lenses with the camera body facing down and shielded from wind, and keep the rear lens cap and body cap on whenever either is unmounted. Store gear in a clean, dry bag with silica gel — and if you shoot in humid climates, a dry cabinet or box protects against both dust and the fungus that thrives on stored optics. After outdoor shoots, a quick blower pass over the mount throat and lens rear element removes grit before it migrates to the sensor. The lens itself also deserves a regular routine: blow loose particles off first, brush what remains, then wipe from the center outward with a microfiber cloth dampened with lens solution — never household glass cleaner, whose ammonia attacks anti-reflective coatings.
What to Avoid Entirely
A short list of mistakes causes most of the damage people do while cleaning. Skip canned compressed air, whose propellant can spray liquid or frost onto the sensor. Skip cotton swabs and paper towels — their fibers are abrasive at a microscopic scale and can leave scratches and lint. Avoid household glass cleaners and acetone on lenses and bodies. On the sensor, stick to straight, single-direction swab strokes rather than the circular motion used on lenses. And remember the golden rule: light pressure and repeated gentle passes beat one hard scrub every time.
Conclusion
Sensor cleaning is intimidating the first time and routine the tenth. Diagnose with an f/16 test shot, try the built-in cleaning mode and a rocket blower first, move to a correctly sized swab and sensor fluid only when needed, and stop before you push too hard. Pair that with good lens-changing and storage habits and you will spend far less time cloning out dust spots — and far more time shooting.
FAQ
How often should I clean my camera sensor?
There is no fixed schedule. Clean when test shots show spots; for most casual shooters that works out to roughly every 6–18 months, though frequent outdoor lens changes will shorten that interval.
Can I use canned compressed air or a cotton swab?
No. Canned air can spray propellant residue onto the sensor, and cotton swabs shed fibers and can scratch coated surfaces. Use a rocket blower and purpose-made sensor swabs instead.
What is the difference between dry and wet cleaning?
Dry cleaning uses only air from a blower to dislodge loose dust without contact. Wet cleaning uses a sensor swab and sensor-specific fluid to lift stuck particles, smudges and oil that air alone cannot remove.
Related Posts
Full-Frame vs APS-C vs Micro Four Thirds: Sensor Sizes Compared
Every digital camera is built around one component that shapes…
Mirrorless Camera Design: How Removing the Mirror Changed Cameras
For most of the twentieth century, the single-lens reflex (SLR)…
Lens Mount Systems Compared: Canon RF vs Sony E vs Nikon Z vs Fujifilm X
When you buy an interchangeable-lens camera, you are not just…