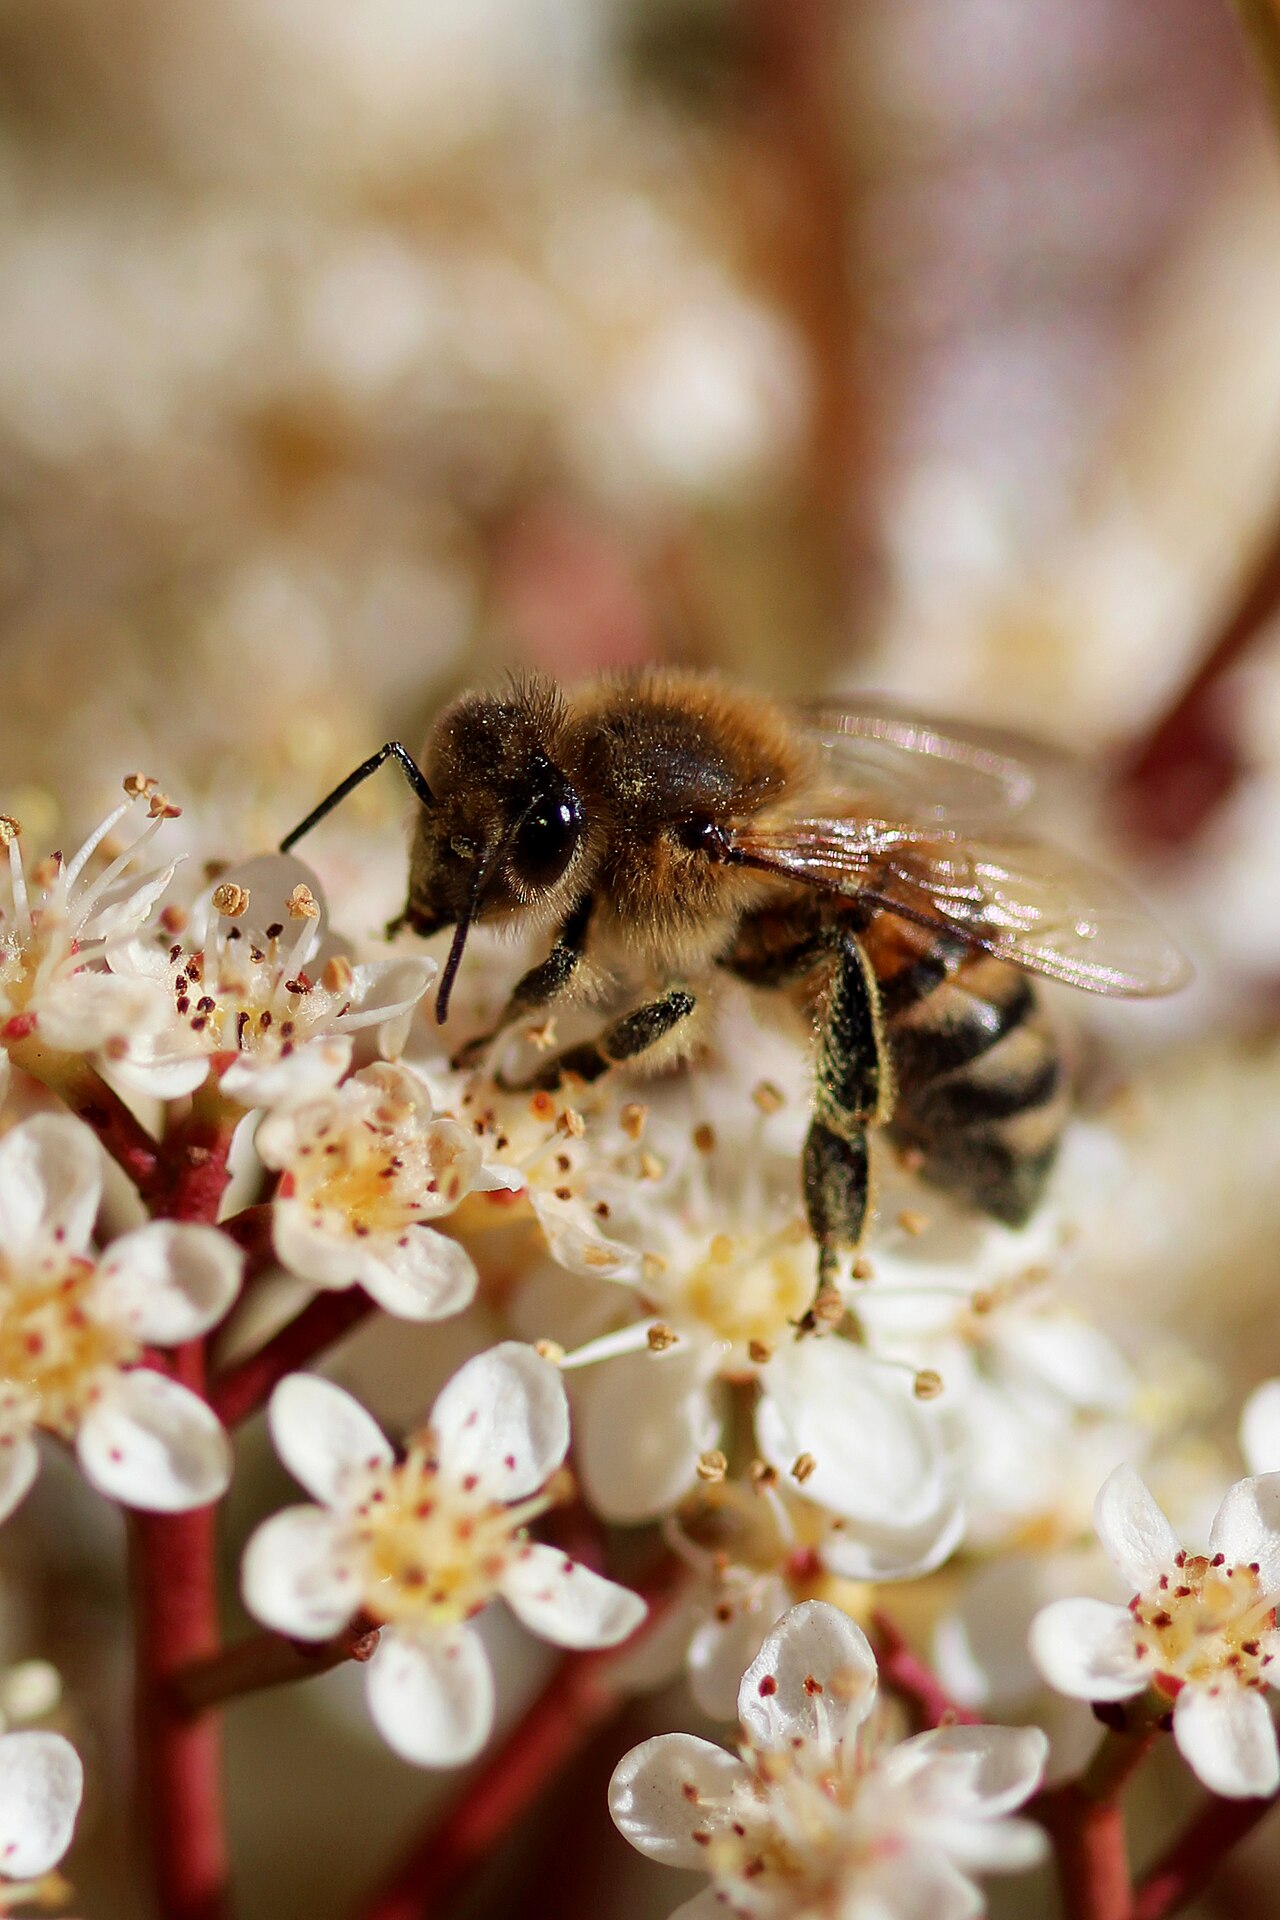
Macro photography opens up a world the naked eye barely notices: the facets of an insect’s eye, the pollen dusted on a flower, the texture of a coin. It means photographing small subjects so they appear life-size — or larger — on your camera’s sensor. This guide covers what macro really means, the gear that helps, and the settings that turn close-ups from blurry into sharp.
What “Macro” Actually Means
True macro photography begins at a 1:1 reproduction ratio. That means a subject is projected onto the sensor at its actual size: a 10 mm-long beetle occupies 10 mm of the sensor. The sensor then enlarges it enormously on screen, which is why a 1:1 image looks so detailed. Lenses that only reach 1:2 (half life-size) are often marketed as “macro,” but they are technically close-up lenses. The magnification ratio is what separates real macro from simply cropping a normal photo.
Choosing a Macro Lens
Dedicated macro lenses are built to focus extremely close and to stay sharp at those distances. They come in three rough focal-length groups. Short macros of 50–60 mm are compact and inexpensive but force you to work close to the subject, which can scare insects and cast shadows. The 90–105 mm range is the all-round sweet spot, giving enough “working distance” between the front of the lens and the subject. Long 150–200 mm macros offer the most distance for skittish wildlife but are larger and harder to handhold. Benchmarks in 2026 include the Canon RF 100mm f/2.8L Macro IS USM (which reaches 1.4× magnification), the Sony FE 90mm f/2.8 Macro G OSS, and the Nikon Z MC 105mm f/2.8 VR S. All three deliver a true 1:1 ratio.
Settings That Make or Break a Macro Shot
At 1:1 magnification, depth of field collapses to just a few millimeters, so the aperture you choose matters enormously. Most macro shooters settle around f/8 to f/13: wide enough to keep a useful slice of the subject sharp, without pushing into diffraction, which visibly softens fine detail beyond about f/16. Because light is limited at those apertures, use a shutter speed of at least 1/200s when handholding, and raise ISO as needed. Autofocus often hunts at macro distances, so manual focus — aided by focus peaking on a mirrorless camera — is usually more reliable. Place focus on the most important point, such as an insect’s eye.
Lighting and Stability
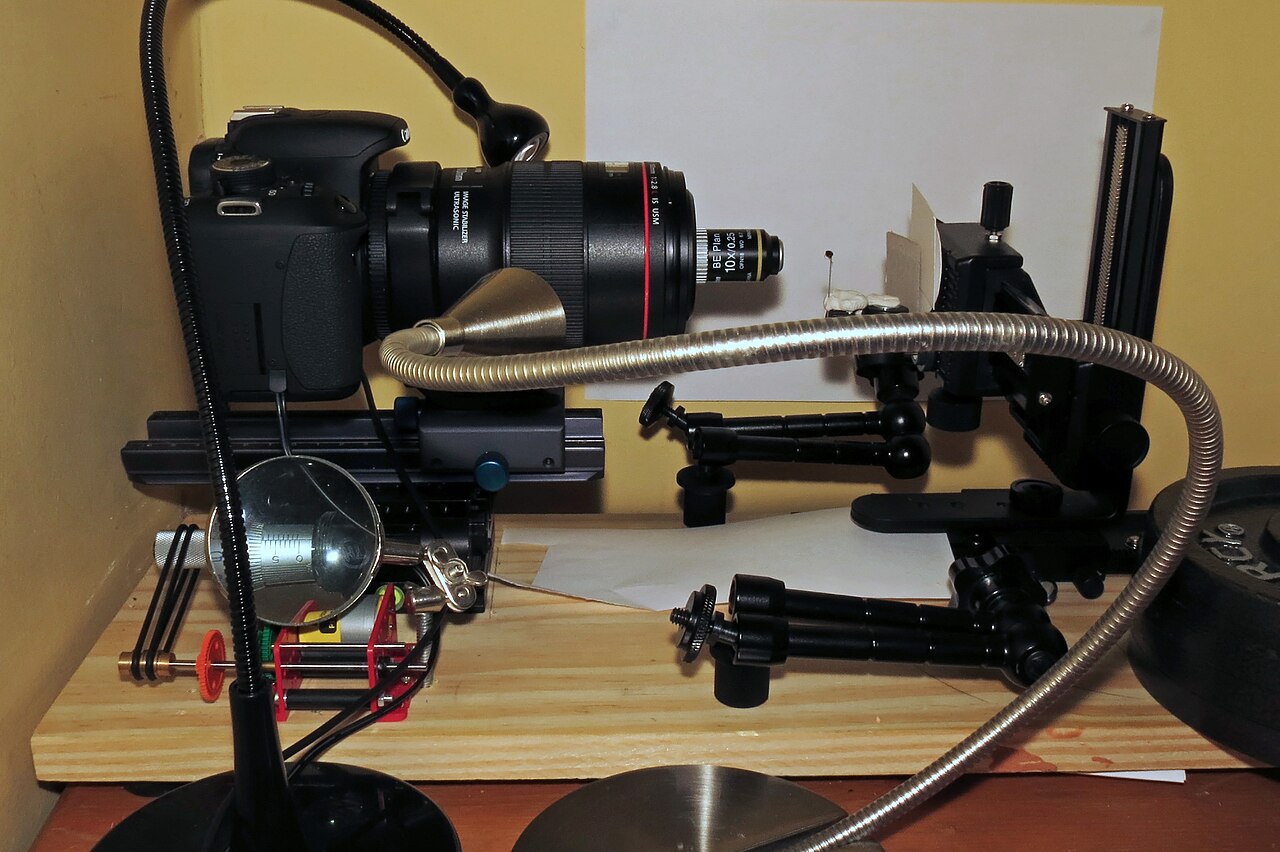
Stability is the first problem macro photographers hit: at high magnification, tiny movements are amplified into visible blur. A tripod is ideal for flowers, products, and focus-stacked shots, and a focusing rail lets you nudge the camera forward in precise steps. For handheld work with moving insects, a fast shutter speed and a steady brace matter more. Natural light is often not enough at f/11, so many macro shooters add a diffused flash, which both adds light and freezes motion.
Focus Stacking for More Depth of Field
Even at f/11, only a thin slice of a close subject is sharp. Focus stacking solves this by capturing a series of frames, each focused slightly deeper, and merging the sharp parts into one image. You can shift focus by turning the ring a hair between shots, or move the whole camera on a focusing rail. Software such as Helicon Focus, Photoshop, or Lightroom blends the frames. The result — an entire flower or insect sharp from front to back — is impossible in a single exposure at 1:1.
Cheaper Ways to Get Started
You do not need a dedicated macro lens to try the genre. Extension tubes are hollow rings that fit between the camera and an existing lens, moving it farther from the sensor so it can focus closer; a set costs a fraction of a macro lens. Reversing a lens is another low-cost trick, though it is fiddly. Modern smartphones also have surprisingly capable macro modes that focus within a few centimeters, which is a fine way to learn composition before investing in a full macro setup.
Conclusion
Macro photography rewards patience more than any other genre, but the payoff is images that reveal detail most people never see. Start with whatever close-focusing ability you have, master the settings — a small aperture, a fast shutter, manual focus — and add focus stacking as your ambition grows. The tiny world is worth the effort.
FAQ
Do I need a macro lens to shoot macro?
No. Extension tubes, reversed lenses, or a phone’s macro mode can get you started. A dedicated macro lens is the biggest upgrade once you are hooked.
What aperture should I use for macro?
Start around f/8 to f/13. It balances depth of field with sharpness; going past f/16 usually softens detail from diffraction.
Why are my macro photos blurry?
Usually camera shake, missed focus, or too little light. Use 1/200s or faster, focus manually, and add a diffused flash or a tripod.
Related Posts
Metering Modes Explained: How Your Camera Measures Light
Before your camera can set a correct exposure, it has…
RAW vs JPEG: Why Photographers Shoot RAW (and When JPEG Still Wins)
A photographer shooting in the field — RAW preserves every…
Aperture and Depth of Field Explained: A Complete Beginner’s Guide
Aperture is one of the three pillars of the exposure…