Every beginner starts with the kit lens — and that’s completely fine. The 18–55mm zoom that ships with your camera is versatile, lightweight, and costs nothing extra. But it has one serious limitation: a small maximum aperture (typically f/3.5–5.6) that lets in far less light than a dedicated prime lens. That single spec is why your indoor photos look grainy, and why you can’t get the creamy, blurred background you admire in professional portraits.
The good news is that you don’t need to spend a fortune to fix it. Some of the best lenses in photography are also among the cheapest. For under $250 — and often under $150 — you can add a fast prime that is sharper, brighter, and far more fun than the zoom you already own. Here are the best budget lenses for beginners across Canon, Sony, and Nikon systems, plus how to choose the right one for the way you actually shoot.
Why Upgrade From Your Kit Lens?
Kit zooms are built to cover a wide range of focal lengths at the lowest possible price, and they sacrifice maximum aperture to do it. At f/5.6, your camera must raise the ISO or slow the shutter speed in anything but bright daylight. A fast prime at f/1.8 lets in roughly three stops more light, which means cleaner low-light shots, faster shutter speeds, and — most satisfying of all — real background blur, or bokeh. Primes are also sharper for the money, because a fixed focal length is optically simpler to design well than a zoom.
The “Nifty Fifty”: Your First Prime
The 50mm f/1.8 is the classic first upgrade, and for good reason. It is cheap, small, and instantly makes your photos look more professional. On a full-frame camera it frames roughly like the human eye; on an APS-C body it behaves like a short portrait lens.
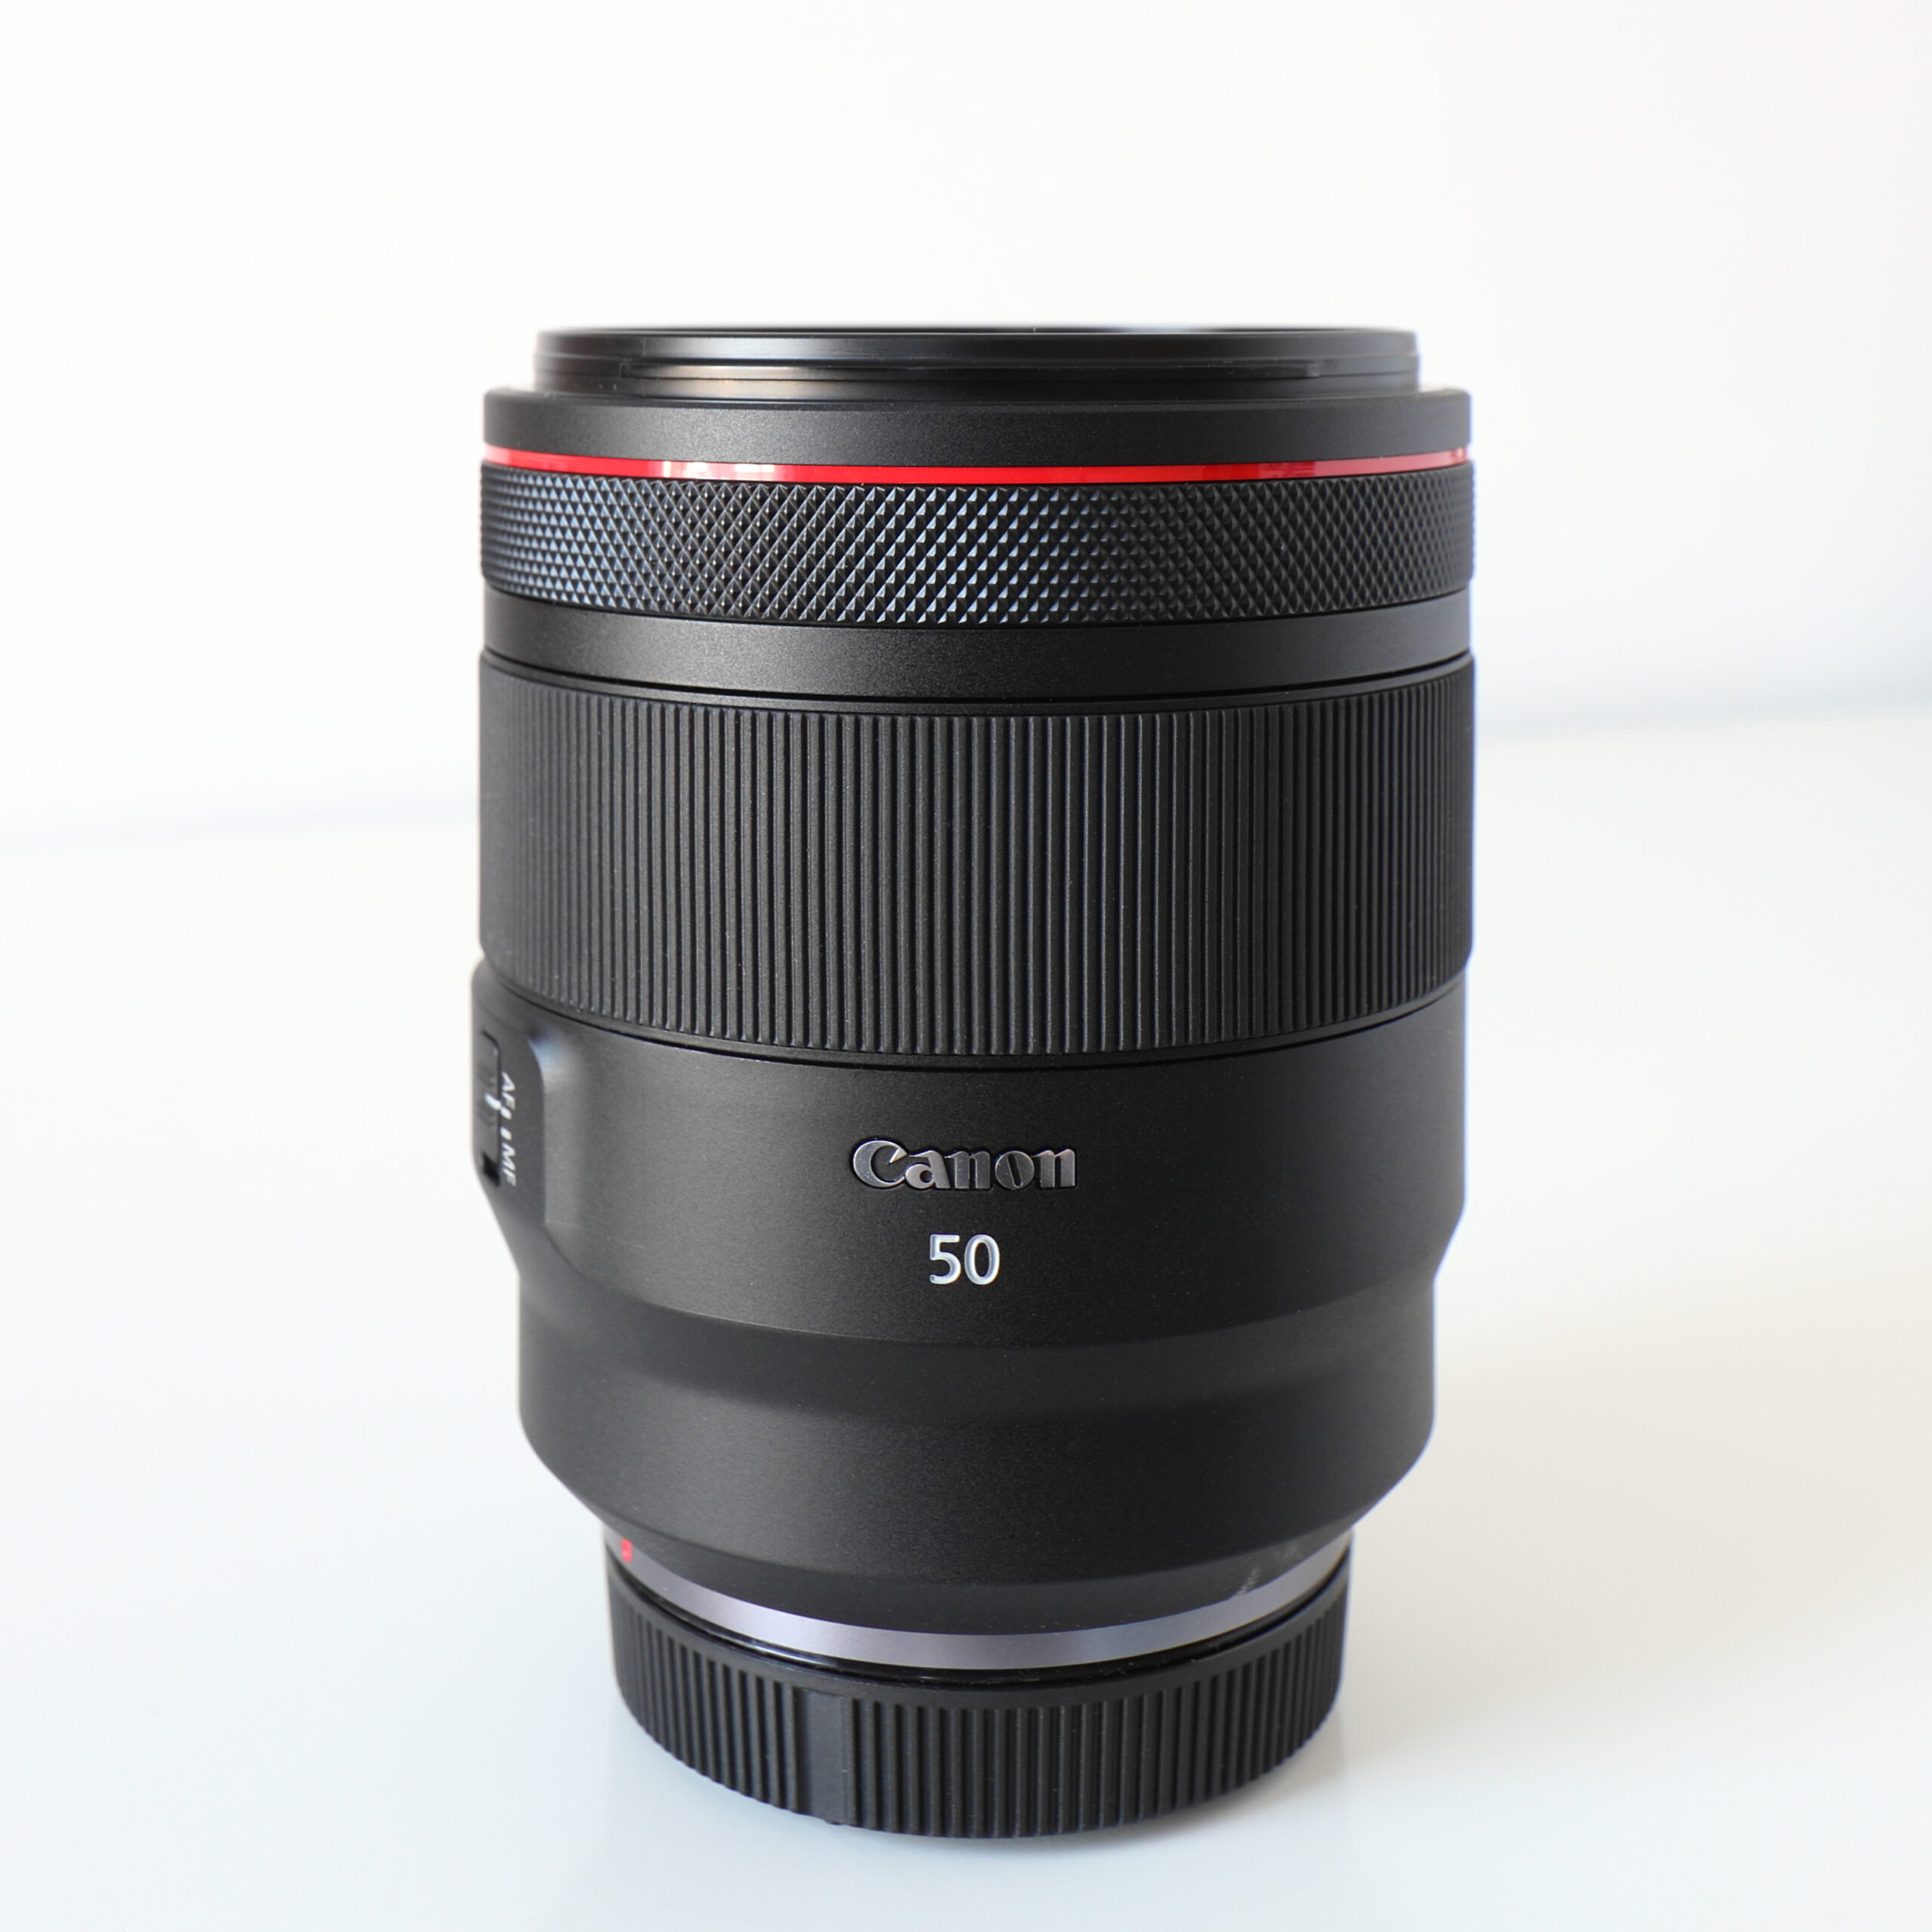
Canon RF 50mm F1.2L USM. A budget 50mm f/1.8 delivers similar framing at a fraction of the price. Photo: Bobulous / Wikimedia Commons / CC BY-SA 4.0.
- Canon EF 50mm f/1.8 STM — the original “nifty fifty,” often found around $125. Works on Canon DSLRs and (with an adapter) mirrorless bodies.
- Canon RF 50mm f/1.8 STM — the mirrorless version for EOS R bodies, typically under $200 and weighing only about 160 grams.
- Sony FE 50mm f/1.8 — a full-frame E-mount prime with a 7-blade aperture, usually around $250.
- Nikon Z 40mm f/2 — Nikon’s compact everyday prime for Z-mount shooters who want a slightly wider, walk-around field of view.
Best Budget 35mm for Everyday and Street
If 50mm feels too tight on your crop-sensor camera, a 35mm is the natural alternative. It is wide enough for scenes and street photography yet still lets you isolate a subject.
- Sony E 35mm f/1.8 OSS — a stabilized APS-C prime that is a favorite for everyday and vlogging work.
- Canon EF-S 24mm f/2.8 STM — a tiny “pancake” prime that turns any Canon APS-C DSLR into a pocketable everyday camera.
Affordable Wide-Angle for Landscapes
For sweeping landscapes, interiors, and night skies, a wide lens opens up new compositions that a kit zoom can’t quite reach.
- Canon RF 16mm f/2.8 STM — a remarkably small and affordable wide prime for EOS R mirrorless cameras.
- Canon EF-S 10–18mm f/4.5–5.6 IS STM — an inexpensive stabilized wide zoom for Canon APS-C DSLRs, ideal for landscapes on a tripod.
Budget Telephoto for Wildlife and Sports
When your subject is far away, reach matters more than aperture. The Nikon AF-P 70–300mm f/4.5–6.3 is a light, affordable telephoto zoom that brings distant action and casual wildlife within range without breaking the bank.
How to Choose Your First Upgrade
Start with what you shoot most. Portraits and low light point to a 50mm f/1.8; street and everyday scenes favor a 35mm; landscapes want a wide lens; wildlife wants reach. Also check two things before you buy: mount compatibility (a lens must match your camera’s mount, or you’ll need an adapter) and crop factor. On an APS-C sensor, multiply focal length by about 1.5× (1.6× on Canon) — so a 50mm lens frames like a 75–80mm lens. That makes 35mm the “normal” choice on crop bodies.
Conclusion
Your kit lens is a fine starting point, but a single budget prime is the fastest, cheapest way to see a real jump in image quality. Pick one fast 50mm or 35mm that matches your mount, shoot with it for a month, and only then add a wide or telephoto. The best lens for a beginner isn’t the most expensive one — it’s the one you’ll actually carry and use.
Frequently Asked Questions
What is the best first lens to buy after the kit lens?
A fast 50mm f/1.8 prime is the most popular first upgrade because it is inexpensive, sharp, and immediately improves low-light performance and background blur.
Is a 50mm lens good for beginners?
Yes. It is simple, affordable, and teaches you to “zoom with your feet.” Just remember that on an APS-C camera it frames more like a short telephoto.
Do I need full-frame lenses if I have an APS-C camera?
No. Many excellent budget primes are designed for APS-C and are smaller and cheaper as a result. Just confirm the lens mount matches your camera before buying.
Related Posts
Best Lenses for Portrait Photography: A Complete Buying Guide
The 85mm prime is the classic portrait lens. Image: C.Stadler/Bwag…

Best Cameras for Landscape Photography (2025 Buying Guide)
Landscape photography is a test of patience and detail. The…
Best Mirrorless Cameras Under $1000 in 2026: Top Picks for Every Shooter
The sub-$1000 mirrorless market in 2026 is the sweet spot…