Every modern mirrorless camera hides two small helpers that make shooting by hand dramatically easier: focus peaking and zebra stripes. Neither one is ever recorded into your photo. Instead, they paint temporary overlays onto your viewfinder or rear screen — one showing exactly which edges are sharp, the other flagging exactly where your highlights are about to clip. If you shoot manual lenses, video, or tricky light, learning these two overlays is one of the fastest ways to bring home more keepers.
What Is Focus Peaking?
Focus peaking is a real-time manual-focus aid. Turn it on and the camera scans the live image coming off the sensor, looking for the areas of highest contrast. In a focused image, sharp edges carry strong local contrast, while soft, out-of-focus regions smear into smooth gradients. The camera exploits that difference: wherever it finds crisp edges, it paints them with a bright false-color fringe — typically red, yellow, white, blue, or green.
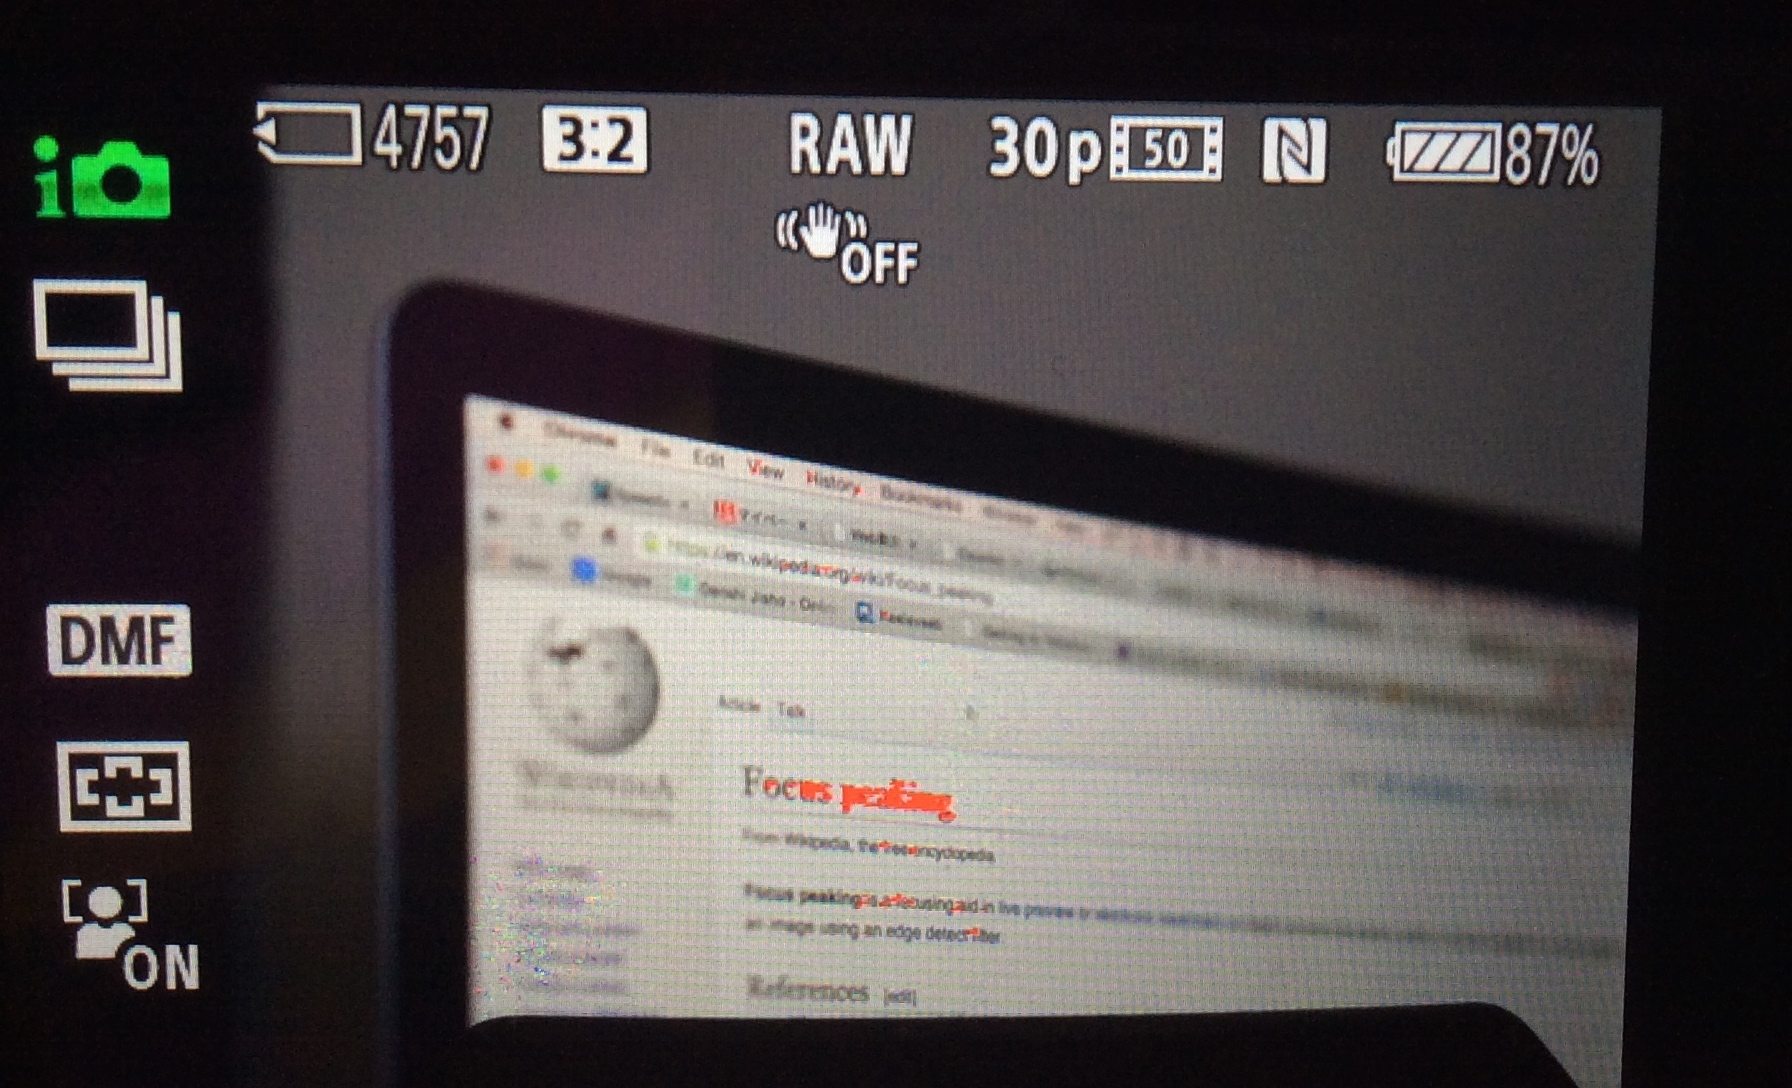
The result is an instant, visual answer to the question “is this sharp?” As you turn the focus ring, the colored shimmer crawls across the scene and settles on whatever sits at the plane of focus. It runs in real time on the electronic viewfinder or rear LCD, which is exactly why the feature only arrived in the digital age — an optical viewfinder has no live image for the camera to analyze. Sony, Fujifilm, Panasonic, and most other mirrorless brands now ship some form of peaking.
How to Use Focus Peaking Well
Peaking settings usually live under a “Peaking” or “Focus Assist” menu with three controls: display on/off, sensitivity level (high, mid, low), and color. The level sets how aggressively the camera flags edges — high shows more of the frame, low shows only the sharpest transitions. Pick the color that stands out against your scene: red works well in green landscapes, yellow against skin, and white when you want something subtler.
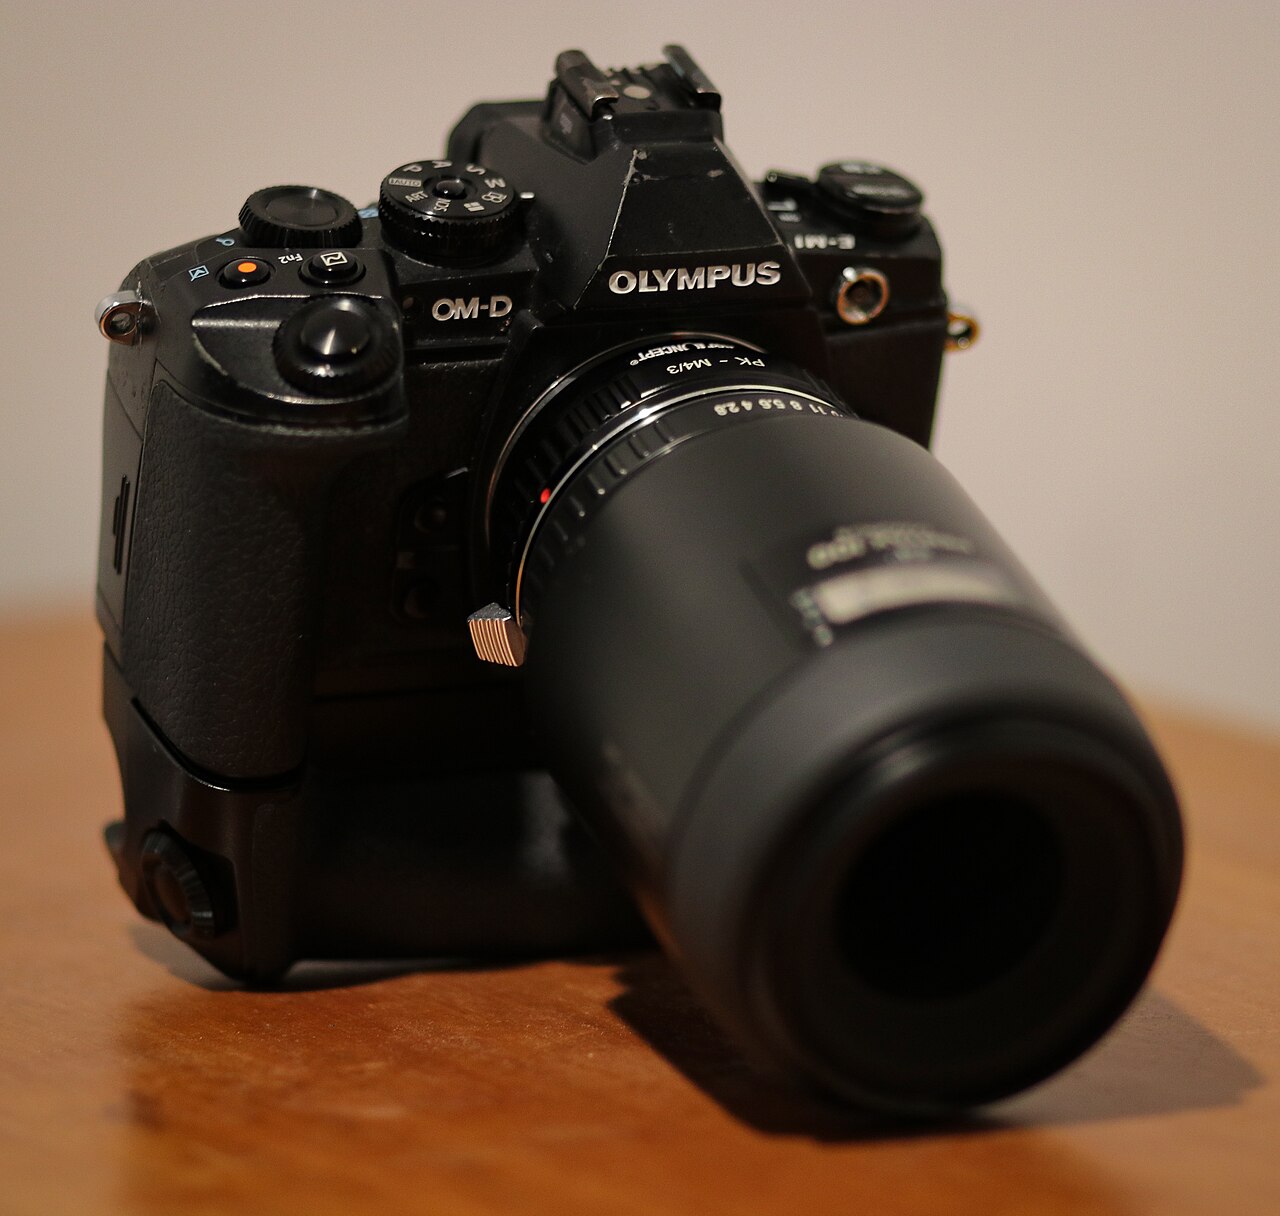
Peaking shines with old manual-focus lenses, macro work, and video, where you rack focus by hand. It also doubles as a depth-of-field checker: stop down and watch the highlight band expand to reveal how much of the scene is actually in focus. For fast hybrid work, many shooters combine peaking with back-button autofocus — tap AF to get close, then fine-tune by hand while the overlay confirms your final position.
One caveat: at very wide apertures like f/1.2, peaking can highlight so little that it is hard to tell the eye from the eyelash. In those cases, magnify the frame to confirm critical focus.
What Are Zebra Stripes?
Zebra stripes are an exposure tool that migrated from broadcast video cameras into mirrorless and cinema bodies. Set a brightness threshold, and the camera overlays moving diagonal stripes onto every part of the frame that exceeds it. Those stripes never end up in your file — they are a live warning, not a filter.
The threshold is measured on the IRE scale, a 0–100 brightness ladder borrowed from video engineering, where 100 represents the brightest signal the camera can record. Set zebras at 100 (or 100+, depending on the brand) and they light up the exact areas that are clipping to pure white — the highlights you can never recover in post. Lower the threshold and they flag subtler brightness levels instead.
How to Set Your Zebra Threshold
On Sony bodies the zebra level can be set from roughly 70 to 100 IRE, and the right number depends on what you are protecting:
- 70–80 IRE — for skin tones. Adjust exposure until zebras just appear on a face, keeping it bright but not blown.
- 90–95 IRE — for white subjects such as a wedding dress or snow, to hold detail in bright tones.
- 100+ IRE — to catch true clipping, then dial exposure down until the stripes vanish.
The habit is simple: pick a threshold for the subject, watch the stripes appear or disappear as you adjust aperture, shutter, or ISO, and shoot when the warning sits exactly where you want it. If you also record video, zebras are close to essential — clipped highlights in video are just as unrecoverable as in stills.
Focus Peaking vs Zebra Stripes at a Glance
The two are easy to confuse because both paint patterns on your screen, but they solve different problems. Focus peaking answers “what is sharp?” by tracing high-contrast edges with a solid color. Zebra stripes answer “what is too bright?” by covering overexposed areas with diagonal lines. One is a focusing tool, the other an exposure tool. Many photographers run both at once — peaking to nail the focus plane, zebras to protect the highlights — and together they turn the viewfinder into a proper feedback instrument.
Conclusion
Focus peaking and zebra stripes cost nothing, work on almost any modern camera, and remove the guesswork from two of the hardest parts of manual shooting: focus and exposure. Turn them on, learn what your threshold and color settings mean, and you will bring home sharper, better-exposed files. Next time you mount a vintage lens or shoot in harsh light, let these two overlays do the watching for you.
FAQ
Do zebra stripes appear in the final photo or video?
No. Zebras are a viewfinder overlay only and are never written into the image file.
Does focus peaking work with autofocus?
It is designed for manual focus, but it still displays during direct manual focus (DMF) and can be used to confirm where autofocus landed.
What zebra setting should I use for portraits?
Start around 70–80 IRE so the stripes appear on skin tones, then adjust exposure to taste.
Do all cameras have these features?
Most modern mirrorless cameras include focus peaking, and zebras are common on Sony, Panasonic, and Fujifilm bodies — check your model’s manual to confirm.
Related Posts

Global Shutter vs Rolling Shutter: What’s the Difference and Why It Matters
Every digital camera turns light into an image using a…
Stacked CMOS Sensors Explained: How They Work and Why They Matter
APS-C CMOS image sensor. Photo: Friedrich Haag, CC BY-SA 4.0,…
Pixel Shift Multi-Shot Explained: How Cameras Produce 400MP Photos from a 100MP Sensor
Most cameras are locked to the resolution printed on the…