Light painting turns a flashlight into a paintbrush and the night into a canvas. By keeping the camera’s shutter open for seconds — or even minutes — you can draw glowing shapes, outline objects, and sculpt a scene with light in ways no ordinary photograph can match. The results look magical, but the technique rests on a simple foundation: a long exposure, a rock-steady camera, and a moving light source. Here’s everything you need to know to get started.
What Is Light Painting?
Light painting is a long-exposure technique in which you open the shutter and move a light source — a flashlight, an LED wand, a sparkler, even a phone screen — through the frame while the camera records. The sensor captures the light’s path as a bright trail, while anything the light never touches stays dark. The finished image looks as if it were drawn with light.
The key idea is that the camera doesn’t record the person holding the light; it only records the light itself. As long as you keep moving and don’t let the beam linger on your own body, you can stand directly in front of the lens and still disappear from the final photograph.
What You Need
Light painting is one of the most inexpensive forms of photography to try. The essentials are:
- A camera with manual controls. Any DSLR, mirrorless camera, or advanced compact with a manual (M) mode and a Bulb setting will work.
- A sturdy tripod. This is the single most important piece of gear — the shutter stays open for a long time, and any movement turns the whole frame blurry.
- A remote shutter release. A cable or wireless remote lets you start the exposure without touching the camera. A two-second self-timer also works in a pinch.
- A light source. Flashlights, LED strips, EL wire, and glow sticks all produce very different looks. Always prioritize fire safety if you use sparklers or steel wool.
- Dark, non-reflective clothing. This keeps you from appearing as a ghost in your own photo.
Camera Settings for Light Painting
Light painting happens entirely in manual mode. Start with these settings and adjust from there:
- Mode: Manual (M), with the shutter set to Bulb for any exposure longer than 30 seconds.
- Aperture: f/8 to f/11. A narrow aperture keeps the whole scene in focus and lets you hold the shutter open longer without overexposing.
- ISO: 100. A low ISO keeps noise minimal and gives you the longest usable shutter speed.
- Shutter speed: anywhere from a few seconds to several minutes, depending on how much you want to draw.
- Focus: Focus manually on your subject, then switch off autofocus so the camera doesn’t hunt in the dark.
- White balance: Set it manually. Daylight (around 5000–5500 K) preserves the natural color of your light; a tungsten or incandescent preset cools warm lights if that’s the look you want.
- Image stabilization: Turn it off — on a tripod, stabilization can actually introduce blur.
One handy trick for finding your base exposure: temporarily raise the ISO by about six stops (for example, ISO 100 → ISO 6400), find a good exposure time in seconds, then return to ISO 100 and use the same number in minutes. One second at ISO 6400 equals roughly one minute at ISO 100.
Core Light Painting Techniques
Once the shutter is open, you are the brush. Here are a few classic techniques to try:
- Drawing and writing. Aim the light at the camera and trace letters, spirals, or shapes in the air. Your movements appear mirrored in the photo, so write backwards if you want text to read correctly.
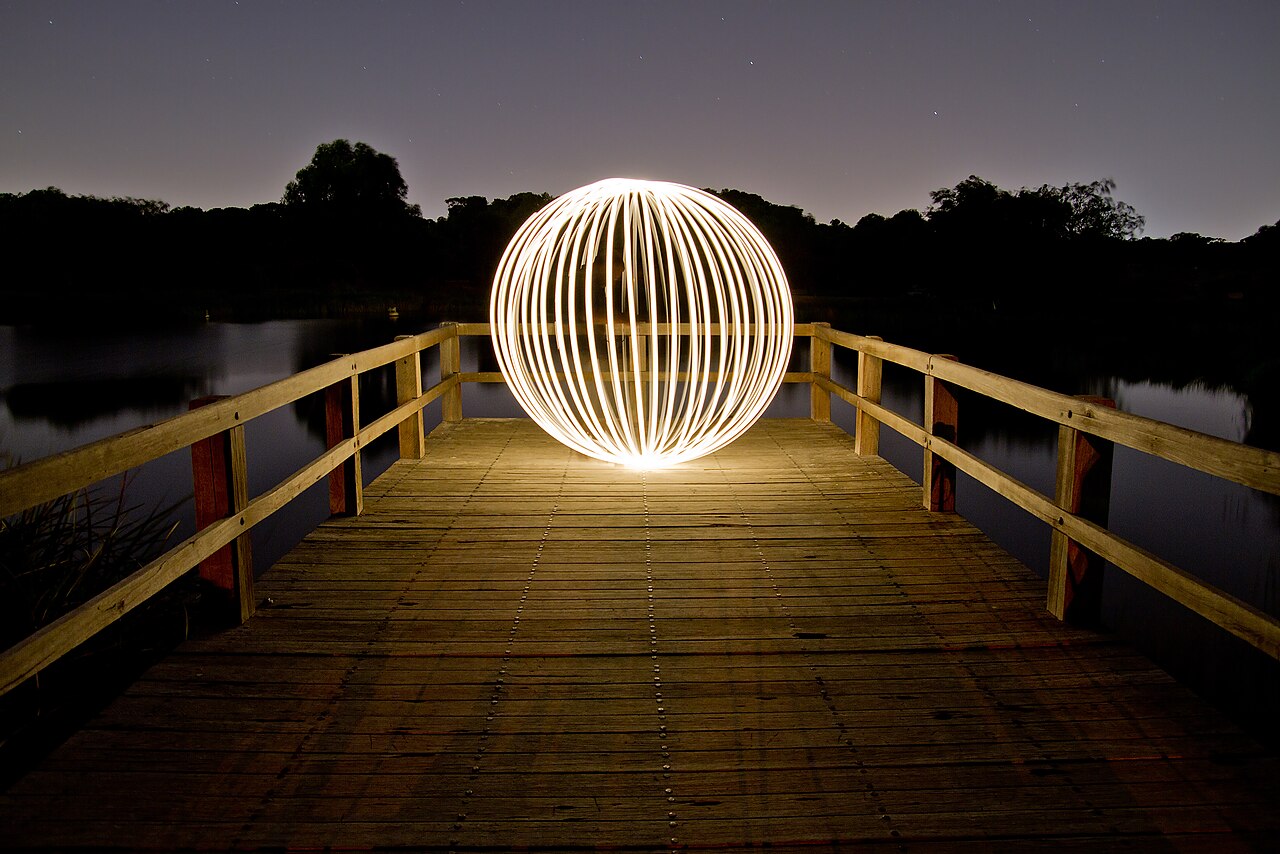
- Light orbs. Tie a light to the end of a string, stand in one spot, and spin it in a circle while slowly rotating your body. The spinning light traces a glowing sphere that seems to float in the frame.
- Illuminating a subject. Instead of pointing the light at the lens, use it like a brush to “wash” light over a car, tree, building, or person from the side. Painting from side or low angles brings out texture and depth that a single frontal burst flattens.
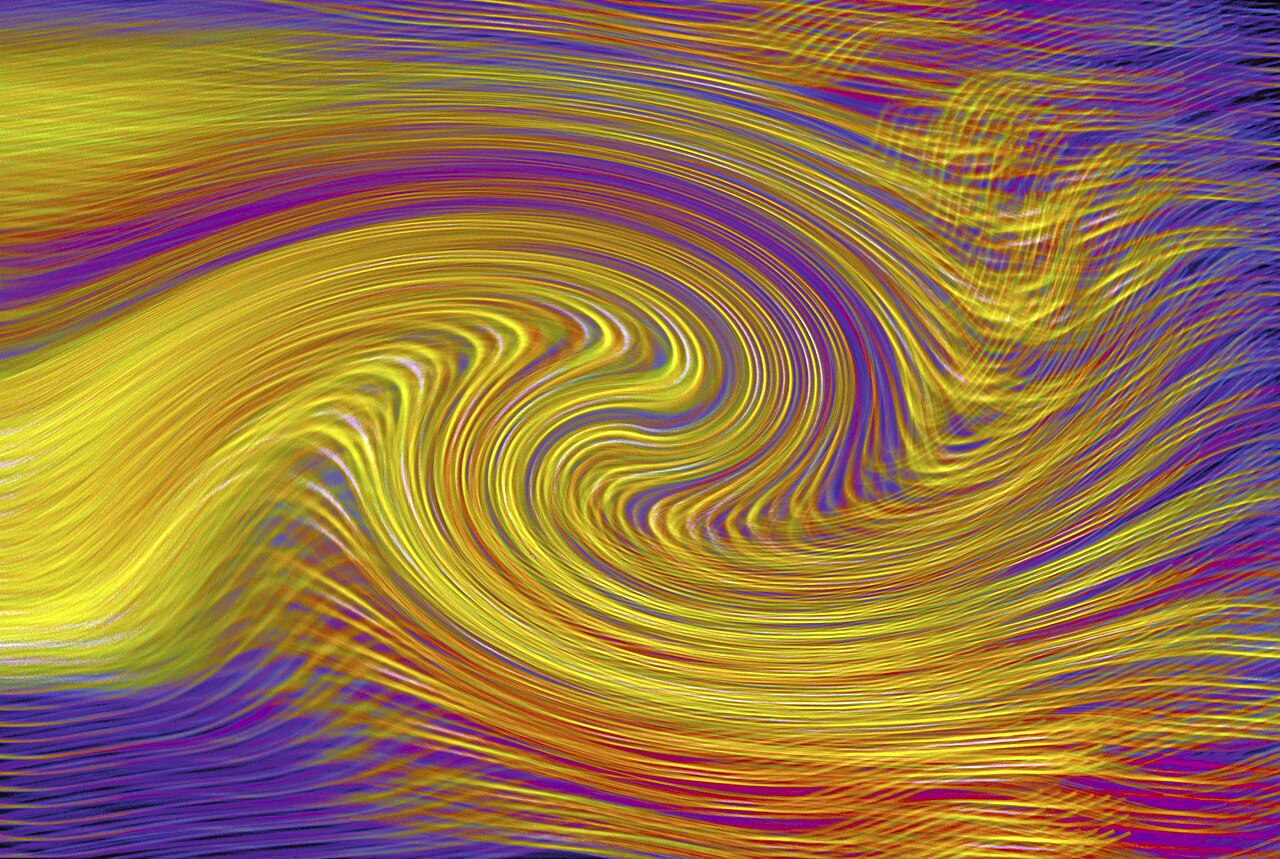
- Kinetic light painting. Move the camera itself during the exposure instead of (or in addition to) the light. The scene smears and streaks into abstract, painterly images.
Tips for Cleaner, More Impressive Results
- Don’t point the light directly at the lens — unless a deliberate flare is what you want, it will blow out a hot spot.
- Keep moving. The longer you hold the light in one spot, the brighter that spot becomes. Varying your speed creates shading and depth.
- Wear dark clothing and avoid standing between the camera and the light, or you’ll show up as a silhouette.
- Judge exposure with the histogram and highlight warnings rather than the LCD alone — in the dark, the screen can look brighter than the image really is.
- Shoot in RAW so you can recover shadow and highlight detail later.
FAQ
Can I light paint with a smartphone?
Yes. Many Android phones — including Samsung Galaxy and Google Pixel models — offer a manual or “Pro” mode with shutter speeds of several seconds. The iPhone’s default camera app doesn’t expose manual shutter speed, but third-party apps such as Slow Shutter Cam unlock long exposures. Pair any of these with a small tripod or a steady surface.
What’s the best time to light paint?
Blue hour — just after sunset, when the sky still holds a deep blue — gives balanced results with detail still visible in the scene. Full darkness works too and gives you the most control, since there’s less ambient light to manage.
Do I need Bulb mode?
Only if you want exposures longer than your camera’s maximum (usually 30 seconds). For simple shapes and quick drawings, a fixed 10–30 second shutter speed is often plenty.
Conclusion
Light painting is one of the most creative and inexpensive techniques in photography. It needs no studio, no special lenses, and no expensive lights — just a camera, a tripod, a dark space, and a willingness to experiment. Start with the settings above, keep the camera perfectly still, and let the light do the drawing. You may be surprised how quickly you can produce images that look as if they were made with a paintbrush made of photons.
Related Posts
Infrared Photography: A Complete Guide to Seeing the Invisible Light
Infrared photography records light your eyes can't see. By capturing…
Focus Modes Explained: AF-S, AF-C and Manual Focus
Every time you half-press the shutter button, your camera has…
Back Button Focus Explained: Why Pros Separate Focus from the Shutter Button
Out of the box, nearly every camera focuses the same…