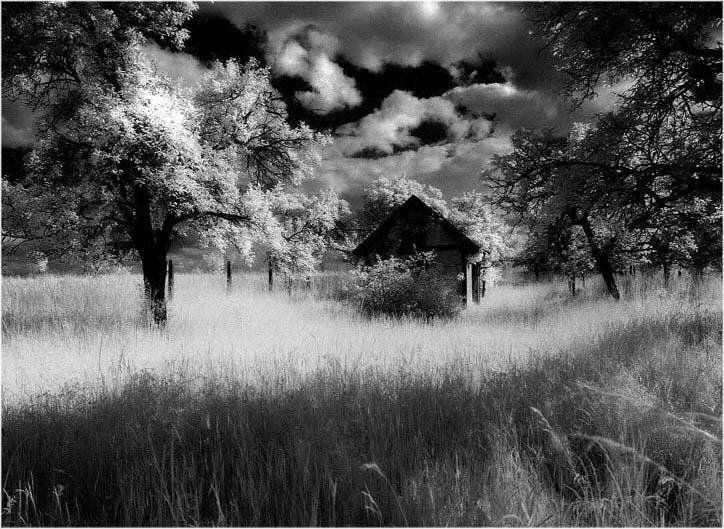
Infrared photography records light your eyes can’t see. By capturing the near-infrared wavelengths just beyond the red end of the visible spectrum, it turns healthy foliage brilliant white, drops clear skies to near-black, and gives otherwise ordinary scenes a surreal, dreamlike quality. It’s one of the few techniques that still feels like darkroom alchemy in the digital age — and it’s never been easier to try.
What Is Infrared Light?
Visible light spans roughly 400 to 700 nanometers. Near-infrared — the slice that digital sensors record — sits just beyond, from about 700 to 900 nm. Your camera’s silicon sensor is actually naturally sensitive to this light, but every stock camera ships with an internal “hot mirror” (an IR-cut filter) in front of the sensor that blocks it so your colors look accurate.
The signature look of infrared photography is called the Wood Effect, named after physicist Robert W. Wood. Chlorophyll in healthy leaves is largely transparent to infrared, so instead of absorbing it, foliage reflects IR strongly back at the lens — rendering leaves and grass as bright as snow. Clear sky and water, by contrast, absorb or scatter little IR, so they fall to near-black. The result is a high-contrast, otherworldly landscape you simply can’t get any other way.
Three Ways to Shoot Infrared
1. A lens filter (cheapest). An IR-pass filter such as the popular Hoya R72 (720 nm) screws onto the front of your lens and blocks visible light while letting infrared through. Because your camera’s internal hot mirror is still in place, very little IR reaches the sensor — so exposures run from several seconds to a minute, and you need a tripod plus a remote or 2-second timer. You must also compose and focus before adding the filter, since the viewfinder goes nearly black. It’s the best way to test the waters for the price of a filter.
2. A dedicated camera conversion. A technician removes the hot mirror and replaces it with an IR-pass filter cut to a specific wavelength. The camera then autofocuses, meters, and shoots handheld at normal shutter speeds — but permanently, meaning it can no longer shoot normal color. Converting an older body you already own is the most cost-effective route to serious infrared work.
3. Full-spectrum conversion. The hot mirror is swapped for clear glass, so the sensor sees ultraviolet, visible, and infrared light at once. You then decide which slice to record by using screw-on or clip-in filters. It’s the most flexible setup — one body covers every wavelength — at the cost of carrying and swapping filters.
Choosing a Wavelength: 590nm to 850nm
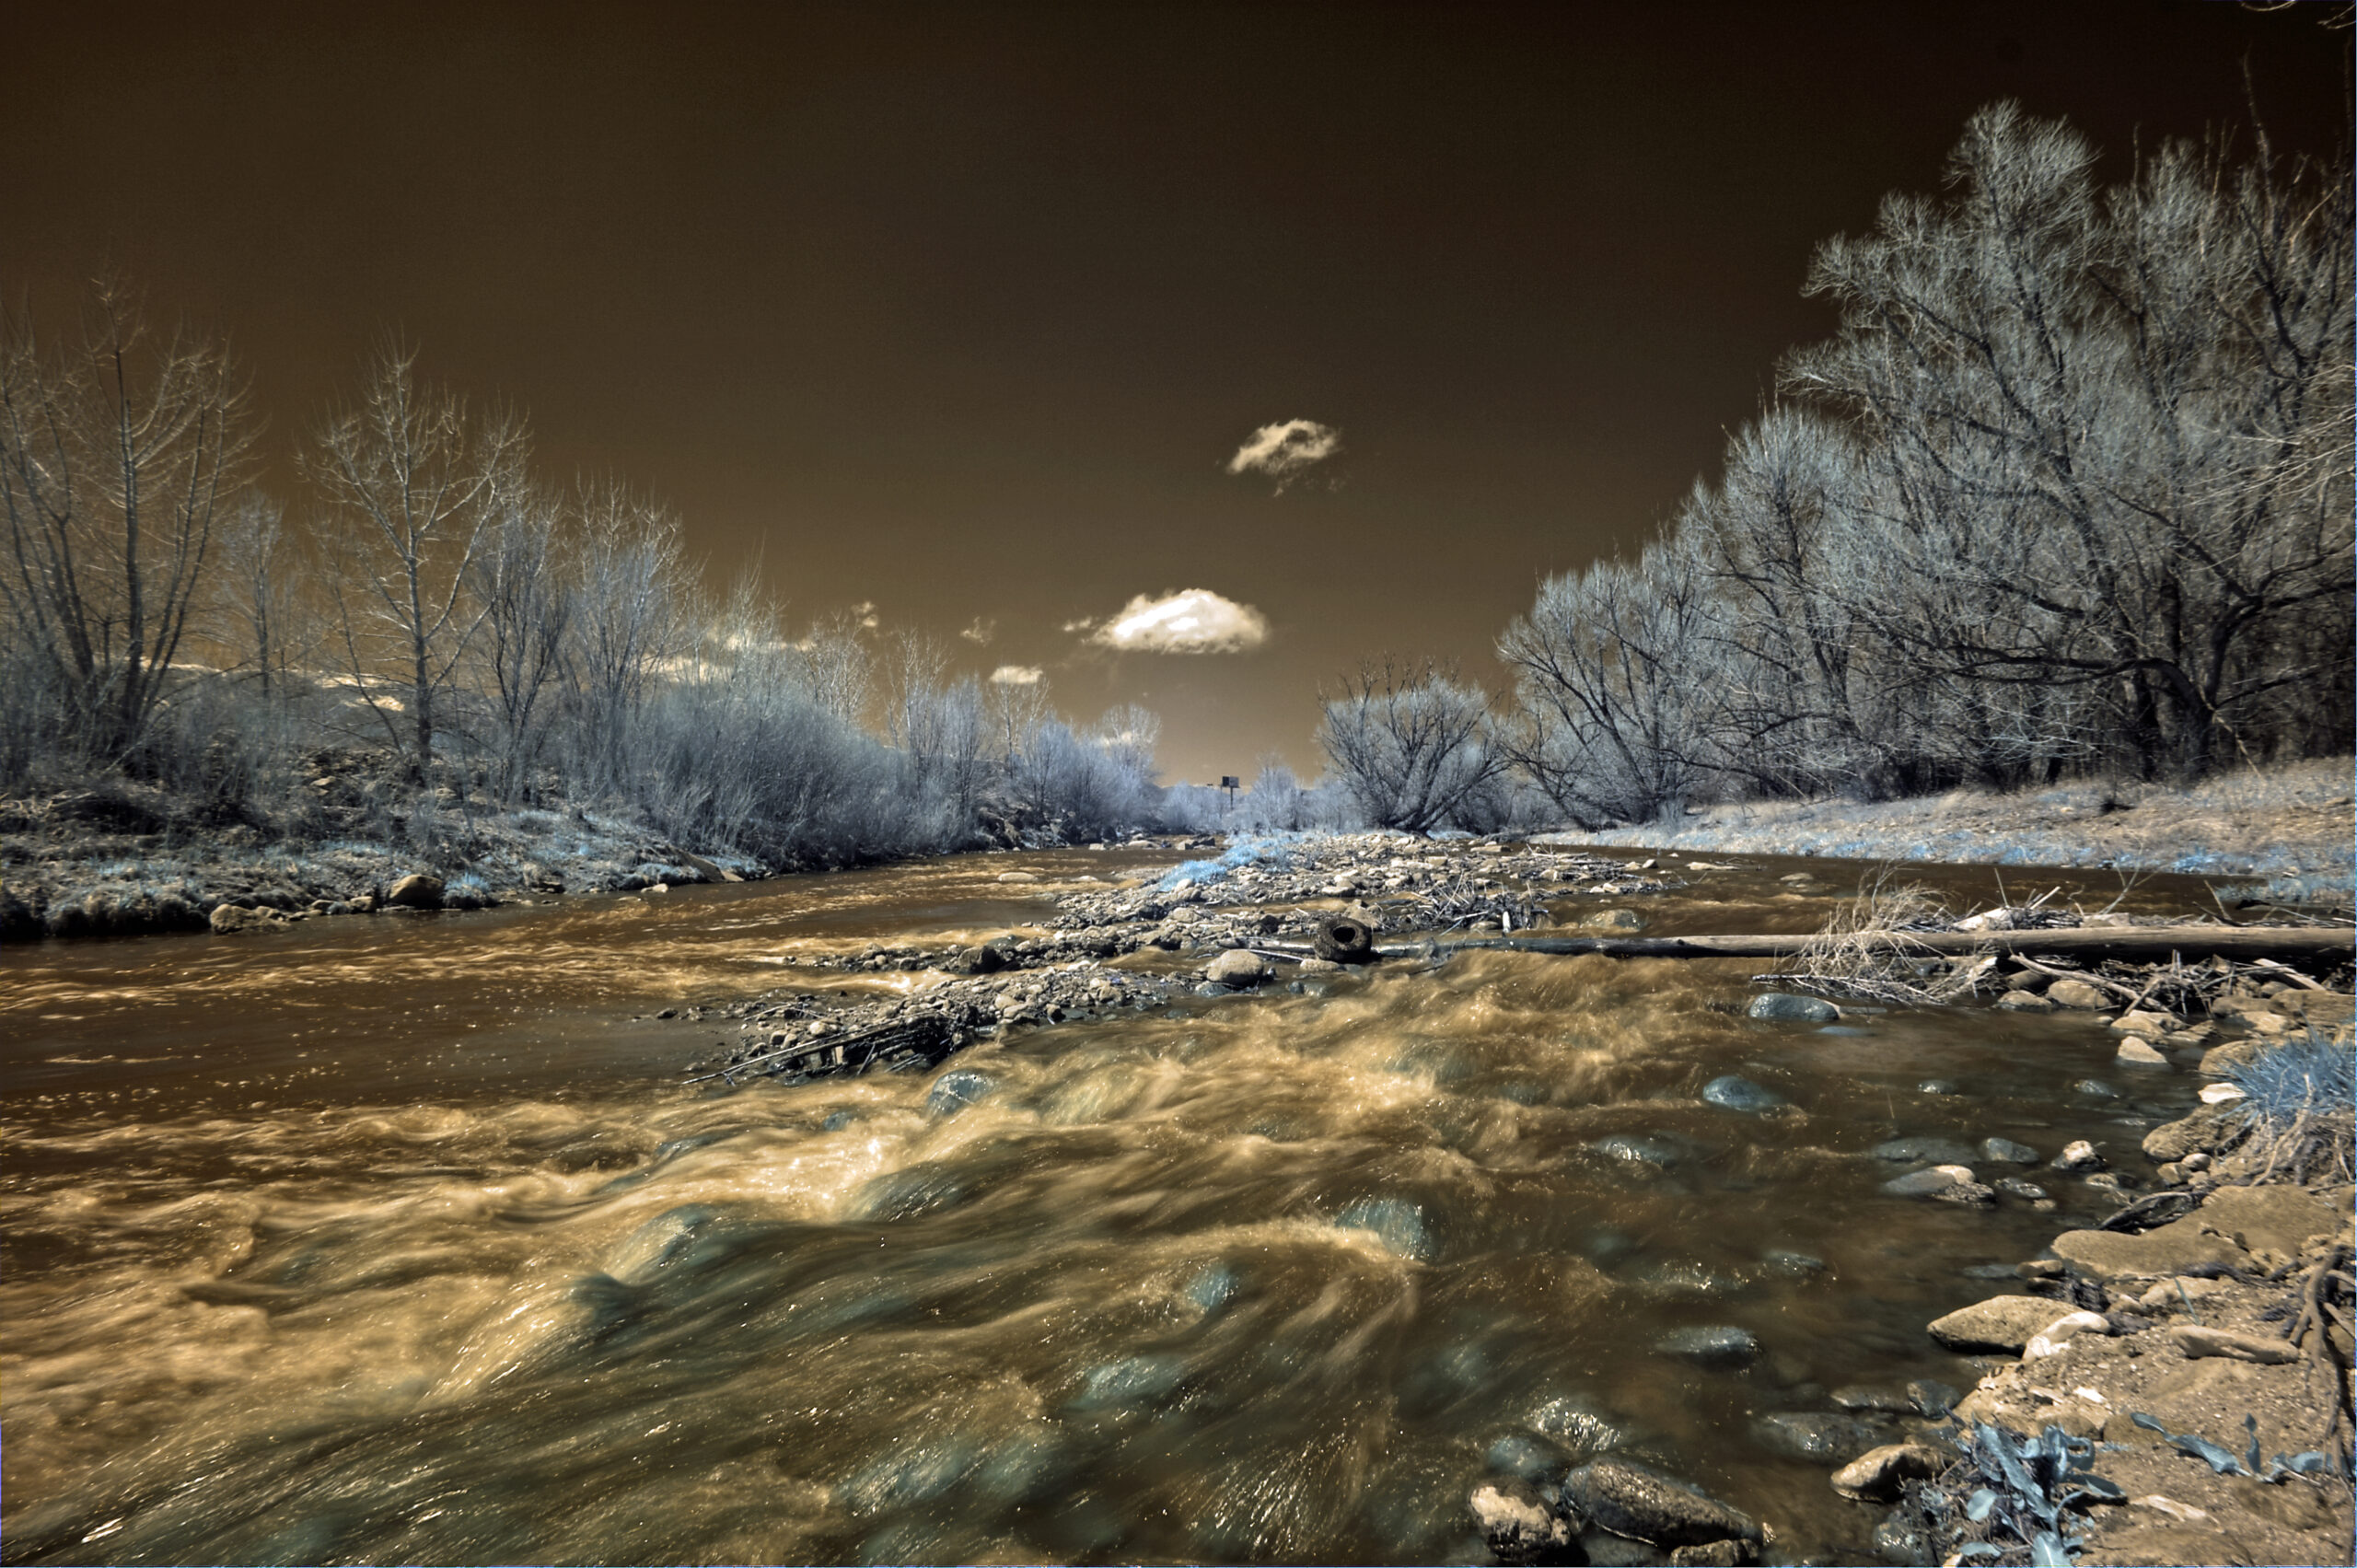
The “cut-on” wavelength of your filter or conversion decides the look. Shorter wavelengths pass more visible light and give colorful false-color results; longer wavelengths go monochrome.
| Wavelength | Foliage | Sky | Best for |
|---|---|---|---|
| 590nm (“goldie”) | Gold / peach | Deep teal | Warm false color, editorial, portraits with foliage |
| 665nm | White with pink | Blue | Balanced false color — a strong all-rounder |
| 720nm (classic) | Bright white | Near-black | Classic IR, easy fine-art black and white |
| 850nm (deep IR) | Glowing white | Black | Pure monochrome, maximum contrast |
Camera Settings and Technique
Whatever route you take, a few habits make the difference between muddy files and clean infrared:
- Shoot RAW and set a custom white balance. For 720 nm and above, balance on green grass or foliage to get the classic white trees; below 720 nm, use a gray card. A normal auto white balance leaves a heavy red cast.
- Mind the focus shift. Infrared focuses at a slightly different point than visible light. Mirrorless bodies correct for this automatically; older manual lenses carry a red IR index mark on the focus scale.
- Chase bright sun. Infrared thrives on harsh, sunny days — foliage reflects the most IR then, and shutter speeds stay manageable. Overcast skies sap the effect.
- Watch for lens “hot spots.” Some lenses develop a bright, hazy circle in the center at smaller apertures because their coatings weren’t designed for IR. Older, simpler lenses are often the best performers.
- Keep ISO low and stop down only as far as you need; converted cameras meter normally, while filter shooters will be on a tripod anyway.
Post-Processing: The Channel Swap
Infrared RAW files come out with a strong red or magenta cast. There are two classic fixes. For black and white, convert to monochrome and pull up contrast — the sky sinks to black and the foliage jumps to glowing white. For false color, swap the red and blue channels using the channel mixer (red out, blue in, and vice versa), which restores a blue sky and leaves the foliage in surreal gold, white, or pink depending on your wavelength. From there, hue/saturation and curves let you fine-tune the palette.
Conclusion
Infrared photography is easy to start and endlessly deep. A 720 nm filter and a tripod on a sunny day will show you the magic for the price of lunch; a converted older Nikon or Canon body unlocks handheld shooting and a full wavelength palette. Either way, you’ll never look at a green landscape the same way again.
FAQ
Can I shoot infrared without converting my camera?
Yes. A 720 nm (or longer) screw-on filter works on an unmodified camera, but the built-in hot mirror forces long exposures of several seconds to a minute, so you’ll need a tripod.
What’s the best wavelength for a first conversion?
720 nm is the safe classic — high contrast and easy black-and-white conversions. If you want color to play with, 590 nm or 665 nm is the more flexible choice.
Does infrared work in cloudy weather?
It works, but weakly. Bright direct sun makes foliage reflect the most infrared, so the Wood Effect is strongest on clear days.
Which cameras are best to convert?
An older DSLR (many convert Nikon and Canon bodies) is the cheapest serious option. Mirrorless bodies generally autofocus and white-balance more reliably after conversion.
Related Posts

The Exposure Triangle Explained: Aperture, Shutter Speed, and ISO
Photography comes down to one thing: light. Every photo you…
Long Exposure Photography: A Complete Guide to Silky Water and Light Trails
Long exposure photography turns time into a creative tool. By…
Rule of Thirds and Leading Lines: Master the Two Most Important Composition Rules
Composition is what separates a snapshot from a photograph. A…