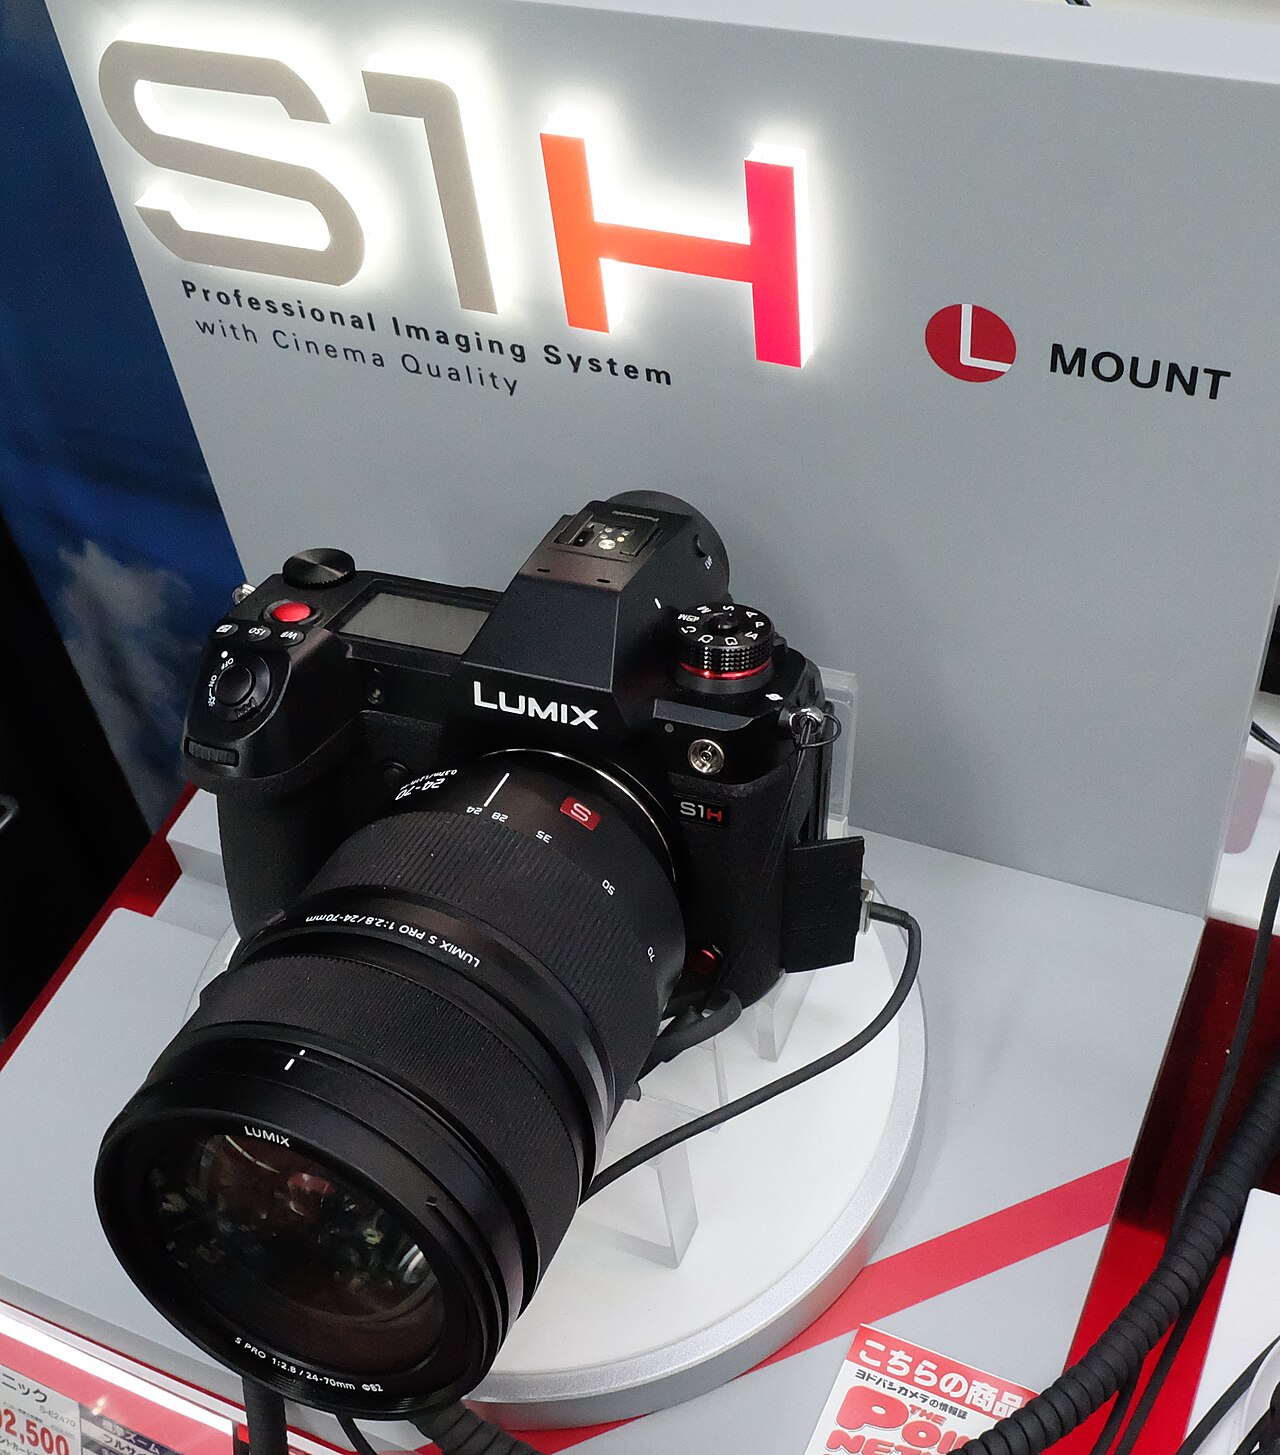
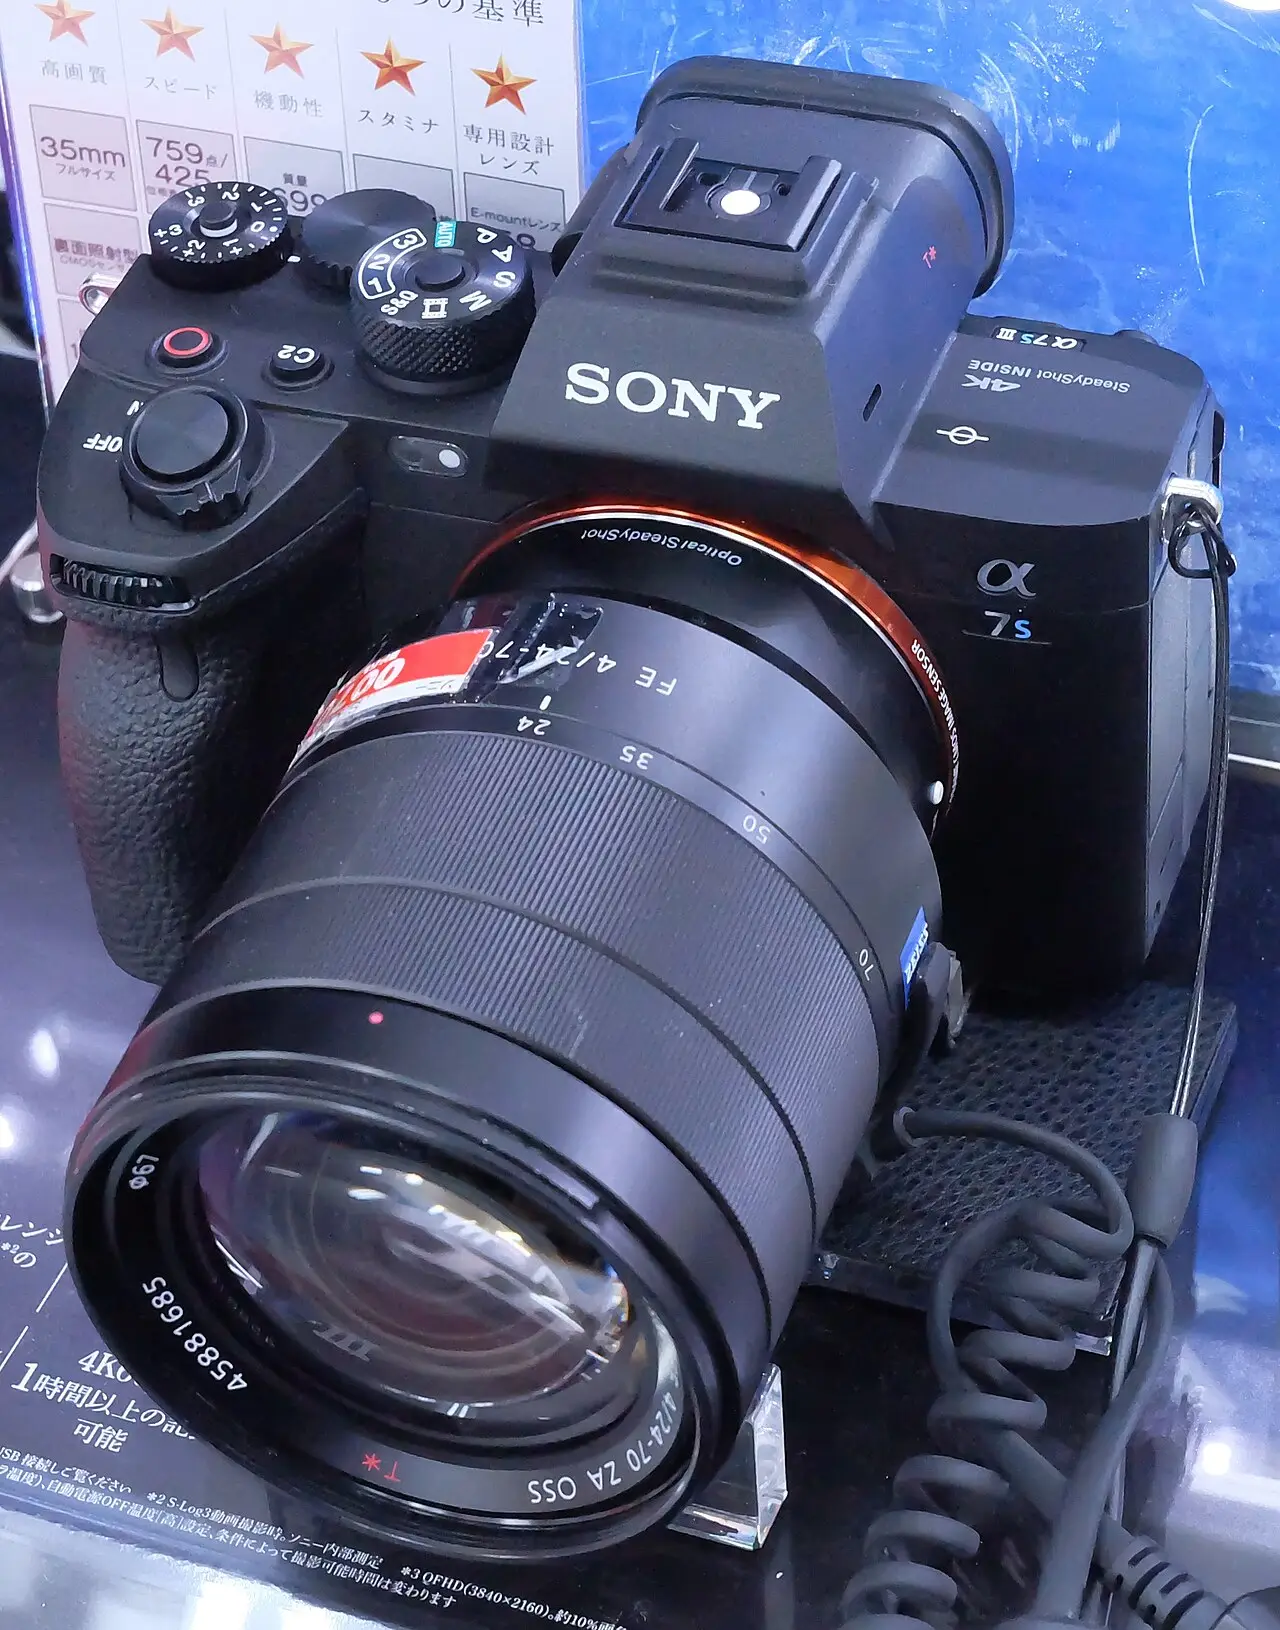
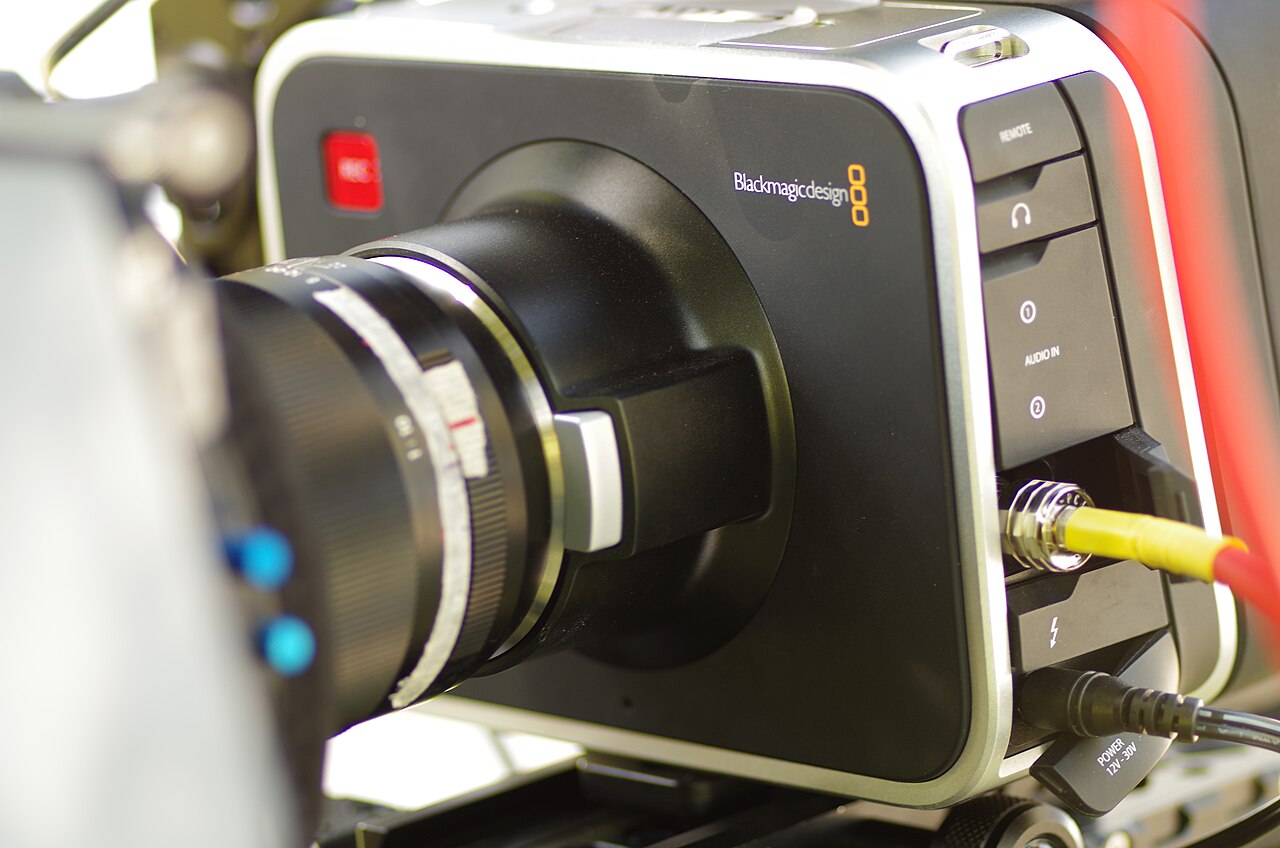
If you’ve ever pored over the video specs of a Panasonic Lumix S1H, a Sony a7S III, or a Blackmagic cinema camera, you’ve probably run into a head-scratching spec: two different “native” (or “base”) ISO values listed instead of one. A dual native ISO camera essentially carries two separate analog gain paths inside a single sensor, and that one engineering trick is a large part of why modern cameras can pull clean, usable footage out of near-darkness. Here’s what dual native ISO actually is, how it works, and how to shoot with it.
What Is a “Native” ISO Anyway?
Every sensor has a base sensitivity — the ISO where it captures the fullest dynamic range with the least noise, before any artificial amplification is applied. On most cameras that’s something like ISO 100 (or ISO 800 in log profiles). When you raise the ISO above base, the camera amplifies the signal, either in analog circuitry before the analog-to-digital converter or digitally afterward. Analog amplification is “cleaner” because it boosts the actual photon signal along with less of the fixed read noise; digital gain just multiplies the numbers, noise and all.
The problem is that a single analog gain stage is a compromise. Tuned for bright light, it gets noisy when you push sensitivity up. Tuned for darkness, it sacrifices highlight headroom in daylight. Dual native ISO solves this by giving the sensor two independently optimized analog circuits.
How Dual Native ISO Works
In a dual native ISO sensor, each pixel can be read through two separate circuits — one optimized for low sensitivity, another for high sensitivity — before the signal ever reaches the gain amplifier. At the lower native ISO the sensor routes the signal through the low-noise, low-gain path; flip to the higher native ISO and it switches to the second circuit, which has its own higher analog gain and its own noise floor.
Here’s the counterintuitive part that trips people up: ISO values between the two native settings are usually just digitally boosted versions of the lower one. That means a shot at the second native ISO (say, ISO 4000 on the S1H) can look cleaner than a shot at an intermediate value like ISO 3200, because 3200 is digital gain stacked on the low circuit while 4000 uses the dedicated high-gain analog path. This is the single most useful thing to remember when shooting dual native ISO: it’s often better to jump up to the second native value than to sit just below it.
Which Cameras Use It
Panasonic invented the concept and coined the term. Dual Native ISO first appeared in its VariCam cinema line, then trickled down to the Lumix range. The Lumix GH5S (2018) was the first hybrid to get it, with native ISOs of 400 and 2500. The full-frame Lumix S1H (2019) brought it to full frame, offering 640 and 4000 as its two base ISOs in V-Log. Both top out at ISO 51200.
Sony uses the same idea under the name “dual gain” or “dual base ISO.” The a7S III (and its cinema siblings FX3 and FX6) has a second base ISO of 12800 in S-Log3, with the first base at 640 — one reason the a7S III remains a low-light video benchmark. Blackmagic cameras, including the Pocket Cinema Camera line, also feature a second native ISO (for example, 1250 on several models) with the same behavior.
Dual Native ISO vs Dual Gain Output
Don’t confuse dual native ISO with Canon’s Dual Gain Output (DGO) sensor, used in the C300 Mark III and C70. DGO reads every photosite at two gain levels simultaneously — a high-gain read for the shadows and a low-gain read for the highlights — and combines them in real time to stretch dynamic range. Dual native ISO, by contrast, is a switch: you pick one of two base sensitivities. DGO extends dynamic range automatically; dual native ISO gives you cleaner high-ISO footage by moving the noise floor. Related goals, very different mechanics.
How to Shoot With Dual Native ISO
First, find your camera’s two native values (they shift depending on the picture profile — for example, the S1H’s 640/4000 apply to V-Log). Then follow a few practical rules:
- Prefer the two native values over in-between ISOs. If you need more sensitivity than the low base, jump straight to the high base rather than creeping up step by step.
- Use ND filters to stay at base ISO outdoors. In bright light you don’t want to fight the gain stages — cut the light instead.
- Expose properly at the high base. The high native ISO is clean, but underexposing and pushing in post will still bring up noise.
- Know your log profile. The dual base values are usually quoted for log (V-Log, S-Log3), not the standard profile — check the manual before you rely on them.
FAQ
Does dual native ISO matter for stills or only video?
It’s primarily marketed for video, but it affects stills too — the sensor’s noise behavior doesn’t care whether you’re shooting a frame or a clip. You’ll notice the benefit most in high-ISO video because log profiles amplify the noise floor.
Is the second native ISO always better in low light?
Not “always” — it’s cleaner than a digitally-boosted intermediate ISO, but it also reduces dynamic range somewhat compared to the lower base. Use it when you genuinely need the sensitivity.
Can I enable dual native ISO on any camera?
No. It’s a hardware feature built into the sensor’s readout circuitry, so it can’t be added with a firmware update.
Conclusion
Dual native ISO is one of those quiet engineering advances that doesn’t show up in a spec headline but changes how a camera behaves in the dark. By giving a sensor two optimized analog gain paths, it lets you jump to a higher sensitivity without the usual noise penalty — and understanding where your camera’s two native values sit will almost always get you cleaner footage than leaving ISO on auto.
Related Posts
Log Video Profiles Explained: How S-Log3, C-Log3, and V-Log Capture More Dynamic Range
Point a camera with a log profile enabled at a…

Global Shutter vs Rolling Shutter: What’s the Difference and Why It Matters
Every digital camera turns light into an image using a…
Lens Mount Systems Compared: Canon RF vs Sony E vs Nikon Z vs Fujifilm X
When you buy an interchangeable-lens camera, you are not just…