Pointing a camera at the night sky and capturing the Milky Way can feel like magic, but it is actually one of the most learnable skills in photography. You don’t need a telescope or an expensive tracking mount to get started — a camera with manual controls, a fast wide lens, and a sturdy tripod are enough. This guide walks through everything a beginner needs: the gear, the right time and place, the exact settings, and how to focus in total darkness.
The Three Pieces of Gear You Actually Need
Milky Way photography starts with three essentials. First, a camera that shoots in manual mode and records RAW. Any modern DSLR or mirrorless body will do — full-frame sensors generally perform better at high ISO, but a capable APS-C camera is plenty to begin with. Popular full-frame choices for astro include the Sony a7 III, Canon EOS R6, and Nikon Z6 II, all clean performers at high ISO.
Second, a “fast” wide lens: an aperture of f/2.8 or faster, ideally between 14mm and 24mm. A wide angle keeps the core of the galaxy in frame and, because it magnifies less, allows longer exposures before the stars trail. Third, a sturdy tripod. The camera must stay perfectly still for 15 to 30 seconds, so a solid tripod matters more than an expensive one. A remote shutter release — or the camera’s built-in 2-second timer — completes the setup and removes the shake from pressing the button.
Finding Dark Skies and the Right Time
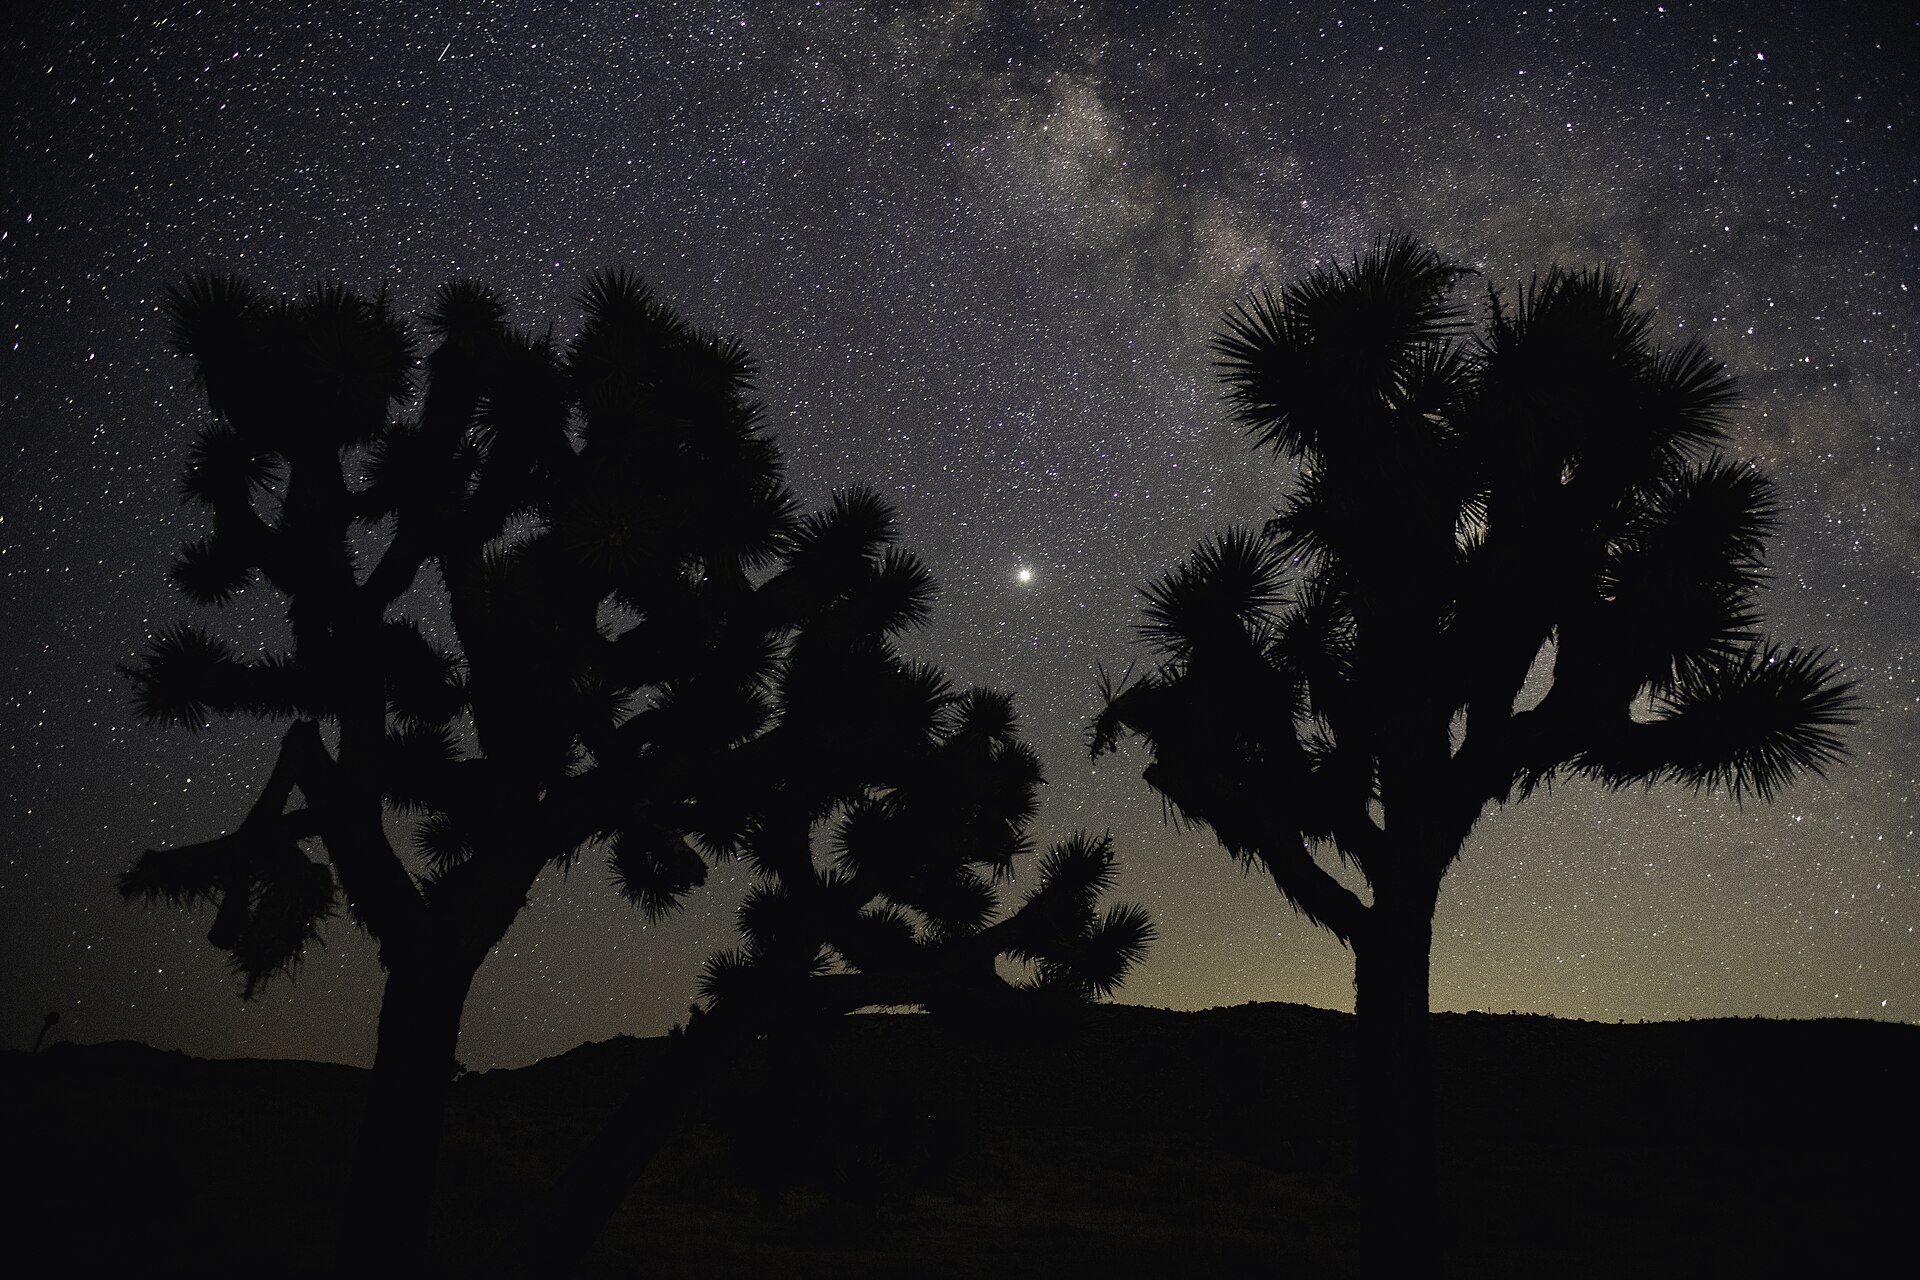
The Milky Way is invisible under light-polluted skies, so location matters more than any piece of gear. Use a light-pollution map to find a site far from city glow, and shoot on a clear, moonless night — the bright core washes out within a day or two of a full moon. In the Northern Hemisphere, the galactic core is best seen roughly from February through October, with summer offering the brightest, highest view. Apps like PhotoPills or Stellarium show exactly when and where the core rises and sets, so you can plan your composition before you leave home.
Camera Settings That Work
Shoot in manual mode and set three things. Aperture: open the lens all the way — f/1.4, f/1.8, f/2, or f/2.8 — to gather as much light as possible. Shutter speed: use the “500 rule” as a starting point — divide 500 by your focal length (in full-frame terms) to get the longest exposure before stars trail. A 24mm lens allows roughly 20 seconds (500 ÷ 24). On an APS-C camera, factor in the crop factor; many shooters prefer the more conservative 300 rule for crisper stars. ISO: start around 3200 and adjust between roughly 1600 and 6400 depending on how dark your sky is. Set white balance near 3800–4000K for natural-looking skies, and always shoot RAW — it preserves the detail you’ll need when lifting shadows and reducing noise later.
Focusing When Autofocus Gives Up
Autofocus cannot lock onto stars, so focus manually. Switch the lens to manual focus, magnify the live view on a bright star or a distant light, and rotate the focus ring until it becomes a pinpoint. Some cameras offer focus peaking, which highlights in-focus areas in color. The infinity mark on most lenses is not exact — always confirm by zooming into live view rather than trusting the marking. Take a short high-ISO test shot, then zoom in on the result to confirm the stars are sharp before committing to longer exposures.
Shooting Technique and Common Mistakes
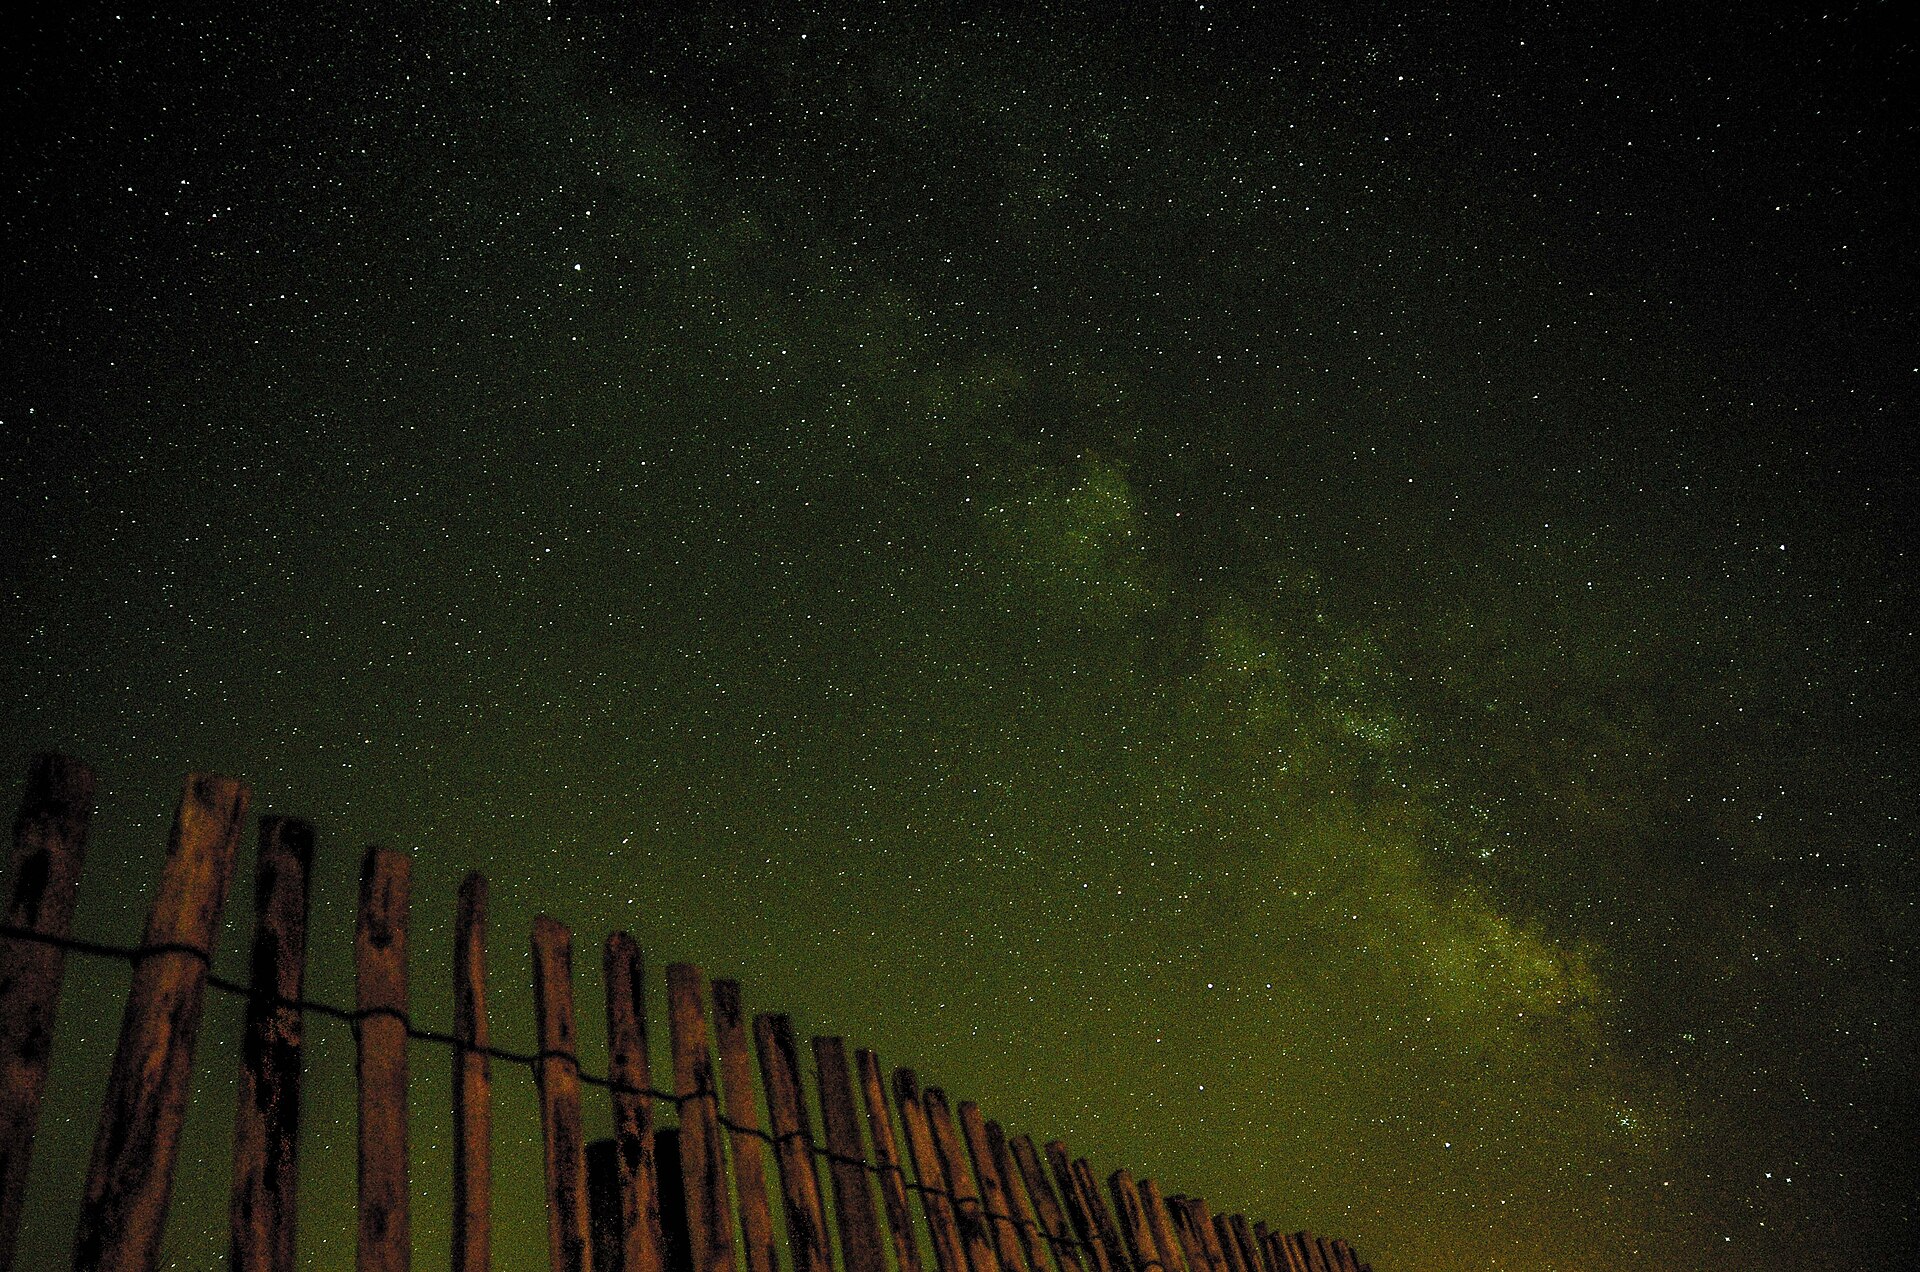
With settings locked, frame your shot and trigger it with a timer or remote so you don’t shake the camera. If your camera offers electronic shutter or an exposure delay, use it to cut internal vibration. Review each frame at 100% zoom for star trailing, and check the histogram to make sure you haven’t clipped the shadows. The most common beginner mistakes are easy to avoid: leaving autofocus on (soft stars), shooting JPEG instead of RAW (limited recovery), and exposing too long so stars stretch into short trails.
A Quick Edit That Brings It to Life
Milky Way images straight from the camera often look flat and cool. In Lightroom or similar software, raise exposure slightly, lift shadows, and add contrast so the dark dust lanes stand out. Reduce luminance noise — strongest in the shadows — and use a dehaze or clarity adjustment to sharpen the core. A gentle white-balance tweak toward a warmer tone makes the sky feel natural rather than blue. Small, tasteful edits go a long way; the goal is a bright, clean galaxy without visible noise.
Conclusion
Milky Way photography rewards patience, but the fundamentals are simple: a fast wide lens, a steady tripod, a truly dark sky, and a handful of manual settings. Once you’ve nailed a single clean frame of the core, you can experiment with foreground interest, panoramas, and even star-tracker mounts. Start with one good shot — everything else builds from there.
FAQ
What’s the best lens for Milky Way photography? A fast, wide prime around 14–24mm at f/2.8 or faster. Popular choices include 14mm, 20mm, and 24mm f/1.4–f/1.8 lenses; a 24mm f/1.4 is a classic all-rounder.
Can I photograph the Milky Way with a smartphone? Yes, with limits. Recent flagship phones with dedicated astrophotography or night modes can capture a recognizable Milky Way when mounted on a tripod, but results won’t match a dedicated camera with a fast lens.
When is the Milky Way visible? In the Northern Hemisphere the bright core is visible roughly February through October, peaking in summer. It’s best photographed under a clear, moonless sky far from city lights.
Related Posts
Rule of Thirds and Leading Lines: Master the Two Most Important Composition Rules
Composition is what separates a snapshot from a photograph. A…
The Exposure Triangle: Aperture, Shutter Speed and ISO Explained
Every photograph you take is the result of one simple…

Shutter Speed Explained: How to Freeze and Blur Motion
Shutter speed is the setting that decides whether a racing…