Point a camera with a log profile enabled at a bright scene and the image on the monitor looks broken — flat, gray, washed out, as if someone turned the contrast dial down to zero. That flat look is not a mistake; it is the whole point. Log (short for logarithmic) profiles are how modern mirrorless and cinema cameras preserve far more highlight and shadow detail than a standard picture style can, giving editors room to shape the image later.
What Is a Log Profile?
A log profile is a gamma curve — the mathematical function that maps light hitting the sensor to the brightness values recorded in the file. Most cameras default to a standard curve, commonly Rec.709, which is designed to look correct on a TV straight out of the camera. But Rec.709 is inefficient with data: it allocates roughly 60% of its available code values to the brightest 10% of the scene. The result is crushed shadows, clipped highlights, and a usable dynamic range of only about 8–9 stops.
A logarithmic curve fixes this by spreading the same number of code values far more evenly across the full exposure range. Shadows get more room, highlights get more headroom, and a modern sensor’s 13–15 stops of dynamic range survive into the file. The trade-off is that the image no longer looks “right” on screen — it looks flat — because nothing is being crushed or clipped. That flatness is dynamic range waiting to be shaped in editing.
The Major Log Profiles Compared
Nearly every manufacturer has its own log flavor, but they all do the same job:
- Sony S-Log3 — found on cameras like the FX3, FX6, and a7S III, paired with the S-Gamut3.Cine color space. It preserves roughly 14–15 stops of dynamic range and places middle gray around 41 IRE.
- Canon Log 3 (C-Log3) — on the EOS R5 C, C70, and R6 Mark II, using Canon Cinema Gamut. Known for a forgiving highlight roll-off and roughly 13 stops of usable range.
- Panasonic V-Log — on the Lumix S and GH series, paired with V-Gamut, delivering roughly 13–14 stops.
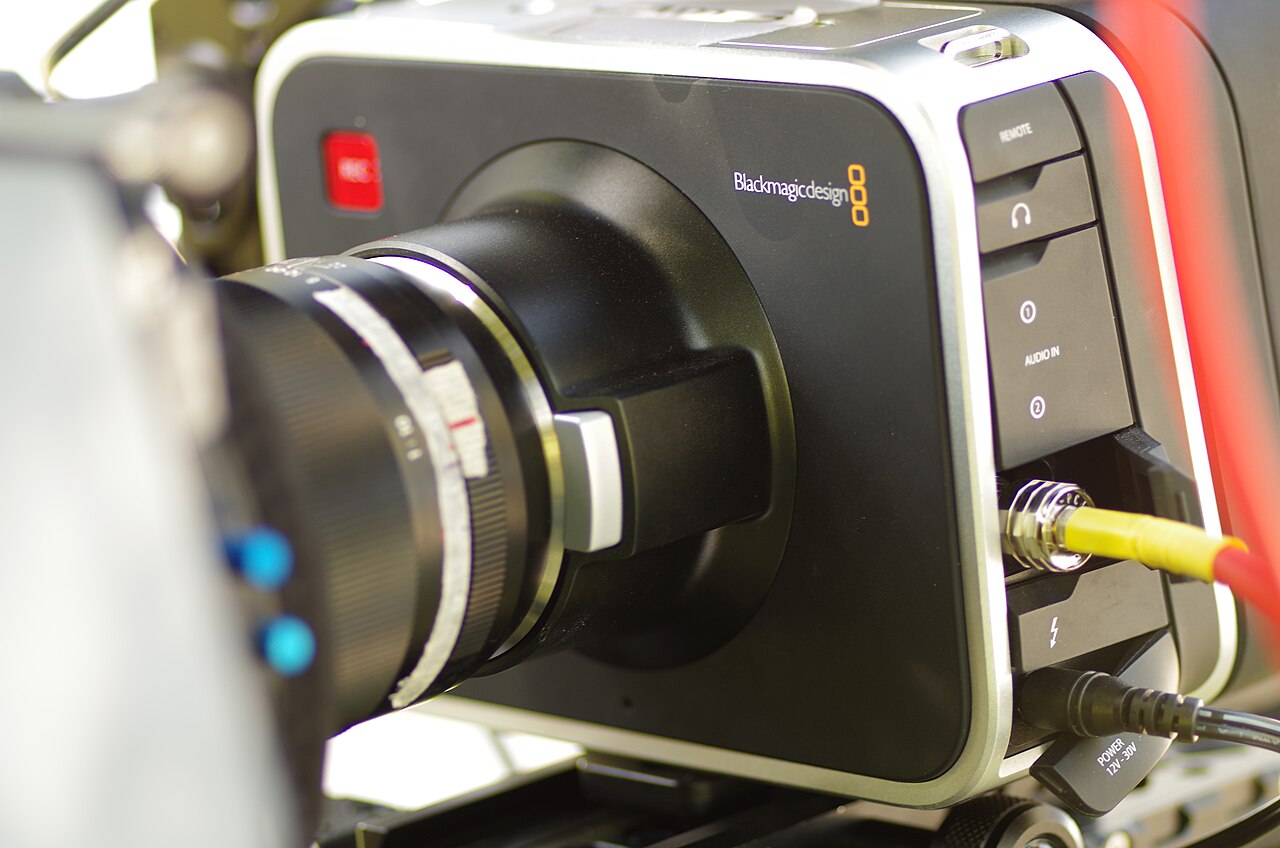
- Others — Nikon N-Log, Fujifilm F-Log and F-Log2, Blackmagic’s Film curve, and ARRI’s LogC3/LogC4 follow the same principle with slightly different curve shapes and gamuts.
The curves differ in where they place middle gray and how they treat the shadows, which is why footage from different brands grades a little differently — but the underlying idea is identical.
Log Is Not Raw (and Bit Depth Matters)
It is easy to conflate log with raw, but they are different things. Raw files store the sensor’s linear readings before most processing, typically at 12–16 bits per photosite. Log is a processed, gamma-compressed signal — usually 10-bit 4:2:2 — that has already been mapped through the log curve.
Bit depth is the critical constraint. A 10-bit signal offers 1,024 code values per channel; 8-bit offers only 256. Squeeze 13 stops of dynamic range through an 8-bit container and you get visible banding in smooth gradients such as skies. That is why serious log shooting demands 10-bit (or 12-bit) recording — and why entry-level cameras limited to 8-bit are a poor choice for heavy grading.
How to Expose and Grade Log Footage
Log rewards careful exposure. Because shadows sit higher on the waveform than they do in standard gamma, the standard advice is to expose to the right (ETTR) — bias the image toward the highlights by roughly +1.5 to +2 EV — while monitoring with a waveform rather than your eye. This lifts the signal above the sensor’s noise floor without clipping highlights, which matters all the more because log’s flat look makes underexposure hard to judge on a small screen.
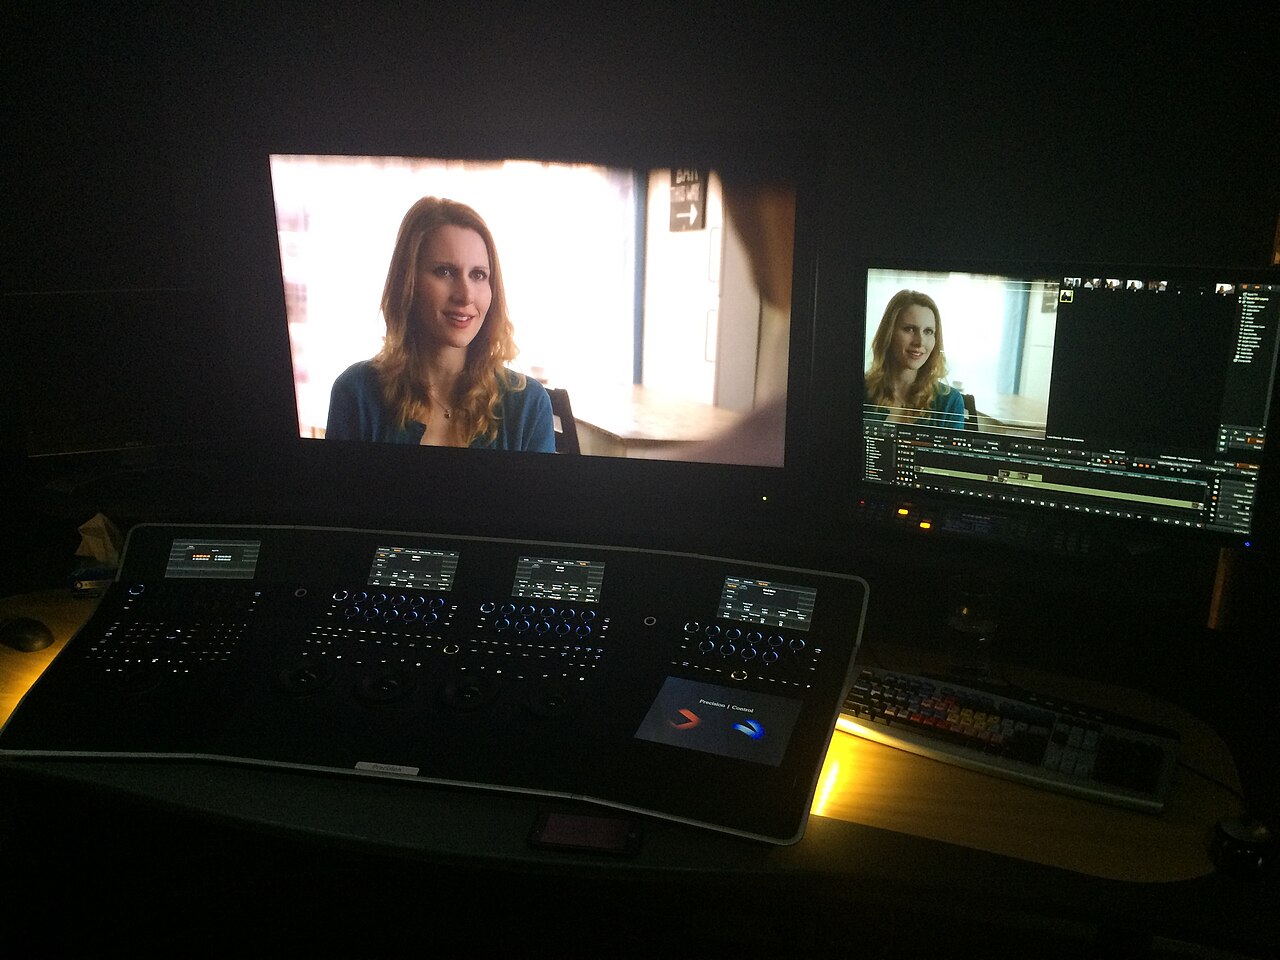
In post, you apply a LUT (look-up table) or a manual color grade to convert the flat log image back into a viewable Rec.709 or HDR image. Most manufacturers ship a technical LUT for exactly this conversion, and it becomes the starting point for your creative grade. The payoff is the reason people bother: a single log file can be pushed in either direction — recover a blown sky or lift a murky shadow — in ways a baked-in Rec.709 picture style simply cannot.
Conclusion
Log profiles are the quiet engine behind the “filmic” look of modern video. They trade an immediately pleasing image for one that keeps its options open, preserving the dynamic range a sensor can capture so an editor can decide later what the final image should look like. If you shoot video on a modern mirrorless or cinema camera, learning to expose and grade one log profile — whichever your brand calls its own — is one of the highest-leverage skills you can add.
FAQ
Why does log footage look gray and washed out?
The flat, low-contrast look is deliberate. A log gamma curve spreads the sensor’s dynamic range evenly across the available code values instead of crushing shadows and clipping highlights, so no detail is thrown away before you grade it.
Do I need to shoot in log for every video?
No. If you do not plan to color grade, standard picture profiles are fine and often look better with no extra work. Log is worth the effort when a scene has high contrast or you want maximum flexibility in editing.
What is the difference between log and raw?
Log is a processed, gamma-compressed signal, usually 10-bit 4:2:2. Raw stores the sensor’s linear data before processing, typically at 12-bit or higher, giving even more grading latitude but producing much larger files.
Related Posts
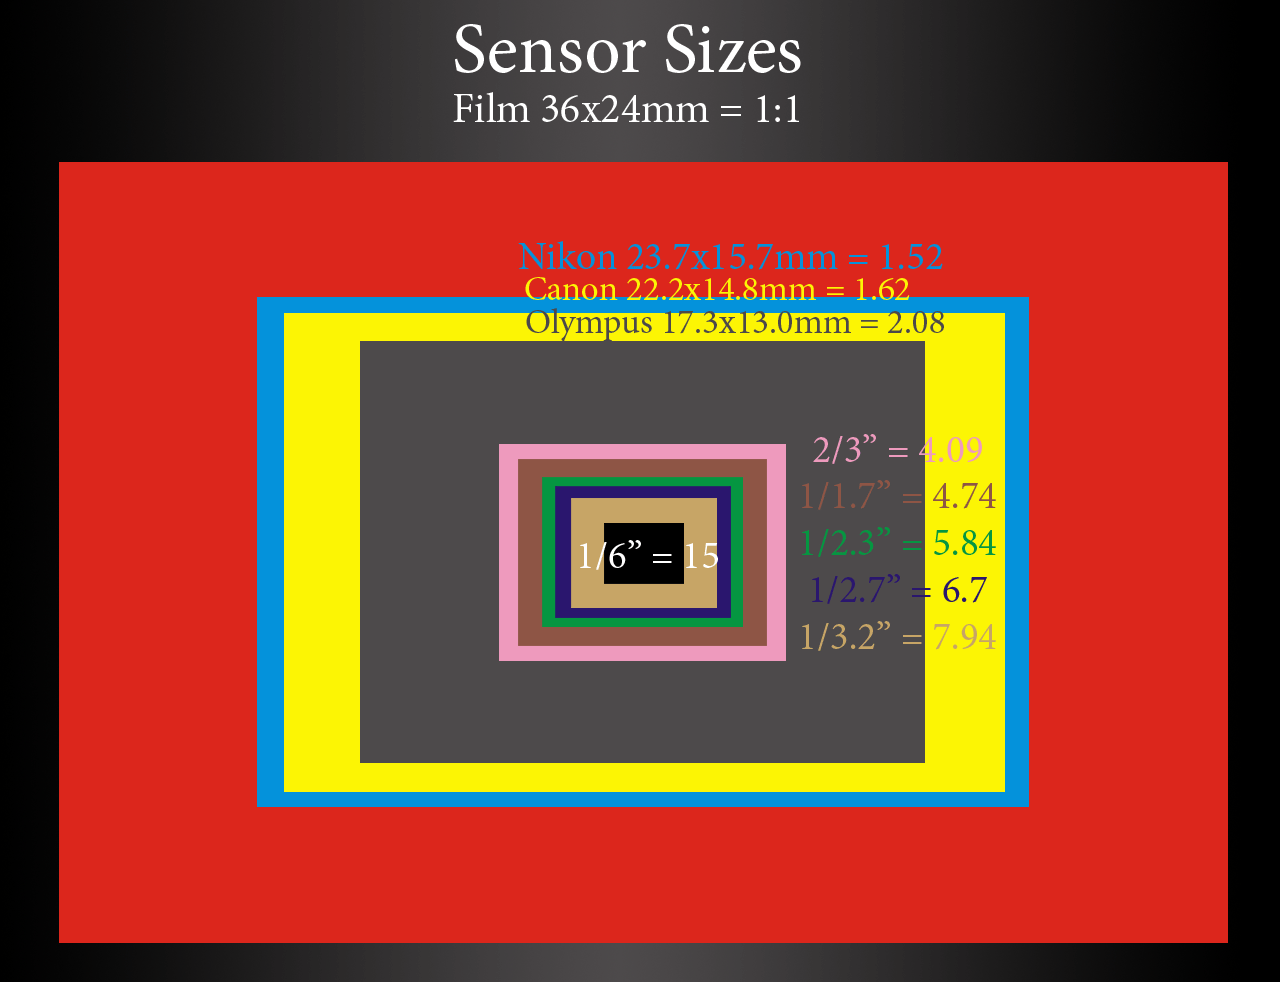
Camera Sensor Crop Factor Explained: Full Frame, APS-C and More
When you shop for a camera or lens, two phrases…
Lens Mount Systems Compared: Canon RF vs Sony E vs Nikon Z vs Fujifilm X
When you buy an interchangeable-lens camera, you are not just…
Pixel Binning Explained: Why Your 200MP Phone Takes 12MP Photos
Open the camera app on a modern flagship phone and…