Photographing birds in flight is one of the most rewarding — and most demanding — challenges in wildlife photography. A bird moves fast, changes direction instantly, and rarely flies against a convenient background. But with the right camera settings, autofocus configuration, and a little technique, sharp, dramatic bird-in-flight shots are well within reach. Here’s a practical guide to getting them consistently.
Start With a Fast Shutter Speed
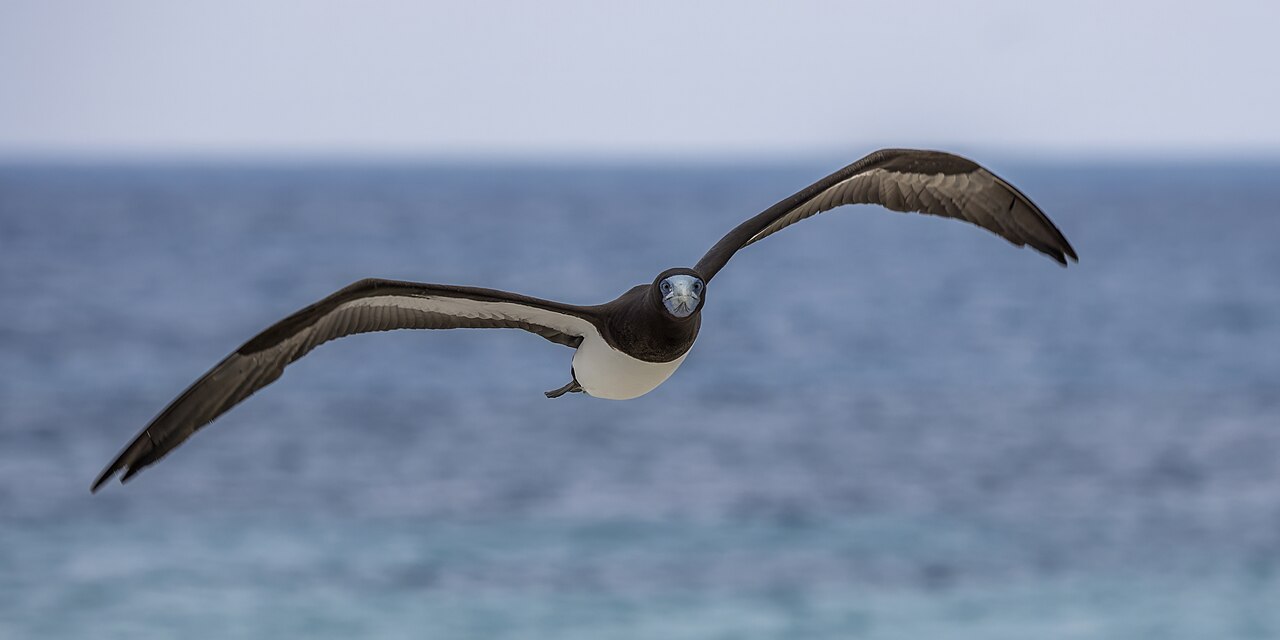
Freezing a flying bird means a fast shutter. For large, slower birds like herons, pelicans, and storks, 1/1000 second is often enough. For smaller, faster species — songbirds, swallows, and ducks — aim for 1/2000 to 1/4000 second. Hummingbirds need 1/2000 second just to register at all, and 1/4000 second or faster if you want to freeze their wings completely. If light is scarce, dropping to 1/1600 or 1/1250 second still works, but expect a lower percentage of sharp keepers. Treat shutter speed as the priority: raise the ISO before you slow the shutter.
Lock Exposure With Manual Mode
Birds fly across changing backgrounds — open sky one moment, dark forest the next. In automatic exposure modes, the camera reacts to that background and can shift your shutter speed at the worst possible moment. Manual mode locks shutter speed, aperture, and ISO so the bird stays correctly exposed no matter what’s behind it. Meter once on the sky or on your subject, then leave it alone. Against a bright white sky, meter the sky and open up about 2 stops so the bird doesn’t render as a silhouette. For aperture, f/5.6 to f/8 gives useful depth of field while still letting in light; go wider open if you need more shutter speed, or stop down toward f/11 when there’s light to spare and you want the whole bird sharp from head to wingtip.
Configure Autofocus for Tracking
Set your camera to continuous autofocus — AF-C on Nikon and Sony, AI Servo on Canon — so focus keeps updating as the bird moves. Modern mirrorless cameras add subject tracking on top: Sony’s Real-time Tracking, Canon’s subject detection, and Nikon’s 3D tracking can lock onto a bird and hold it across the frame. For larger birds that fill more of the frame, a single focus point gives you precise control over exactly where focus lands. For smaller, erratic birds, a wider pattern helps: Nikon’s Group-Area AF or Canon’s Zone AF give the system more points to work with without chasing the whole scene. If your lens has a focus limiter switch, use it to restrict the focusing range and speed up acquisition. And at the shutter speeds used for flight, switch image stabilization off — it can fight your panning and slow the lens down.
Drive Mode, Lens, and Stability
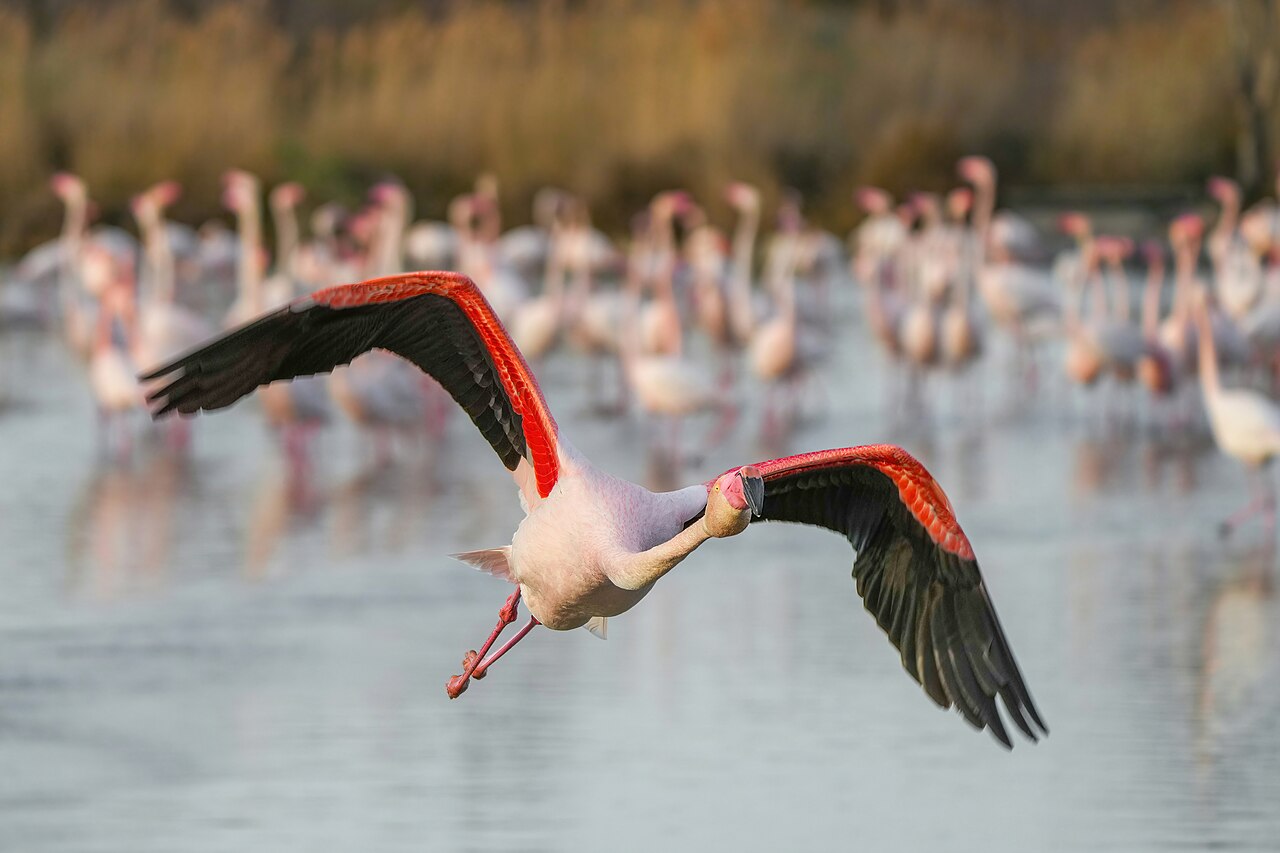
Set the drive mode to continuous high speed. Six to nine frames per second is a solid baseline, but the real winners are cameras with deep buffers that can hold a long burst without pausing. A telephoto in the 200–600 mm range is the classic tool; zoom or prime both work, and modern autofocus handles slower f/6.3 zooms well. Keep the bird large in the frame — ideally filling at least an eighth of it — both for image quality and so the autofocus system has a real target to lock onto. When you can, shoot against a clean background such as a clear sky or calm water; the more contrast there is behind the bird, the harder autofocus has to work.
Position, Prefocus, and Practice
Give yourself the earliest possible sightline so you can pick the bird up while it’s still distant and track it in smoothly. Prefocus the lens at roughly the distance where you expect to acquire the bird — it’s far easier to grab focus when the image is already close to sharp. Pan smoothly and keep the bird in the same part of the frame as you follow it. Bird-in-flight photography is ultimately a numbers game: high burst rates exist precisely because a few frames of every sequence will be the sharp ones. Shoot often, review, and refine.
Conclusion
There’s no single magic setting for birds in flight — the winning combination is a fast shutter, manual exposure that ignores the background, tracking autofocus tuned to the size of your subject, and a high-speed burst. Start with 1/2000 second, f/5.6, Auto ISO capped where you’re comfortable, AF-C with tracking, and continuous high drive. From there, adjust one variable at a time and let your keepers tell you what works.
FAQ
What shutter speed do I need for birds in flight?
At least 1/1000 second for large, slow birds, and 1/2000 to 1/4000 second for smaller, faster species. Hummingbird wings may need 1/4000 second or faster to freeze.
Should I use shutter priority or manual for birds in flight?
Manual is the most reliable, because it locks exposure so a changing background can’t shift your shutter speed. Shutter priority with Auto ISO also works, but keep an eye on the background.
What autofocus mode is best?
Continuous AF (AF-C / AI Servo) with tracking. Use a single point for large birds and a group or zone pattern for small, erratic ones.
What lens do I need?
A telephoto in the 200–600 mm range is ideal; 300–400 mm is a practical starting point for most beginners.
Related Posts
How to Read a Histogram: A Beginner’s Guide to Perfect Exposure
Your camera's histogram is one of its most useful tools…
RAW vs JPEG: What’s the Difference and Which Should You Shoot?
Every digital camera gives you the same basic choice: shoot…
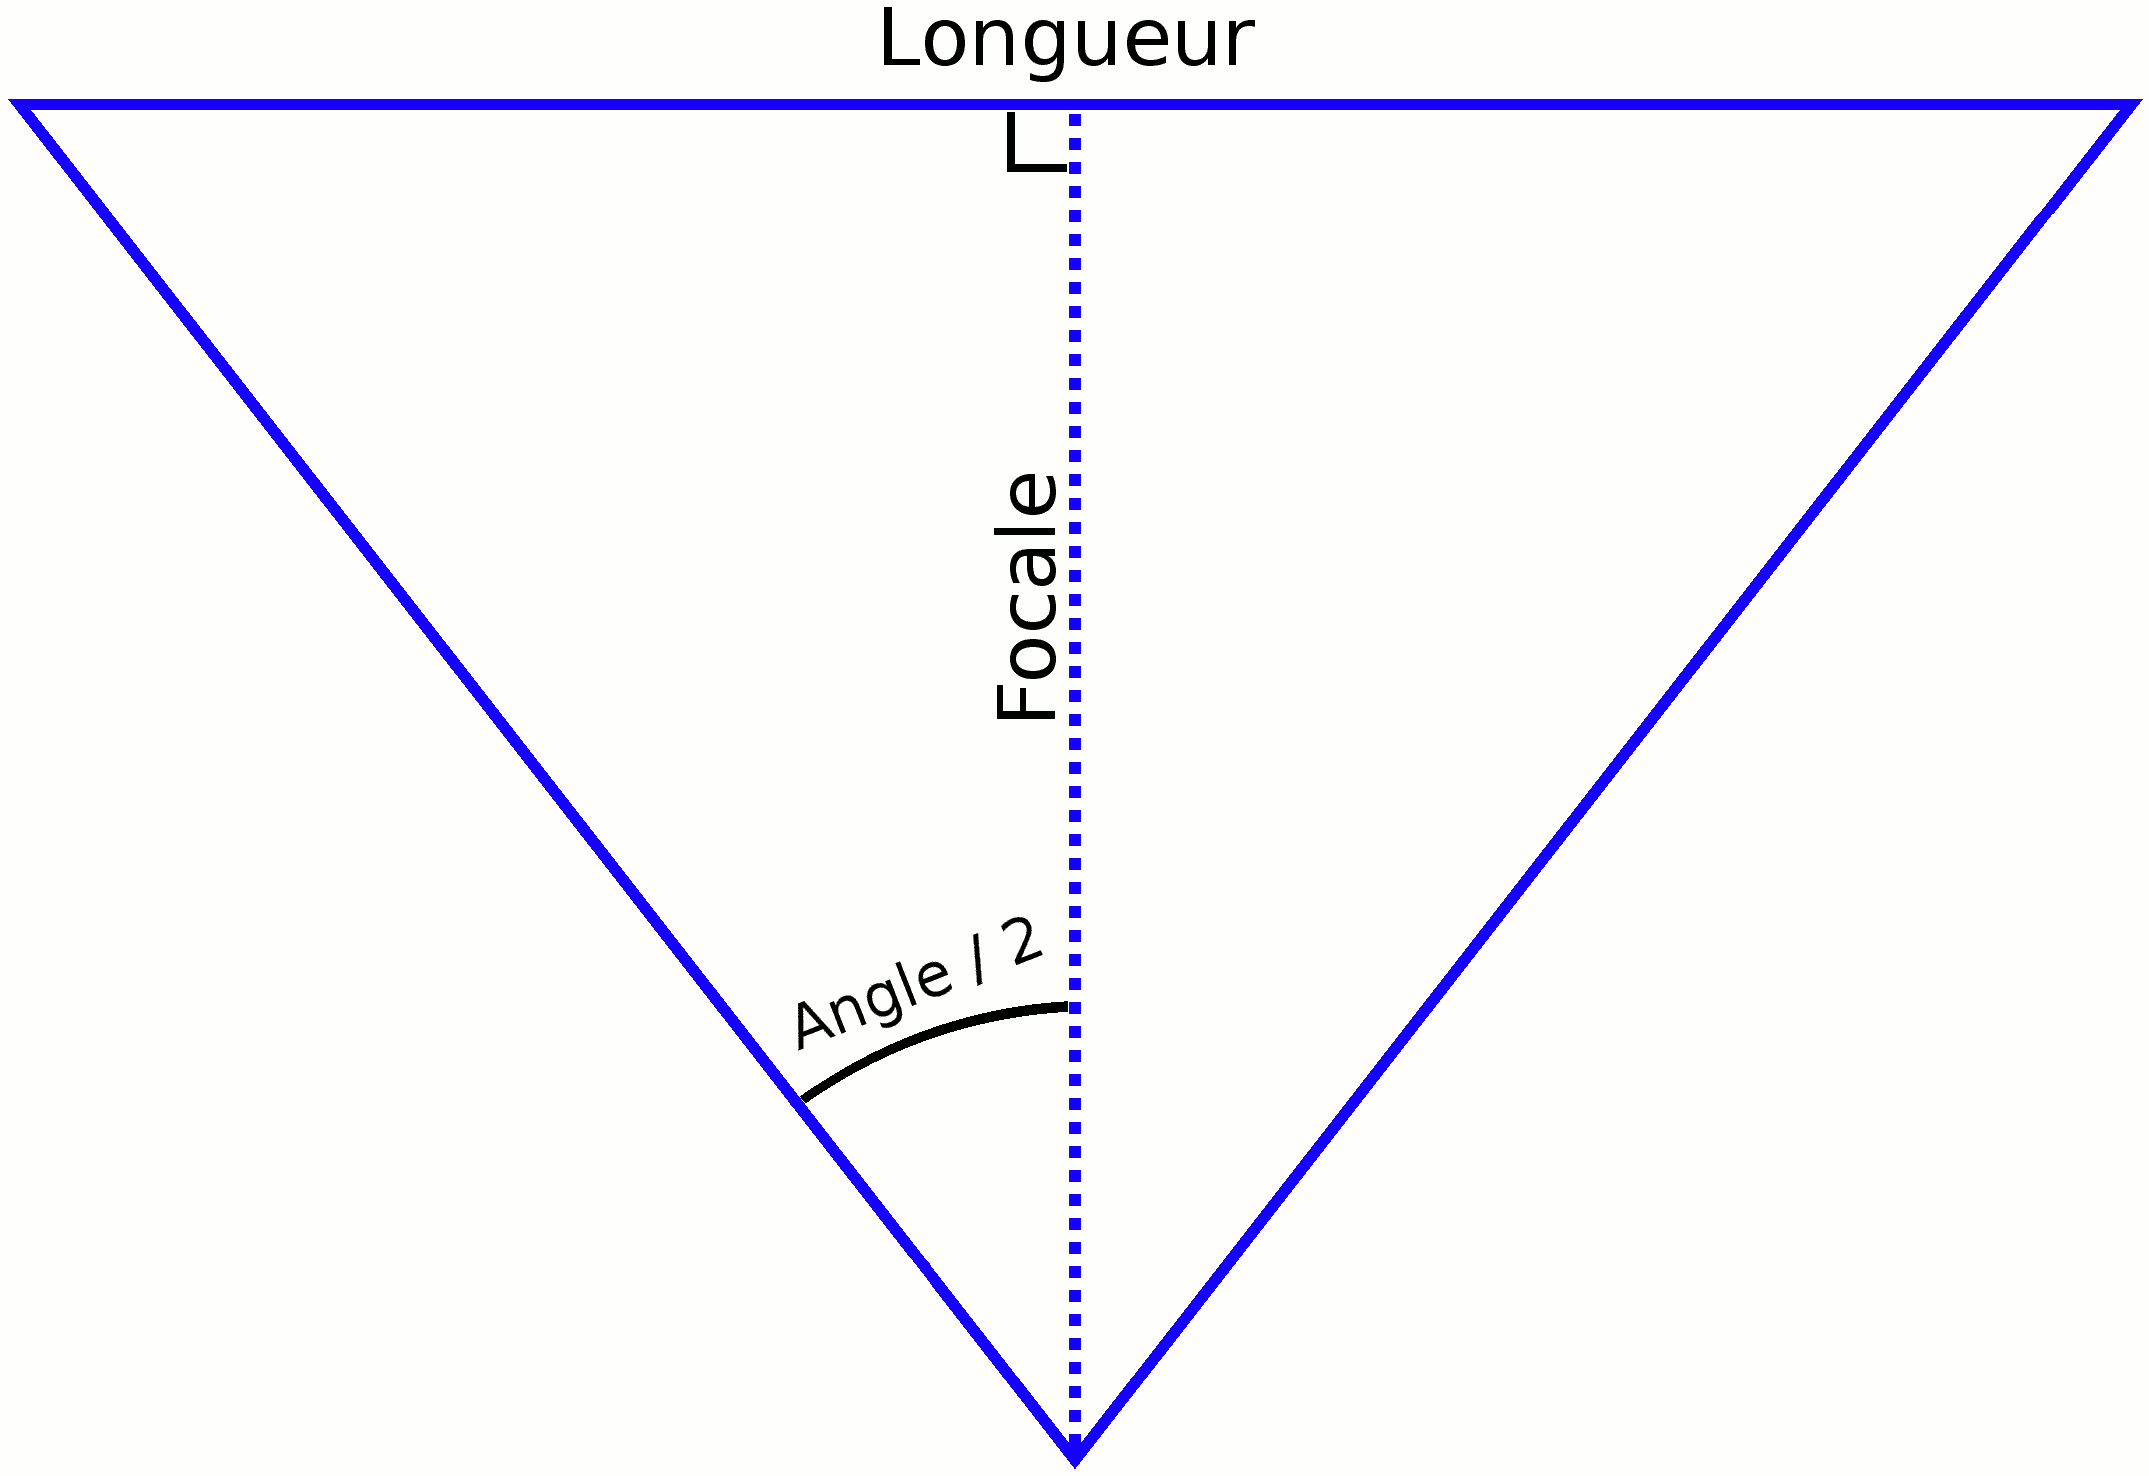
Focal Length and Perspective Explained: What Your Lens Really Does
What Is Focal Length? Technically, focal length is the distance…