Most photographers start with the flash bolted to the top of the camera, pointed straight at the subject. The result is usually flat, harsh light, hard shadows, and that unflattering deer-in-headlights look. The single biggest upgrade you can make to your flash photography costs almost nothing in gear and changes everything about your results: move the flash off the camera.
Off-camera flash (often called OCF, or “strobist” lighting) is what separates snapshots from studio-quality portraits and product shots. This guide explains why it matters, how the triggers work, and how to put together a simple one-light setup that looks far more professional than any pop-up flash.
Why On-Camera Flash Looks Bad
Light has direction, and direction creates shape. When a flash sits right on top of the lens, the light travels along the same axis as your view, so it fills in every shadow your eye would normally use to read depth. Noses flatten, skin looks shiny, and a hard shadow appears directly behind the subject.
Move that same flash a few feet to the side, angle it down at about 45 degrees, and suddenly the light rakes across the face — one side bright, one side gently shadowed. That contrast is what gives a portrait depth and dimension. The light source itself doesn’t get better; its position does.
How Off-Camera Flash Works: Triggers
To fire a flash that isn’t touching your camera, you need a way to tell it when to go off. There are two common methods:
- Optical triggering. An on-camera flash (or built-in flash) fires a light pulse, and the off-camera unit detects it and fires in sync. Optical slaves work fine indoors in small rooms, but they need line of sight, have limited range, and can be unreliable outdoors in bright sun.
- Radio triggering. A small transmitter sits in your camera’s hot shoe and sends a 2.4 GHz signal to receivers built into (or attached to) your off-camera flashes. Radio triggers need no line of sight, work around corners and through walls, and typically reach 30 to 100 meters or more. This is the standard for serious off-camera work.
Most camera brands (Canon, Nikon, Sony, Fujifilm) offer their own radio or optical wireless systems, while third-party makers like Godox have become hugely popular because their triggers and flashes work across brands and cost far less than first-party equivalents.
Manual Power and the Guide Number
Off-camera flashes are often set to manual power, expressed as fractions of full output: 1/1 is full power, 1/2 is one stop less, 1/4 is two stops less, and so on down to 1/128 or 1/256 on some units. Each full step halves the light.
To figure out how much power you need, flashes carry a guide number (GN), usually stated in meters at ISO 100. The formula is simple: GN = f-number × distance. A flash with a GN of 60 can expose a subject at f/6 when placed 10 meters away (60 ÷ 10 = 6), or at f/12 from 5 meters away. It’s a handy starting point when you’re working without TTL metering.
Also worth remembering is the inverse square law: move a light twice as far away and it delivers only one-quarter of the intensity (two stops less). Small changes in flash-to-subject distance produce surprisingly large changes in brightness.
Modifiers That Shape the Light
Bare flash is a small, hard light source that produces crisp shadows. Modifiers change its character:
- Softbox — a diffused panel that spreads light for soft, wrapping shadows. The bigger the softbox relative to the subject, the softer the light.
- Umbrella — the cheapest way to soften light. Shoot-through umbrellas diffuse directly; reflective umbrellas bounce the flash for a slightly harder, more efficient spread.
- Beauty dish — a round metal reflector that produces soft but punchy, defined light, a favorite for portraits.
- Grid and snoot — narrow the beam for a tight, directional spot of light or a dramatic accent.
- Gels — colored film (CTO orange, CTB blue, or creative colors) for matching ambient light or adding mood.
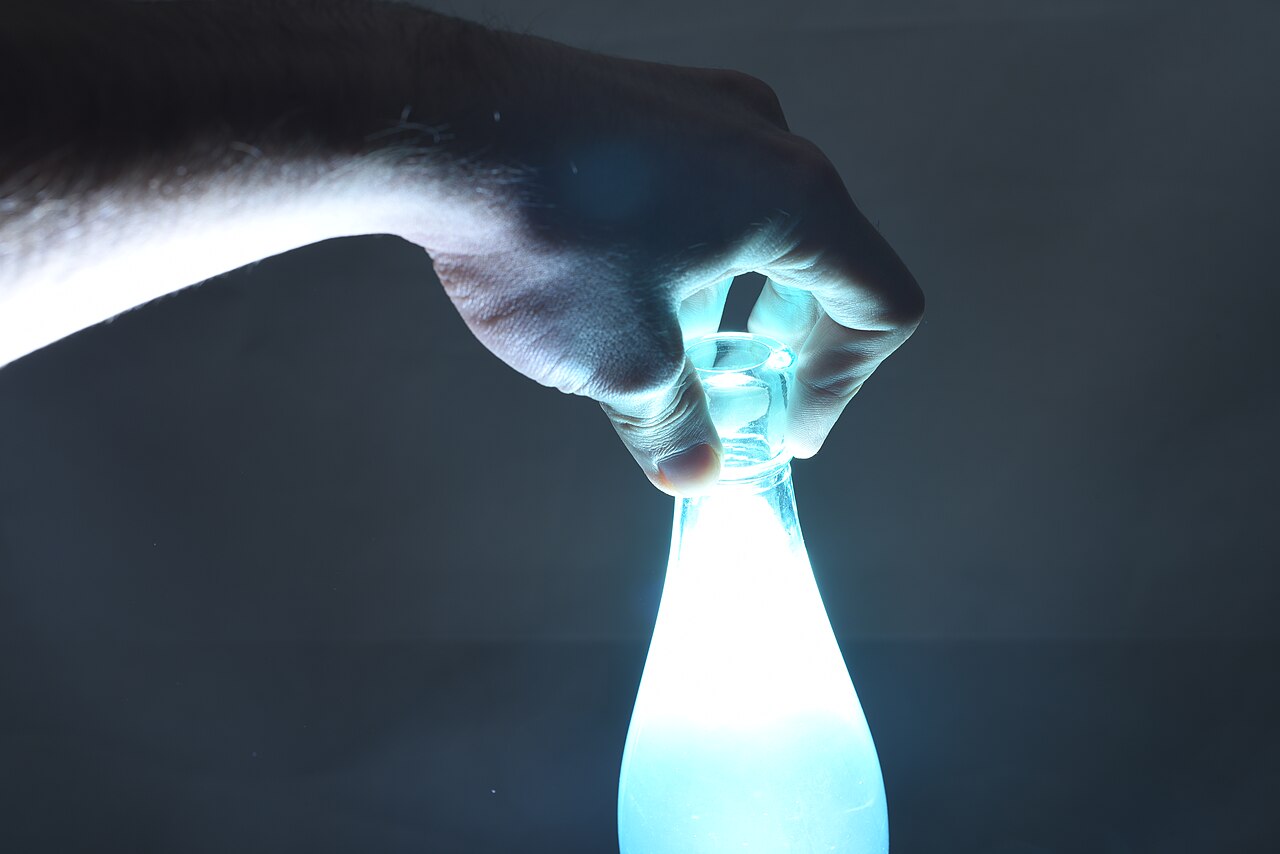
A speedlight triggered wirelessly and fired from behind a bottle to create a glowing rim. Photo by Karl Thomas Moore, via Wikimedia Commons (CC BY-SA 4.0).

A Simple One-Light Setup
You don’t need a full studio to see the benefit. Start with one flash and a light stand:
- Key light: place the flash in a softbox or umbrella to one side, slightly above the subject’s eye level, at roughly 45 degrees. This is your main light and sets the mood.
- Fill: use a white reflector (or a piece of foam board) on the opposite side to bounce light back into the shadows rather than adding a second flash.
- Rim or hair light (optional): add a second bare flash behind and to the side to create a rim of light that separates the subject from the background.
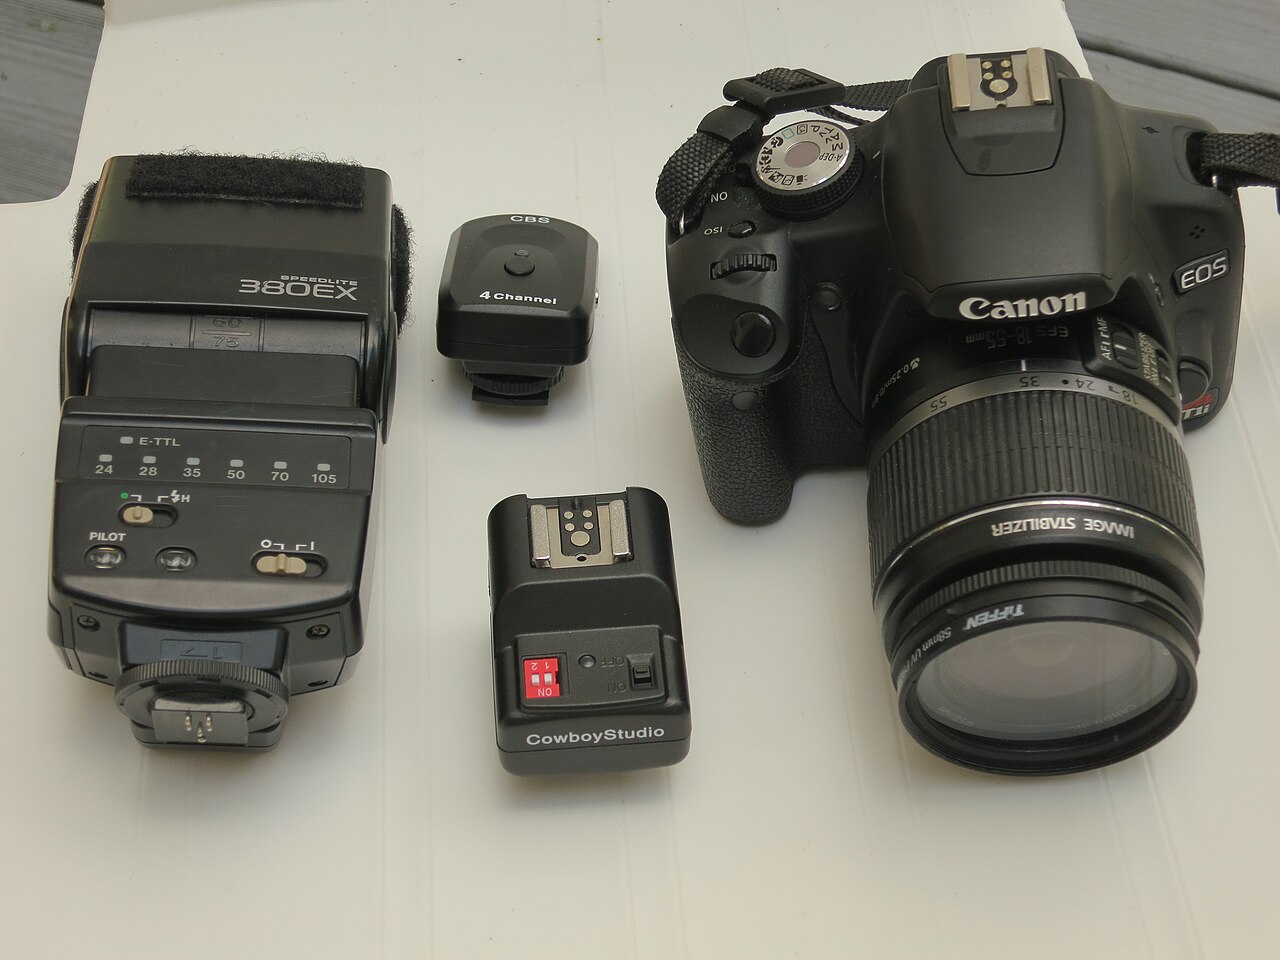
An off-camera flash kit: camera with hot-shoe trigger plus wireless remote flashes. Photo by ajmexico, via Wikimedia Commons (CC BY 2.0).

Conclusion
Off-camera flash is one of the most rewarding skills in photography because it hands you full control over light. You don’t need expensive equipment to start — a single manual flash, a cheap radio trigger, an umbrella, and a light stand are enough to transform flat, harsh on-camera flash into soft, dimensional portraits. Once you’ve mastered one light, you’ll never look at your camera’s hot shoe the same way again.
FAQ
Do I need TTL for off-camera flash?
No. Manual power is actually preferred for off-camera work because the light-to-subject distance is fixed, so once you set the power it stays consistent. TTL is convenient when the distance changes constantly.
What’s the cheapest way to start with off-camera flash?
A single manual speedlight, a 2.4 GHz radio trigger, a light stand, and a shoot-through umbrella. You can put together a workable kit for roughly the cost of a single first-party TTL flash.
Do I need a special flash to go off camera?
Not necessarily. Almost any flash with manual power can be triggered off camera with an inexpensive radio receiver, though units with a built-in radio receiver (like many Godox models) are the most convenient.
Related Posts
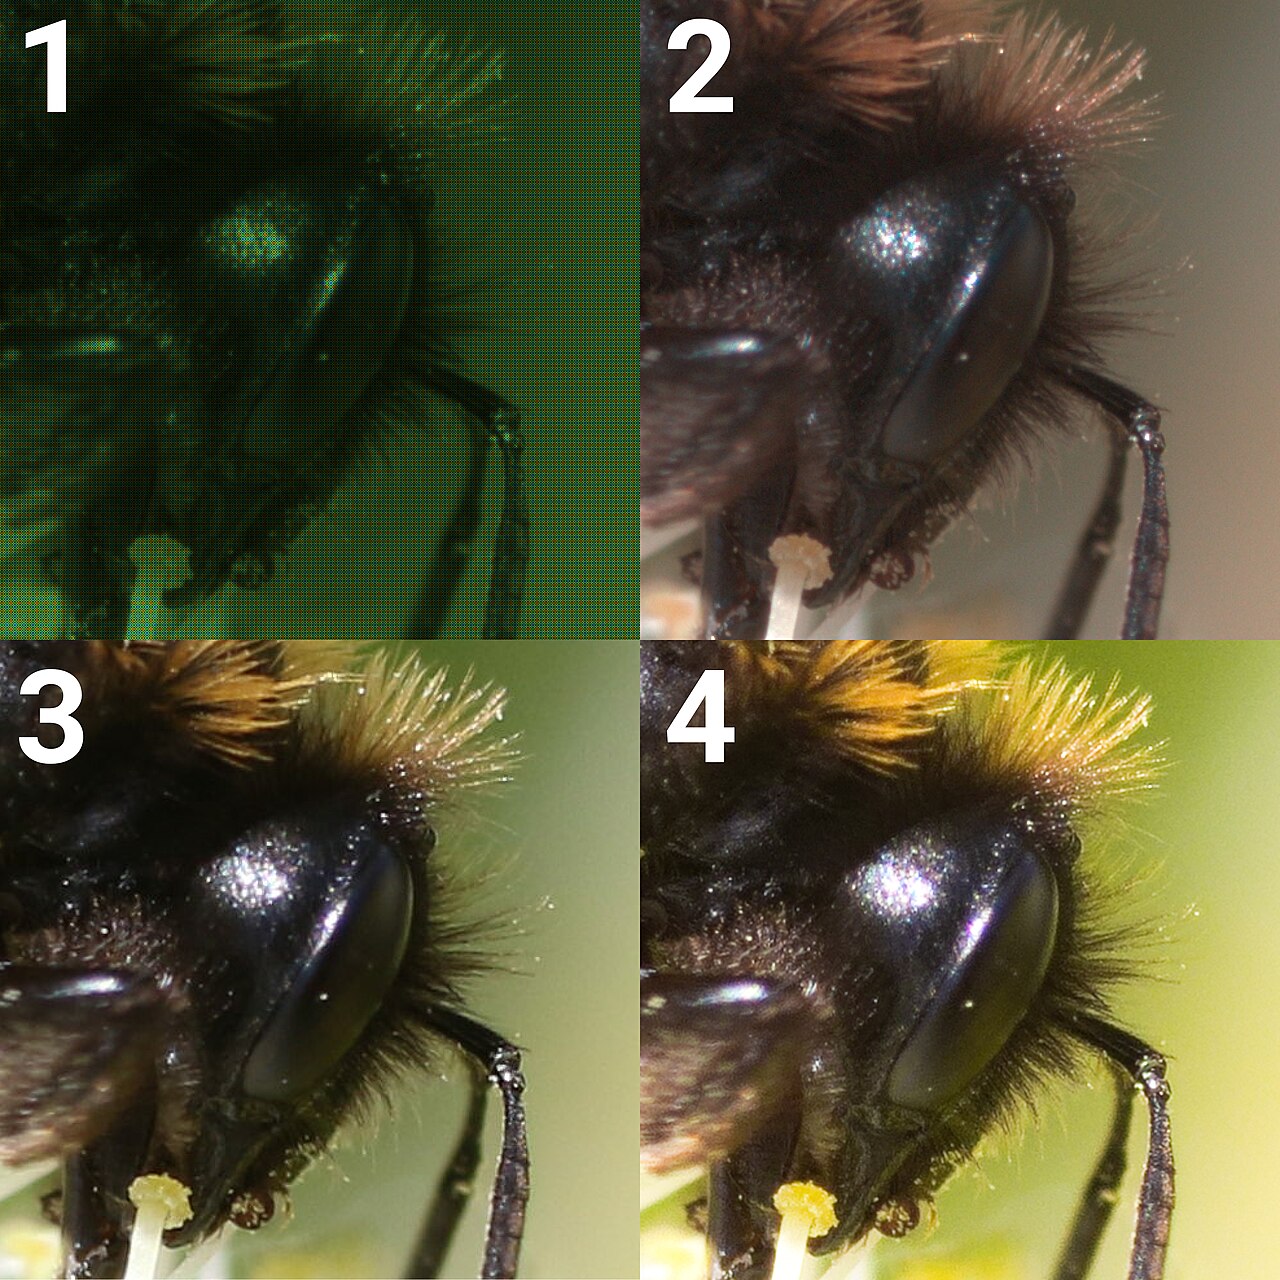
RAW vs JPEG: What’s the Difference and Which Should You Shoot?
Every digital camera gives you the same basic choice: shoot…

The Exposure Triangle Explained: Aperture, Shutter Speed, and ISO
Photography comes down to one thing: light. Every photo you…
Street Photography: A Complete Guide to Capturing Candid Life in the City
Street photography is one of the most accessible genres in…