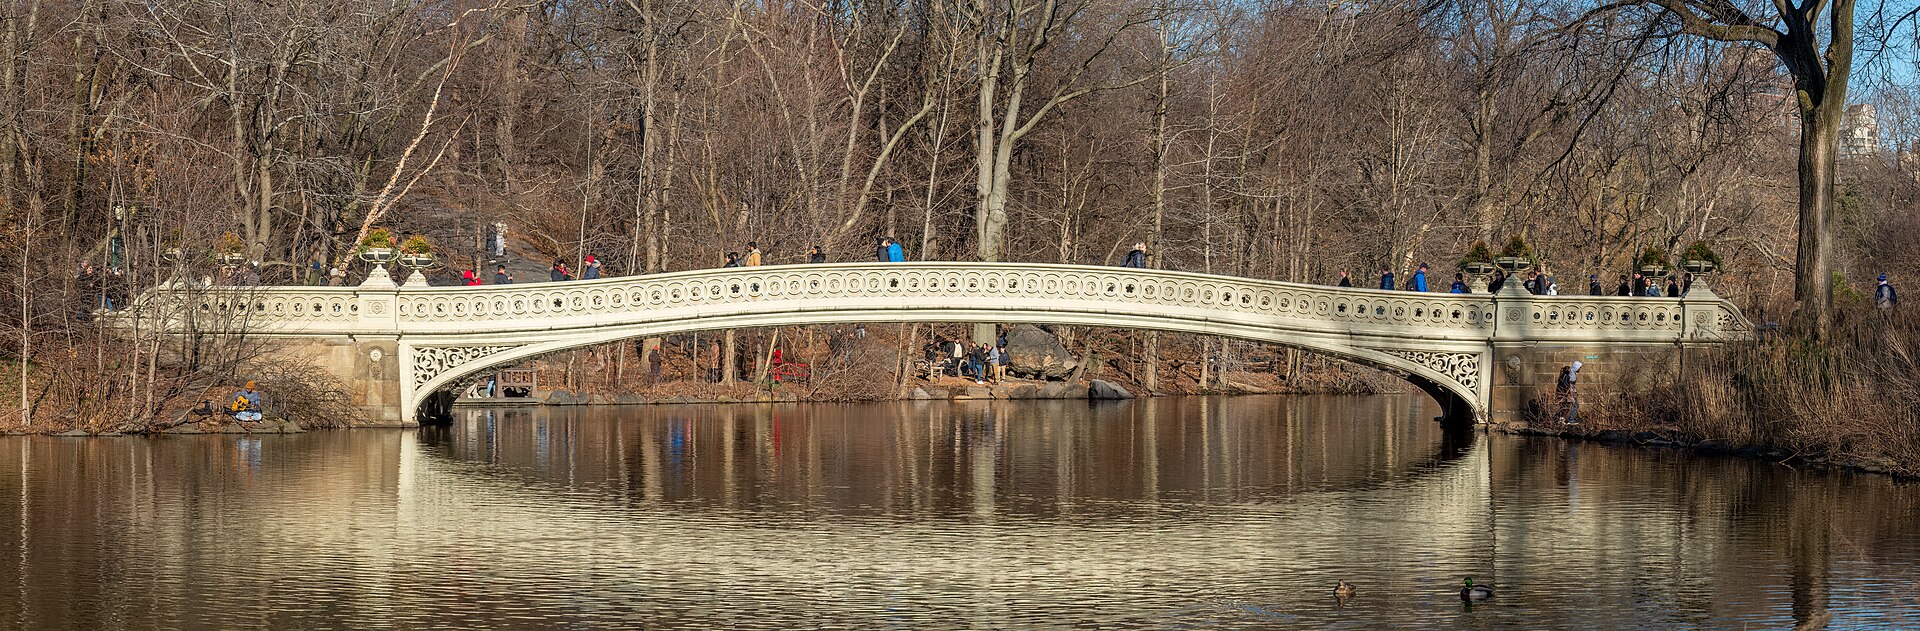
A wide landscape, a sweeping skyline, or the full interior of a cathedral simply won’t fit in a single frame — even with your widest lens. Panorama photography solves this by capturing a sequence of overlapping photos and stitching them together into one ultra-wide, ultra-high-resolution image. It’s a technique that predates digital cameras, but modern software and smartphone cameras have made it easier than ever. Here’s how it works and how to shoot clean panoramas of your own.
How Panorama Stitching Works
At its core, a panorama is a set of frames combined in software. The stitching algorithm looks at the overlapping regions between adjacent shots, finds matching detail — corners, textures, and edges — and uses those matches to work out how each frame should be rotated and positioned. The frames are then warped onto a shared projection and blended together so brightness and color stay consistent across the joins.
That overlap is critical. Most stitching software needs roughly 20–30 percent of each frame to repeat into the next one. Too little overlap leaves the algorithm without enough shared detail to align the images confidently, which produces misaligned seams or outright failures.
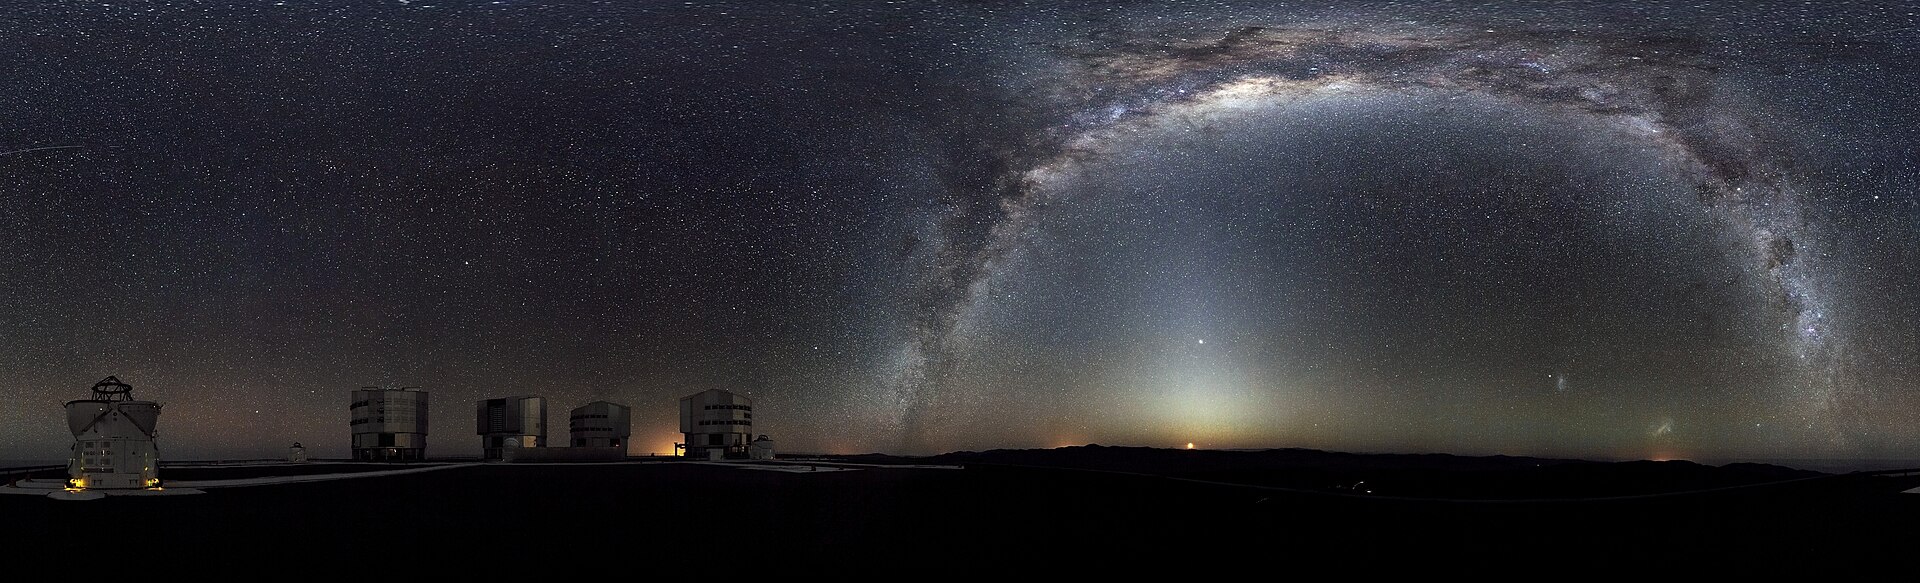
The final image is mapped onto a projection — the mathematical surface the software “unwraps” the scene onto. A cylindrical projection is common for wide horizontal views, spherical or equirectangular projections are used for 360-degree images, and a rectilinear (planar) projection keeps straight lines straight but can distort the edges of very wide views.
What Gear You Need (Almost Anything Works)
You can shoot a panorama with any camera, from a phone to a medium-format body. The two pieces of gear that genuinely improve results are a tripod and, ideally, a panorama head.
A tripod keeps the camera level as you rotate it, so frames line up predictably and the stitch wastes less of the frame on corrections. A panorama head is a specialized attachment that lets you rotate the camera around a precise pivot point — more on why that matters below. For casual work, a ball head with a panning base and a spirit level is usually enough. A lens in the 24–50mm range works well; ultra-wide lenses introduce more distortion and make stitching harder.
Camera Settings That Prevent Seam Problems
The most common panorama problems — visible seams, brightness banding, and color shifts — are caused by settings changing between frames. Lock everything before you start.
Set the camera to manual exposure and choose a shutter speed, aperture, and ISO that work for the whole scene, then leave them. Switch to a manual white balance (avoid Auto WB, which drifts as the camera pans across warm and cool parts of the scene). Turn off auto-ISO, and focus once before switching to manual focus so the lens doesn’t refocus between shots. Shooting in portrait orientation gives you more vertical coverage and a higher-resolution final image. Finally, overlap each frame by 20–30 percent — roughly a third of the frame.
Shooting Technique and the Nodal Point
Here’s the subtle part of panorama technique. If you simply rotate the camera while holding it, objects at different distances shift relative to one another between frames — a nearby tree appears to move against a distant mountain. The stitching software can’t align both at once, and you get ghosting or soft doubles at the seams.
The fix is to rotate the camera around its entrance pupil, often called the nodal point or no-parallax point. This is the point inside the lens where light appears to cross before reaching the sensor; rotating around it keeps near and far objects in the same relative positions, so the software can stitch them cleanly. A panorama head makes this easy by letting you slide the camera forward or back until the pivot sits under the entrance pupil. For distant scenes with nothing close to the lens, parallax is negligible and handheld panning works fine.

Software and In-Camera Panoramas
Smartphones have turned panoramas into a one-swipe feature. Apple’s iPhone and Google’s Pixel cameras stitch frames in real time as you pan, using the gyroscope to track motion and layering each new frame onto the live result. The catch is that the output is usually a modest-resolution JPEG — fine for sharing, but limited for big prints.
For maximum quality, shoot the frames yourself and stitch them on a computer. Adobe Lightroom and Photoshop (Photomerge) handle most jobs automatically; free and open-source options like Hugin and Microsoft ICE are also excellent. Dedicated stitchers such as PTGui give you manual control over control points, projection, and blending for the hardest scenes. Many Sony Alpha and other mirrorless cameras can also stitch basic panoramas in-camera, but desktop software still produces the cleanest, highest-resolution results.
Conclusion
Panorama photography is one of the highest-reward techniques in photography: with any camera and a little care with your settings and pivot point, you can turn a scene that won’t fit in one frame into a wall-sized, detail-rich image. Lock your exposure and focus, overlap generously, rotate around the entrance pupil, and let the software do the rest.
FAQ
Do I need a wide-angle lens for panoramas?
No — a normal lens (roughly 24–50mm) is actually ideal. You get the wide field of view by stitching many frames, not from the lens’s angle of view.
How much overlap should I leave between frames?
Aim for 20–30 percent. Around a third of a frame of shared detail gives the stitching software plenty of matching points.
Why do my panoramas show banding or uneven brightness?
Almost always because exposure or white balance changed between frames. Lock manual exposure, manual white balance, and focus before you start shooting.
What’s the difference between a panorama and a 360 photo?
A panorama is a wide strip, often covering 100–180 degrees. A 360 photo covers a full sphere and uses an equirectangular projection, viewable in VR-style viewers.
Related Posts
Macro Photography: A Complete Guide to Close-Up Shooting
Macro photography opens up a world the naked eye barely…
Focal Length and Perspective Explained: What Your Lens Really Does
What Is Focal Length? Technically, focal length is the distance…
Long Exposure Photography: A Complete Guide to Silky Water and Light Trails
Long exposure photography turns time into a creative tool. By…