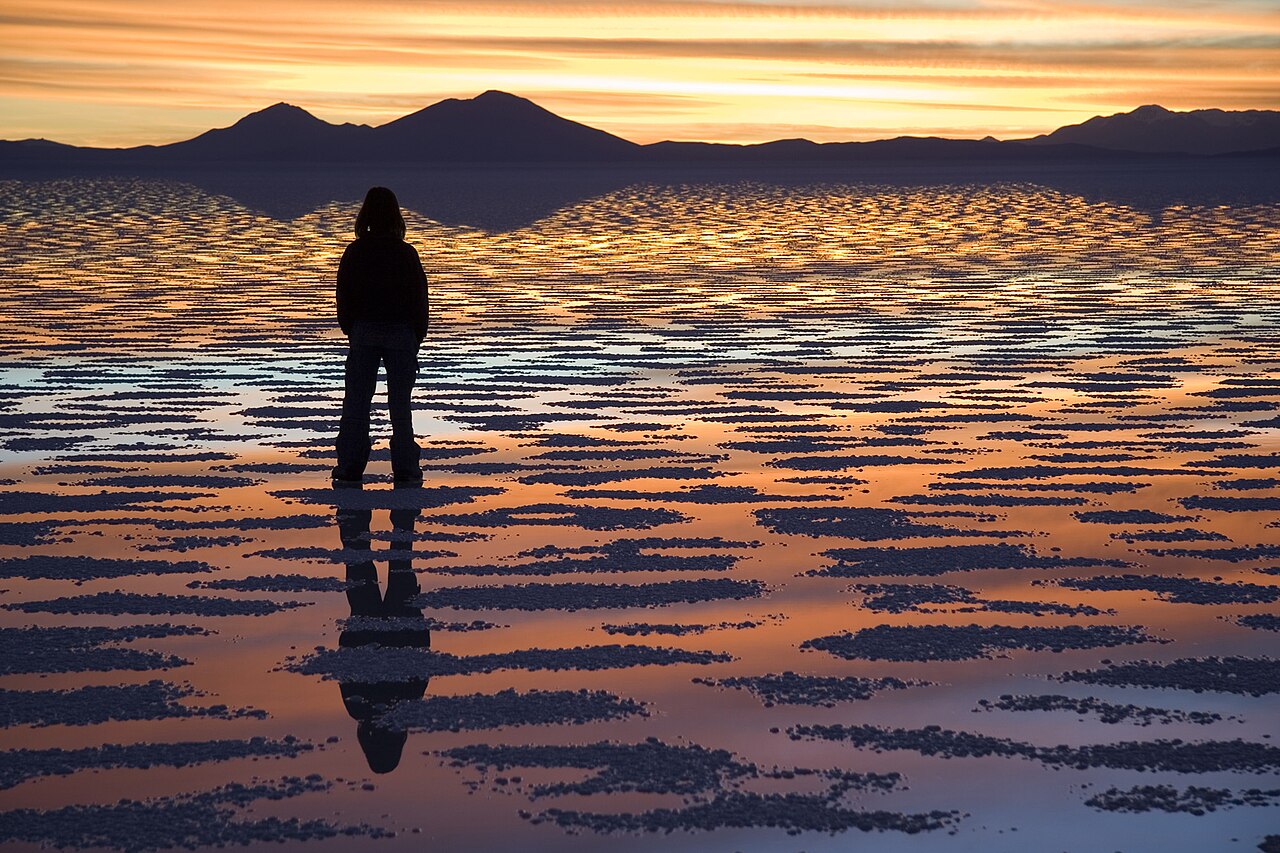
A silhouette strips a scene down to its boldest shapes: a lone figure against a burning sky, a tree line blacked out against the sunset, a bird wheeling into the sun. Because the subject is rendered pure black against a bright background, a silhouette works on shape and outline rather than detail or expression. It is also one of the simplest techniques to learn — you do not need a high-end camera or exotic lighting, just backlight, a clean background, and the willingness to expose for the light instead of the subject. Here is exactly how to do it well.
What Makes a Great Silhouette
Every strong silhouette has three ingredients. First, backlight — the subject sits between your lens and the light source, so the side facing you falls into shadow. Second, a bright background — the sky at sunrise or sunset, a bright window, or an open doorway; this is what you expose for, not the subject. Third, a recognizable shape — the profile of a face, an outstretched arm, a bicycle, a lone tree. The simplest test: if you can identify the subject from its outline alone, it is a good silhouette candidate. If the shape is cluttered or ambiguous, the image falls flat.
The Right Camera Settings
The single most important decision in silhouette photography is to expose for the background, not the subject. If your camera meters the dark subject, it will try to lift it to mid-gray and blow out the sky to pure white; if it meters the bright sky, the subject naturally falls to black. There are three reliable ways to get there.
Spot metering: aim the spot at the brightest part of the sky, lock the exposure (AE-L), recompose, and shoot. The subject will sink to black automatically.
Manual mode: set your aperture, shutter speed, and ISO so the sky renders correctly. Meter the sky, set those values, and the backlit subject takes care of itself.
Aperture priority with exposure compensation: dial in roughly −1 to −2 EV to darken the scene until the subject reads as a pure silhouette.
Whatever method you choose, keep ISO low (100–200) for a clean sky, and stop down to around f/8–f/11. A small aperture gives enough depth of field to keep both subject and background sharp, and it helps the subject hold a crisp, defined edge. Any DSLR or mirrorless camera from Canon, Nikon, or Sony gives you these controls directly; even many smartphones offer tap-to-meter and an exposure slider.
Nailing Focus and Composition
Focus on the subject, not the sky. A silhouette still needs sharp edges, so set a single autofocus point on the subject’s outline — there is usually enough contrast against a bright background for the camera to lock. If autofocus hunts, switch to manual focus and set it precisely.
For composition, use negative space generously: place the subject low in the frame against a big, open sky. Watch the horizon line — if it slices through the subject’s head or torso, the shape gets confused. Separate overlapping forms (an arm from a torso, one figure from another) so the outline reads instantly. Finally, keep the background as uncluttered as possible; a busy backdrop fights the simplicity that makes silhouettes powerful.

Choosing Subject, Light, and Background
Golden hour is your best friend: shoot just after sunrise or just before sunset, when the sun sits low enough to backlight easily and the sky fills with color. Look for subjects with strong, simple outlines — a runner mid-stride, a dancer, a person carrying a child, a boat on open water, a bare tree. Wide-angle lenses exaggerate the sky and add drama; telephoto lenses compress the scene and can isolate a single figure against a distant, enlarged sun. A body of water, mist, or dust in the air adds atmosphere that makes the backlight visible as rays.
Post-Processing Tips
A little editing turns a good silhouette into a great one. Increase contrast, deepen the blacks, and raise the vibrance or saturation of the sky so the color pops. If the subject shows faint, unwanted detail, pull the shadows and blacks down until it goes truly dark. Keep an eye on the highlights so the bright sky does not clip to white. Converting to black and white often adds power, because a silhouette is already a study in shape and tone rather than color.
Conclusion
Silhouette photography comes down to restraint: underexpose deliberately, trust the outline, and keep the background clean. Expose for the sky, stop down a little, focus on the subject, and shoot at golden hour — and a simple scene becomes something dramatic and timeless.
FAQ
Why does my silhouette come out gray instead of black?
Either the camera or your editing lifted the shadows. Expose for the bright background when shooting, then deepen the blacks in post so the subject goes fully dark.
What is the best time of day for silhouettes?
Sunrise and sunset, when the sun is low on the horizon and the sky has color. A low sun is also much easier to place directly behind your subject.
Do I need a special lens?
No. A kit zoom, a wide-angle, or even a telephoto all work. The technique — backlight, clean background, and correct exposure — matters far more than the glass.
Should I shoot silhouettes in RAW?
Yes. RAW lets you recover sky detail and set a true black point without banding or artifacts, giving you much more control than JPEG.
Related Posts
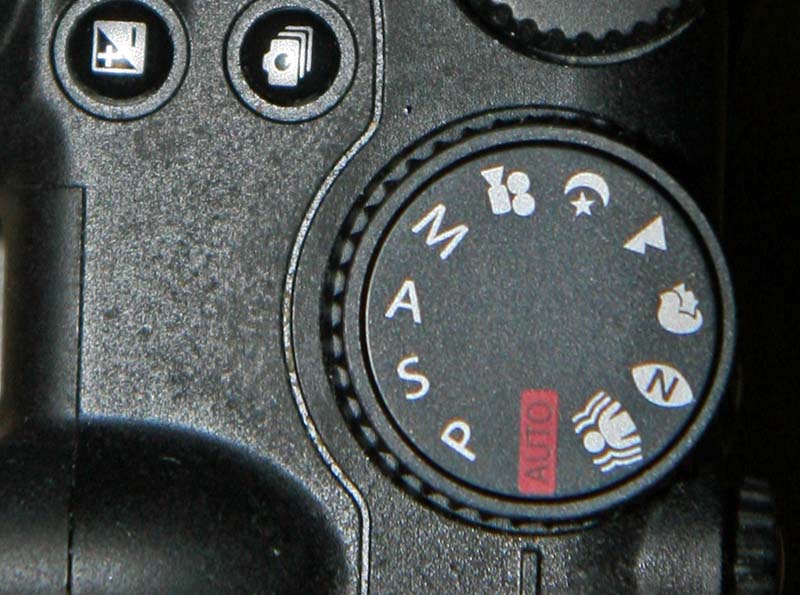
Exposure Modes Explained: P, A (Av), S (Tv), and M — When to Use Each
Look at the top of any modern camera and you'll…
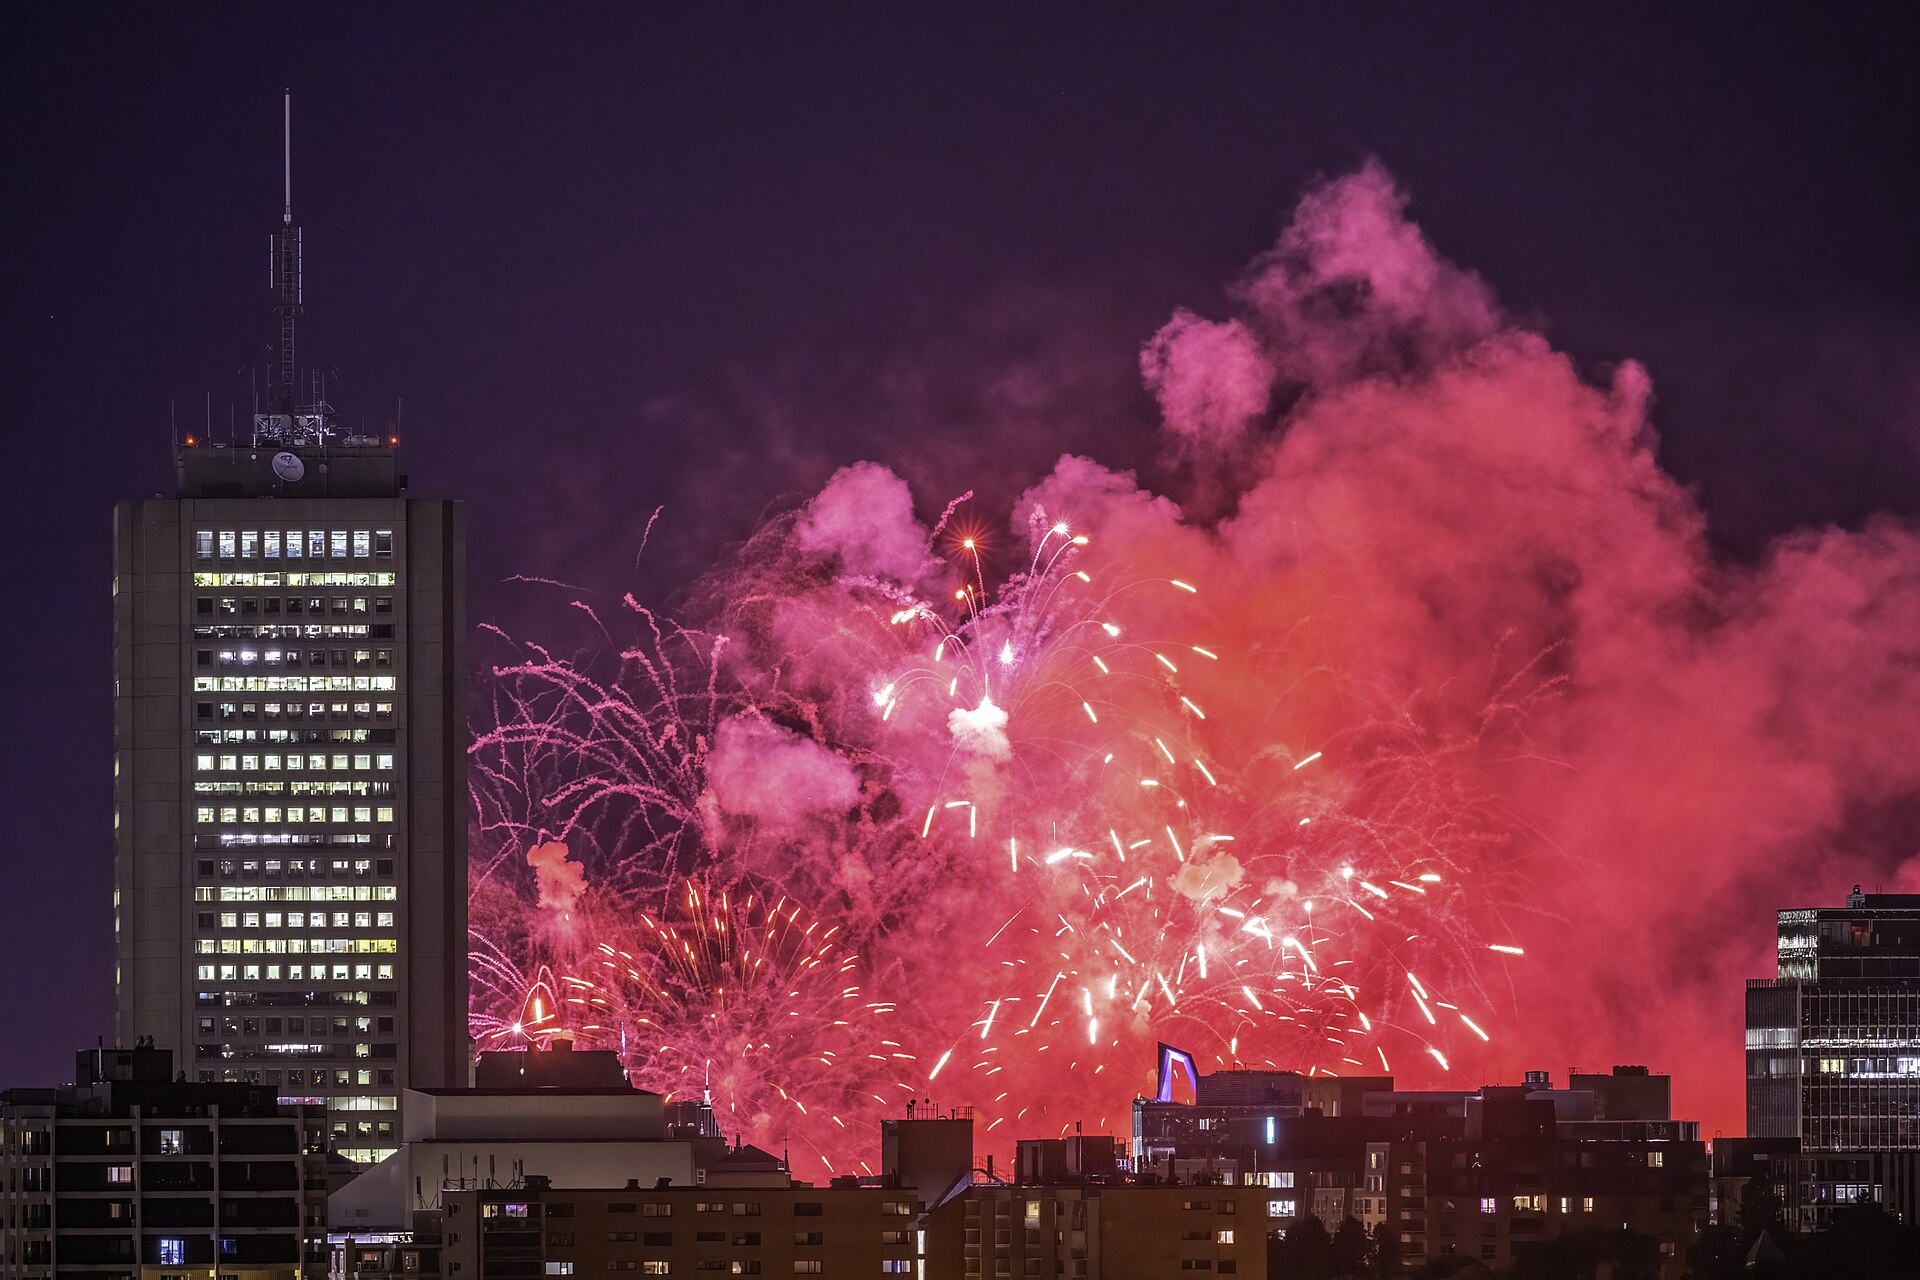
Fireworks Photography: Camera Settings and Tips for Perfect Bursts
Fireworks are one of the easiest “wow” subjects in photography…
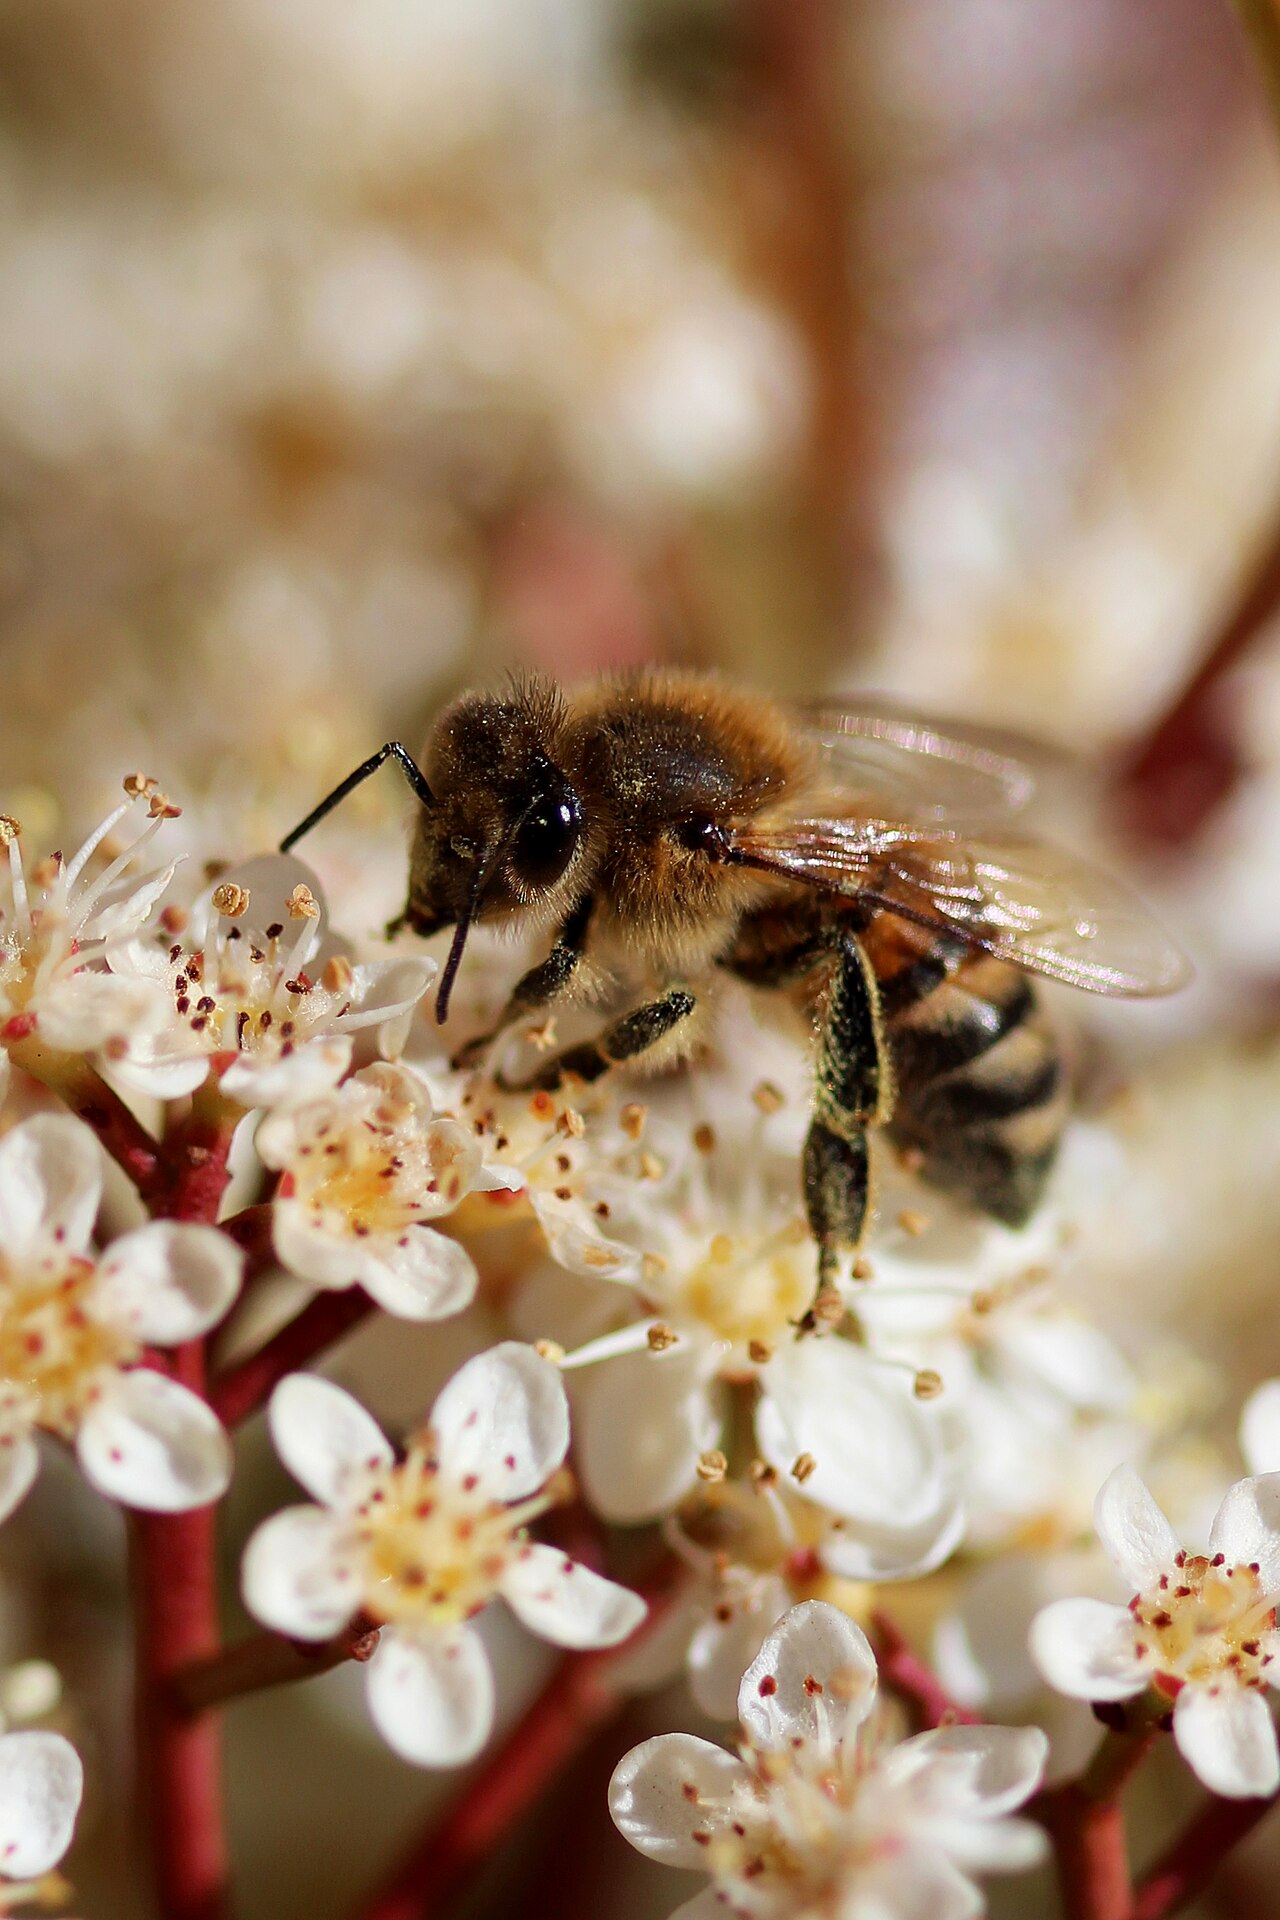
Macro Photography: A Complete Guide to Close-Up Shooting
Macro photography opens up a world the naked eye barely…