Photography comes down to one thing: light. Every photo you have ever taken is a record of how much light reached the sensor, and for how long. Your camera gives you three dials that control that light — aperture, shutter speed, and ISO. Together they are called the exposure triangle, and understanding how they balance is the single biggest step from shooting in Auto to taking deliberate control of your photos. In this guide we break down each corner of the triangle, how the three settings trade off against one another, and how to choose the right combination in the field.
What Is Exposure, Exactly?
Exposure is the amount of light your camera’s sensor receives during a shot. Too little light and the image comes out dark and muddy (underexposed); too much and the highlights burn out to pure white (overexposed). The goal is a balanced exposure that holds detail in both the shadows and the highlights.
Three settings determine how much light reaches the sensor: the aperture (how wide the lens opens), the shutter speed (how long the sensor is exposed), and the ISO (how strongly the sensor amplifies the light it receives). Change any one and the image gets brighter or darker — but each one also changes a second, creative quality of the photo, and that is where the triangle becomes interesting.
Aperture: How Much Light
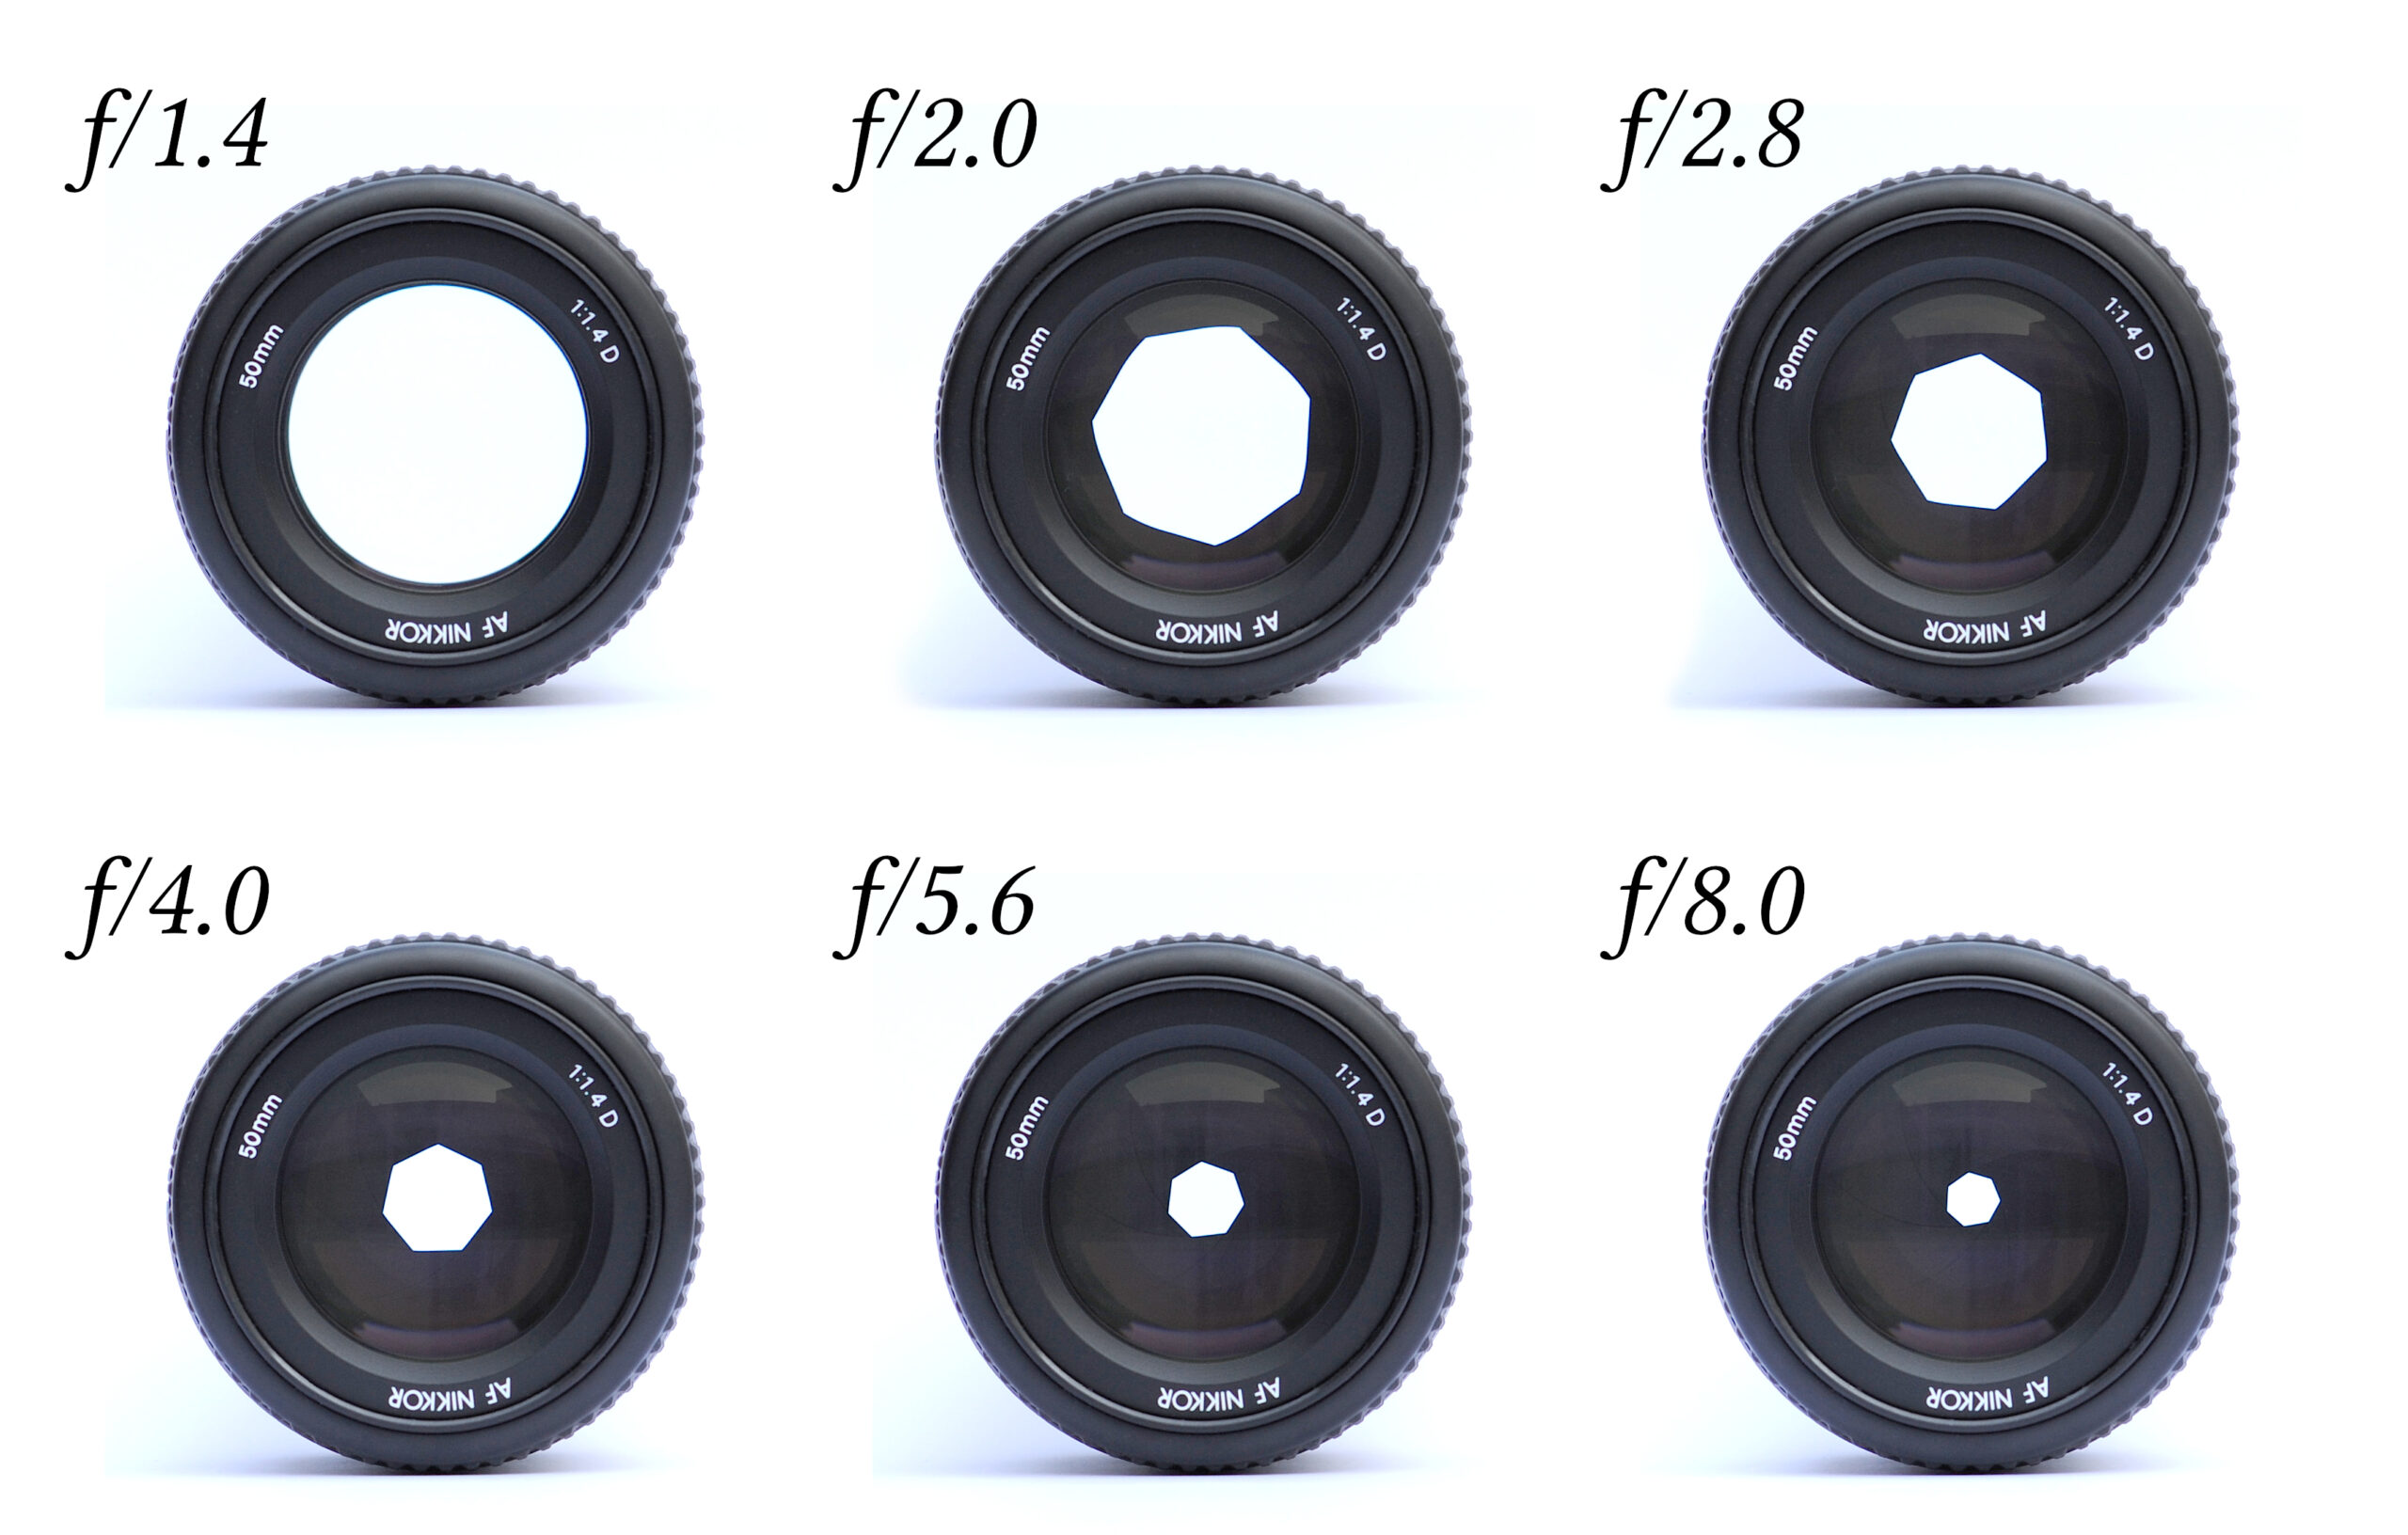
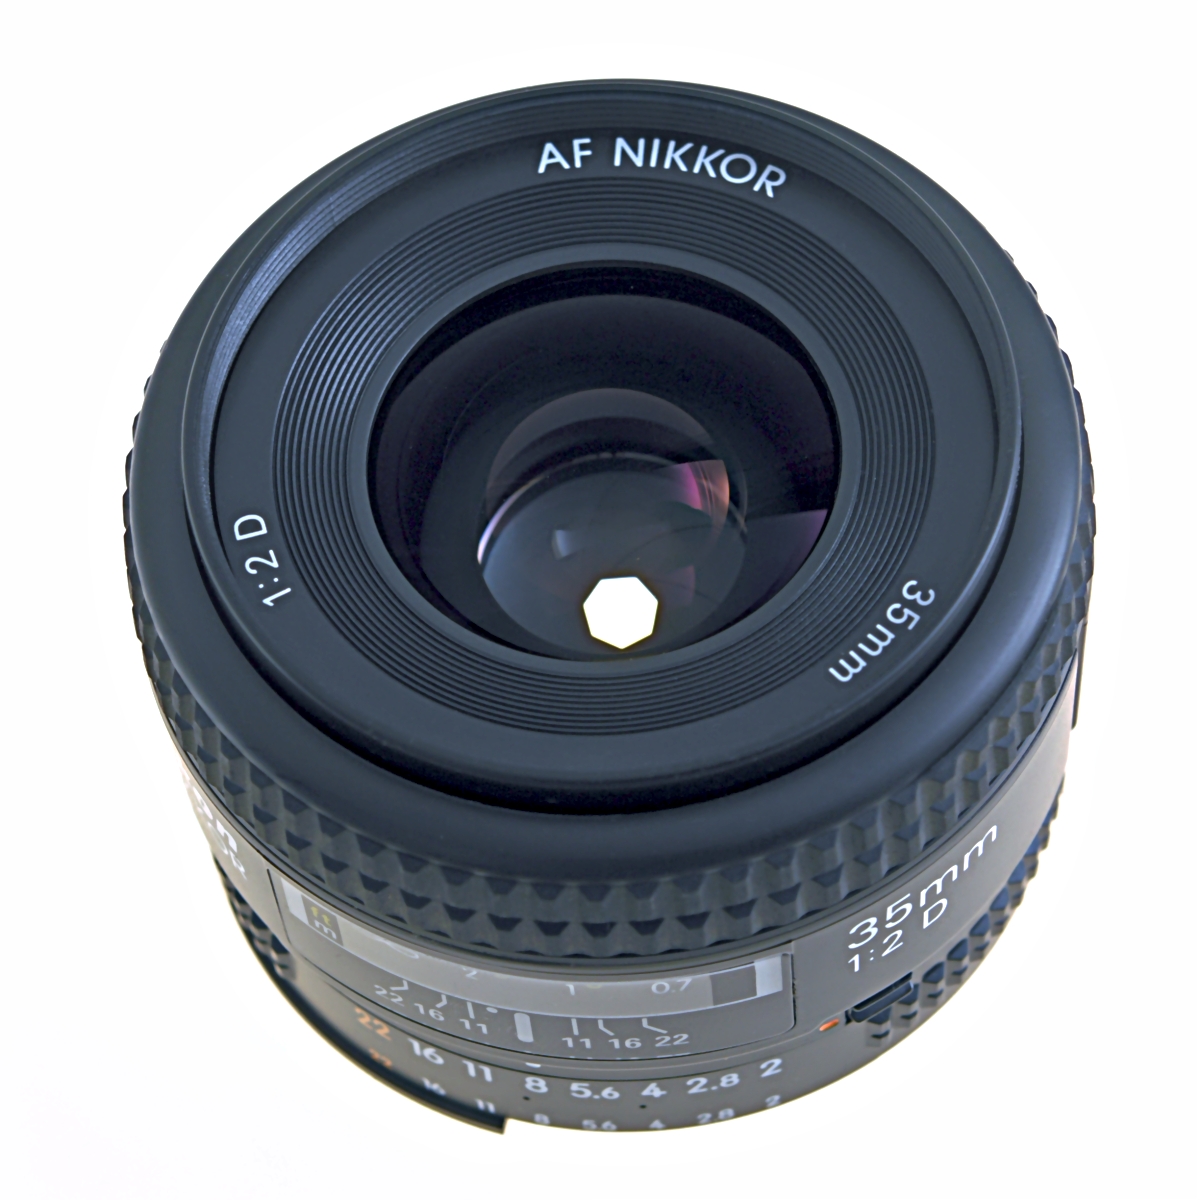
The aperture is the adjustable opening inside the lens, formed by a ring of blades that widen or narrow like the pupil of an eye. It is measured in f-stops, written f/2.8, f/5.6, and so on. Here is the part that confuses beginners: a smaller f-number means a larger opening and more light. f/1.8 is a wide aperture that lets in a lot of light; f/16 is a narrow opening that lets in very little.
Each full f-stop either doubles or halves the light. The full-stop scale runs f/1.4, f/2, f/2.8, f/4, f/5.6, f/8, f/11, f/16, f/22. Aperture also controls depth of field — the slice of the scene that is in focus. A wide aperture like f/1.8 produces a shallow depth of field with a soft, blurred background, ideal for portraits. A narrow aperture like f/11 keeps more of the scene sharp from front to back, which is why landscape photographers stop down.
Shutter Speed: How Long
Shutter speed is how long the sensor is exposed to light, measured in fractions of a second — 1/250, 1/60, 1/8, and so on. Each full stop doubles or halves that time. A fast shutter speed like 1/1000 of a second freezes motion — a bird in flight, a runner, a splash of water. A slow shutter speed like 1/15 or one full second lets in far more light but records any movement as blur.
That blur is both a problem and a tool. Too slow for handheld shooting and your own hand shake smears the image — the classic rule of thumb is to keep the shutter speed at or above one over the focal length (1/50 s or faster for a 50mm lens). But used deliberately, a slow shutter creates the silky water and light trails that make long-exposure photography so striking. Think of shutter speed as your motion control: choose fast to freeze, slow to blur.
ISO: Sensor Sensitivity
ISO is the camera’s signal amplification. In the film era it described how sensitive the film was to light; in a digital camera it describes how much the sensor’s signal is boosted. Low values like ISO 100 are clean and detailed; high values like ISO 6400 let you shoot in dim light but amplify noise — the grainy speckle that creeps into the shadows.
The full-stop scale doubles each time: 100, 200, 400, 800, 1600, 3200, 6400, 12800. Each step doubles the brightness, so raising ISO from 100 to 400 is equivalent to opening the aperture by two stops or slowing the shutter by two stops. The trade-off is always the same: more brightness in exchange for more noise. Modern sensors have made remarkable gains, and cameras from Sony, Canon, and Nikon now produce clean files at ISO 3200 and beyond, but the principle holds — reach for the lowest ISO that still gives you the aperture and shutter speed you want.
How the Three Balance: Stops and Equivalents
The three settings are interchangeable because they all measure light in the same unit: the stop. If you open the aperture one stop and shorten the shutter one stop, the exposure stays exactly the same — you have simply traded depth of field for motion blur. This idea of equivalent exposures is the heart of the triangle.
Consider a correct exposure of 1/125 s at f/5.6 and ISO 100. Each of these lets in the same amount of light: 1/250 s at f/4 (faster shutter, wider aperture), 1/500 s at f/2.8 (faster still, wider still), or 1/60 s at f/8 (slower shutter, narrower aperture). Every option trades one quality for another. That is why there is no single “correct” setting — there is only the setting that matches the look you want.
Choosing Settings in Practice
In the field, the triangle becomes a sequence of decisions. Ask what matters most for the shot. Freezing a moving subject? Set a fast shutter first, then balance aperture and ISO around it. A creamy, blurred background for a portrait? Set a wide aperture first. Maximum sharpness across a landscape? Set a narrow aperture, put the camera on a tripod, and let the shutter run as long as it needs while ISO stays low.
A practical starting order: set ISO as low as conditions allow, choose the aperture for the depth of field you want, then set the shutter speed that yields a correct exposure — watching the meter in your viewfinder. If the shutter falls too slow to handhold, raise ISO or widen the aperture. Semi-automatic modes encode these same priorities: aperture-priority (A or Av) locks your aperture and picks the shutter, shutter-priority (S or Tv) does the reverse, and Auto ISO floats the third corner while you set the other two.
Conclusion
The exposure triangle is the foundation everything else in photography builds on. Once you see every scene as a choice between how much light, for how long, and at what sensitivity, the dials stop feeling like obstacles and start feeling like a language. Start by watching how each corner changes a single subject, then practice equivalent exposures until trading one stop for another becomes second nature. Master the triangle and you will never shoot in Auto by default again.
FAQ
What is the exposure triangle?
The exposure triangle is the relationship between aperture, shutter speed, and ISO — the three settings that together determine a photo’s exposure. Each controls a different aspect of how light is captured, and each trades off against the other two.
Which setting should I change first?
It depends on the shot. For moving subjects, set shutter speed first; for portraits and shallow depth of field, set aperture first; and treat ISO as the fallback once you have maximized aperture and shutter. In most situations, set the lowest ISO you can and adjust aperture and shutter around it.
What is a “stop” of light?
A stop is a doubling or halving of light. Opening the aperture from f/4 to f/2.8, slowing the shutter from 1/125 to 1/60, or raising ISO from 100 to 200 each adds one stop of light — all three changes are equivalent in terms of exposure.
Does a higher ISO always mean worse photos?
Not always, but higher ISO generally introduces more noise and slightly reduces dynamic range and color depth. Modern sensors handle high ISO far better than older ones, so the goal is the lowest ISO that still lets you achieve your desired aperture and shutter speed — not avoiding high ISO at all costs.
Related Posts
Rule of Thirds and Leading Lines: Master the Two Most Important Composition Rules
Composition is what separates a snapshot from a photograph. A…
Focus Stacking Explained: How to Get Everything Sharp from Front to Back
Try to photograph a flower, an insect, or a piece…
RAW vs JPEG: Why Photographers Shoot RAW (and When JPEG Still Wins)
A photographer shooting in the field — RAW preserves every…